


Warning: Cannot modify header information - headers already sent in /home/u278635817/domains/myhousegarden.com/public_html/wp-content/plugins/artigosgpt/artigosgpt.php on line 28454
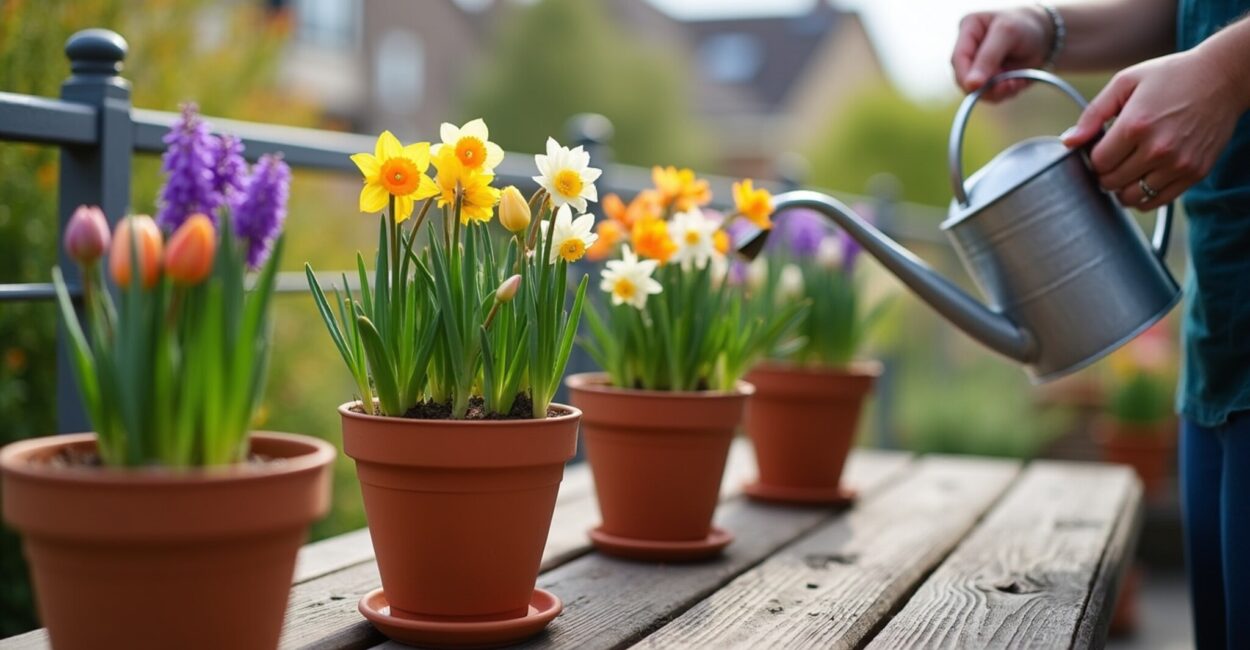
Imagine a balcony bursting with layered color, bulbs peeking from stacked clay pots—this is the magic of tulip containers. Tulip containers are compact planters optimized for bulb layering, perfect for small spaces and staggered blooms. In this guide you’ll learn how clay pots and bulb lasagna methods transform limited areas into a cascading floral display.
With rising urban gardening and the desire to maximize bloom time, using tulip containers saves space, extends the season, and creates dramatic vertical interest. I’ll show practical steps, soil recipes, and planting combos like crocus under Darwin tulips to achieve staggered bloom and continuous color.
Follow clear, mobile-friendly instructions, evidence-based tips, and creative design ideas to build layered pots that thrive—whether you have a tiny terrace, porch, or windowsill. Read on for actionable layouts, a quick-reference table, and a FAQ to answer every common worry about tulip containers.
Why tulip containers matter for small-space gardening
Maximizing vertical bloom and color
Tulip containers let you stack bulbs in layered pots, creating multi-height displays that multiply color without needing a garden plot. This method conserves space and multiplies visual impact efficiently.
Seasonal extension and interest
Layered pots stagger blooms through bulb lasagna, offering continuous flowers from early crocus to late tulips. That extended season keeps balconies lively and satisfying for weeks.
Choosing the right pots and materials
Clay pots vs. plastic containers
Choose clay pots for breathability and temperature regulation; they help bulbs avoid rot and overheating. Terracotta also looks natural and ages beautifully with moss and mineral patina.
Drainage, size, and arrangement tips
Use pots with drainage holes and group them on saucers or stands. Mix pot sizes to create tiers and ensure root depth matches bulb size for healthy growth.
- Select terracotta for breathability and weight.
- Ensure each pot has adequate drainage holes.
- Group pots on shelves or stands for layered visual impact.
Bulb lasagna: layering method for staggered blooms
What is bulb lasagna?
Bulb lasagna layers bulbs with soil between tiers, like a cake. Early crocus at the bottom, mid-season tulips above, and later bulbs on top create a sequence of flowering.
Soil recipe and planting depth
Use a free-draining mix with compost and grit. Place bulbs at appropriate depths: deepest for large tulips, shallower for crocus and narcissus placed lower down to push upward through soil layers.
Design combos: crocus under Darwin tulips for staggered bloom
Color and height pairings
Plant crocus beneath Darwin tulips to achieve early spring flashes followed by tall, dramatic tulip blooms. Pair complementary colors to maintain momentum as seasons change.
Timing and bloom sequence
Sow crocus bulbs first to sit low and bloom early, then position Darwin tulips above for a later, towering display. This creates a rhythmic garden choreography in confined spaces.
- Fill the bottom of the pot with gritty compost and plant crocus bulbs, pointed up.
- Add a thin soil layer and press crocus gently to secure.
- Place Darwin tulip bulbs above, deeper and spaced properly.
- Top with soil, water lightly, and move pots to a cool, sheltered spot until sprouting.
Care and maintenance for healthy tulip containers
Watering and feeding schedule
Water moderately after planting, keeping soil moist but not waterlogged. Feed with a balanced bulb fertilizer at planting and again during early growth for robust blooms.
After-flowering care and bulb storage
Deadhead spent flowers but leave foliage until it yellows—this restores bulb energy. For reuse, lift bulbs, dry, and store in a cool, ventilated location until replanting.
Pest, disease prevention, and wintering
Common pests and natural controls
Watch for slugs, squirrels, and fungal rot. Use physical barriers for rodents, copper tape for slugs, and ensure excellent drainage to prevent fungal issues in layered pots.
Preparing containers for cold and dormancy
Insulate pots with bubble wrap or mulch in extremely cold climates. Alternatively, sink pots slightly into the ground or move to an unheated garage to protect bulbs from freeze-thaw cycles.
Creative styling and placement ideas
Vertical displays and shelving hacks
Stack clay pots on tiered shelving or use plant stands to create a lush vertical wall. Intermix foliage plants for texture and to camouflage soil lines between layers of bulbs.
Color themes and multi-season planning
Design a color story—pastels for gentle spring charm, bold primaries for dramatic impact. Combine summer container plants to reuse pots after tulip dormancy for continuous appeal.
| Bulb | Planting Depth | Bloom Time |
|---|---|---|
| Crocus | 3–4 inches | Early spring |
| Darwin Tulip | 6–8 inches | Mid to late spring |
| Narcissus | 4–6 inches | Mid spring |
Conclusion
Tulip containers transform tight spaces into layered celebrations of spring, delivering staggered blooms and big impact from compact pots. Using clay pots and bulb lasagna techniques creates a reliable rhythm of color that reconnects you with seasonal pleasure. Start small, layer thoughtfully, and watch your vertical garden tell a vibrant, unfolding story—exactly like the balcony dream in the opening image.
FAQ
How deep should I plant bulbs in a tulip container for best results?
Planting depth varies by bulb size: small bulbs like crocus need about 3–4 inches, mid-size narcissus 4–6 inches, and larger Darwin tulips 6–8 inches. In layered pots, place deeper bulbs lower down, with shallower bulbs above, so each has appropriate soil cover and root room. Proper depth ensures stable growth and staggered bloom timing that defines tulip containers.
Can I reuse bulbs from tulip containers the following year?
Some bulbs, like Darwin tulips, can be reused if foliage is allowed to die back naturally and bulbs are lifted, dried, and stored correctly. However, many tulips perform best if replaced periodically for peak blooms. For reliable results in tulip containers, lift and inspect bulbs after dormancy, remove diseased specimens, and refresh soil before replanting.
What soil mix works best for layered pots and bulb lasagna?
Use a free-draining potting mix blended with coarse grit, sand, and organic compost for nutrients. Good drainage prevents rot in bulb lasagna layers. A ratio of roughly 60% potting mix, 20% gritty material, and 20% compost provides moisture retention without waterlogging—ideal for tulip containers that need both aeration and nutrition.
How do I protect tulip containers from squirrels and rodents?
Protect bulbs by adding wire mesh beneath the soil layer or covering the pot top with decorative chicken wire until shoots appear. Place cayenne pepper or coffee grounds around pots as a mild deterrent. For persistent animals, consider weighted clay pots or secure placement on hung shelves out of reach, preserving your staged blooms and layered planting layout.
When should I plant crocus and tulips together in a layered pot for staggered bloom?
Plant bulbs in autumn before the ground freezes: place crocus bulbs lower in the pot first, then layer soil and add larger tulip bulbs above. This timing allows crocus to establish and bloom early, followed by taller Darwin tulips in mid spring. Autumn planting ensures chilling requirements are met for reliable bloom sequencing in tulip containers.
Further reading: Visit the Royal Horticultural Society for bulb care tips (RHS bulb advice) and the University of Minnesota Extension for practical container gardening science (UMN Extension).


