


Imagine stepping into a kitchen where luxury lighting softens marble veins and brass pendants hover like bijoux—each beam sculpting a mood. Luxury lighting transforms surfaces and moments, creating layered, moody ambience with focused highlights and subtle glow.
Today, designers pair spotlight brass pendants over marble islands with dimmable LEDs to craft depth, contrast and atmosphere. This guide explains why that combination matters, how to layer light, and practical steps to achieve an evocative, timeless space.
Read on to discover lighting strategies, material pairings, and smart controls that elevate function into feeling—so your kitchen becomes both a stage and a sanctuary.
Why Spotlight Brass Pendants and Dimmable Leds Work Together
Material Contrast Creates Drama
Brass pendants bring warmth and tactile richness to cool marble, while spotlights create jewels of illumination. This contrast enhances texture and elevates perceived luxury.
Pairing metal finishes with stone produces visual depth, drawing attention to islands and task zones without overwhelming the room.
Control and Mood with Dimmable Leds
Dimmable LEDs offer precise control over intensity and color temperature, enabling daytime clarity and evening intimacy. They reduce glare and extend bulb life.
With smart dimming, you can shift from bright prep light to candlelike warmth instantly, reinforcing the layered ambience designers aim for.
Design Rules for Pendant Placement and Spotlighting
Proportion and Balance
Center pendants over islands with consistent spacing, mindful of the island’s length and cabinetry height. Proportion keeps the composition elegant.
Use multiple smaller pendants rather than one large fixture for better balance and visual rhythm across the marble surface.
Layering Light for Function and Atmosphere
Combine task lighting, accent spotlights, and ambient sources to craft depth. Each layer serves a purpose, from chopping to dining to mood-setting.
Integrate dimmers and zones so task beams can be bright while the surrounding room remains soft and inviting.
- Choose pendant centers 30–36 inches above the countertop for task clarity.
- Position spotlights to highlight marble veining and backsplashes without casting harsh shadows.
- Mix warm-tone LEDs with brass finishes for cohesive warmth.
Choosing Finishes, Bulbs, and Color Temperature
Finish Selection
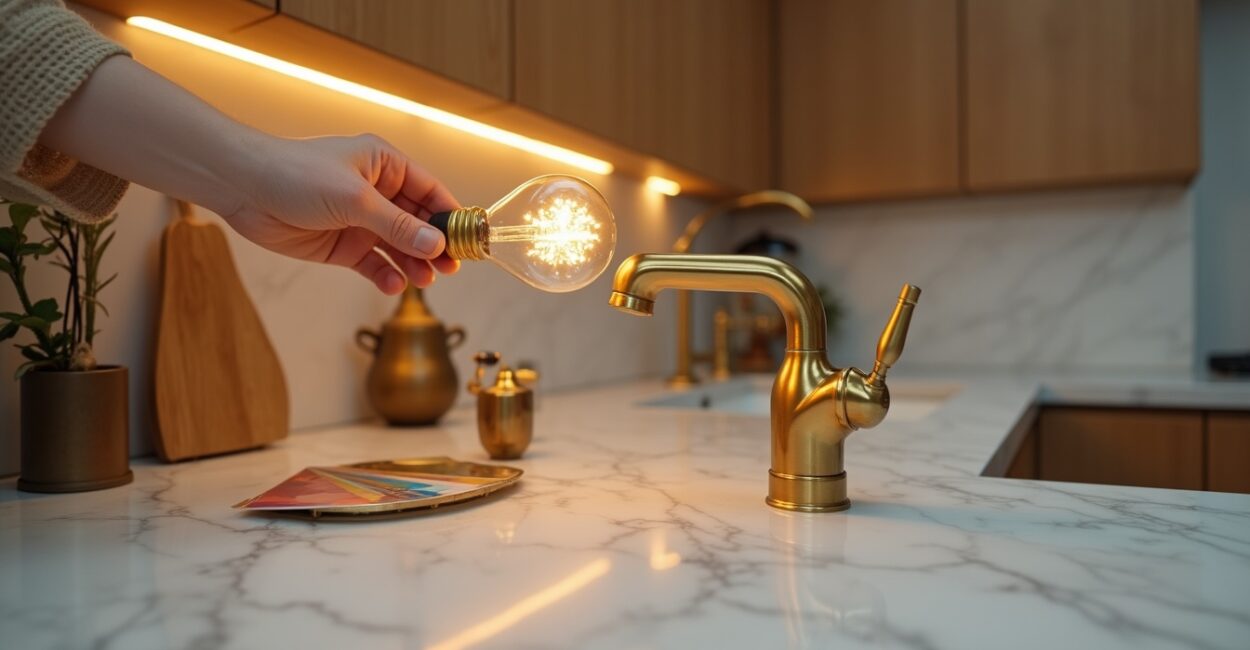
Polished brass reads as opulent; aged brass feels lived-in and cozy. Match fixture finish to hardware and faucets for a curated look.
Consider lacquered brass to resist tarnish in humid kitchens while keeping the luxurious hue intact.
Bulb Choices and Temperatures
Warm white LEDs (2700K–3000K) flatter marble and brass, creating an intimate, luxurious feel. Avoid cooler temps that render brass flat.
CRI 90+ LEDs preserve color fidelity of stone and wood, ensuring the marble’s character remains vivid under artificial light.
Installation Checklist and Practical Specifications
Electrical and Mounting Essentials
Confirm junction box placement aligns with pendant centers and that wiring supports dimming protocols like TRIAC or 0-10V. Use rated fixtures for kitchen zones.
Hire a licensed electrician to ensure compliance with codes and optimal placement to avoid shadows on work surfaces.
Performance Specs to Request
Specify lumen output per pendant, beam angle for spotlights, dimmer compatibility, and IP rating where needed. These specs determine both mood and utility.
Document watt-equivalent, expected lifetime, and warranty to protect your investment over years of use.
| Element | Recommended Spec | Why it matters |
|---|---|---|
| Pendant height | 30–36 in above countertop | Optimizes task illumination and sightlines |
| LED color temp | 2700K–3000K | Maintains warm, luxurious tones |
| CRI | 90+ | Preserves marble and material color accuracy |
| Beam angle | 24°–40° for spotlights | Focuses highlights without too much spill |
Step-by-step: Install Layered Lighting for a Marble Island
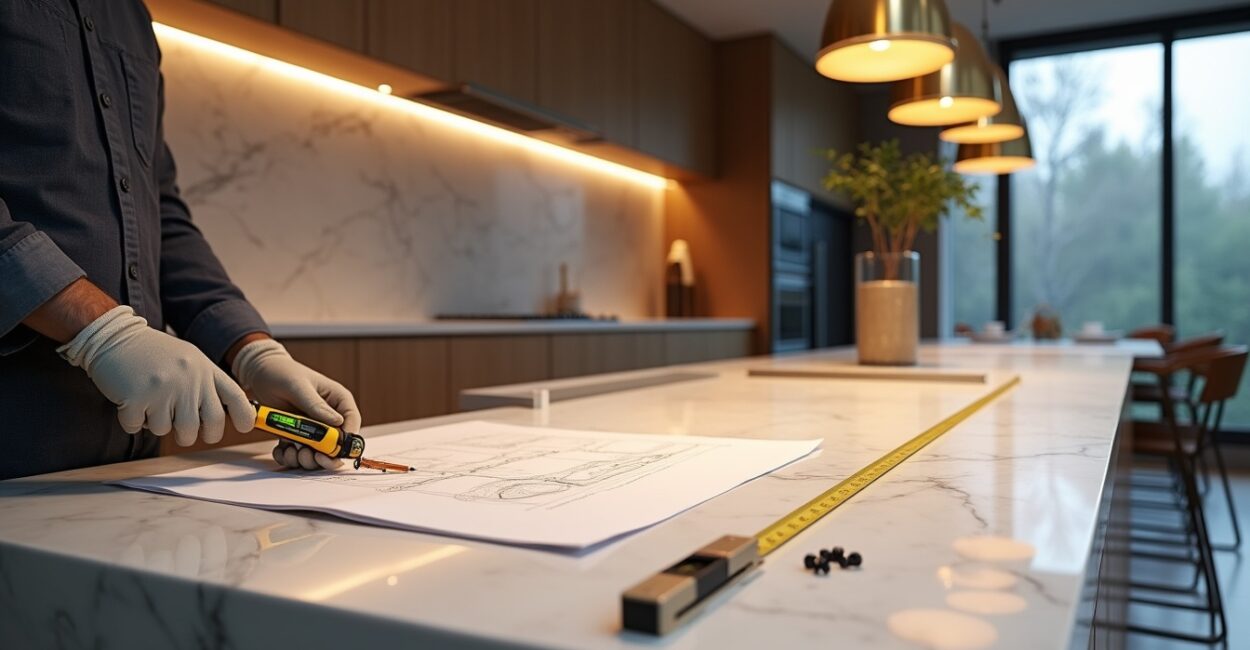
Plan and Measure
Map out pendant centers and spotlight locations relative to island edges. Accurate measuring prevents awkward placements.
Consider sightlines from seating and cooking zones to avoid glare or obstruction.
Execute Installation
Follow these steps precisely to ensure a polished result and a balanced, moody ambience.
- Turn off power at the breaker and verify with a tester.
- Mark pendant centers and mount junction boxes at correct heights.
- Run wiring for separate lighting zones and dimmer locations.
- Install pendants, secure mounting hardware, and attach trim.
- Connect dimmers, program scenes, and test all levels.
Styling Tips and Complementary Design Choices
Pairing with Surfaces and Textiles
Let the marble island be a stage—add matte cabinetry, textured linens, and muted accents to balance reflective metals and stone.
Introduce natural woods or soft leathers to soften the room and give warmth beyond lighting alone.
Accessorizing and Final Touches
Use subtle reflective objects—copper bowls, ceramic pitchers—to catch pendant light and enrich the atmosphere without clutter.
Consider layered rugs near seating to absorb sound and anchor the space visually for comfortable, luminous gatherings.
- Choose matte countertops or honed marble to reduce glare.
- Use undercabinet LEDs for base tasks and contrast.
- Install scene-based controls for dining, prep, and evening modes.
Conclusion
Spotlight brass pendants over marble islands, paired with dimmable LEDs, create a layered, moody ambience that feels both functional and sensorial. Thoughtful placement, warm color temps, and smart controls let you sculpt each moment from sharp clarity to soft intimacy.
Return to your kitchen and watch surfaces come alive—luxury lighting makes everyday rituals feel ceremonious, connecting beauty with daily life.
Faq
How Do I Choose the Right Size and Number of Brass Pendants for My Marble Island?
Measure the island length and apply proportion rules: for islands under six feet, two pendants work well; six to nine feet often needs three. Center fixtures evenly and keep 30–36 inches above the countertop to balance task light and sightlines, ensuring even coverage across the marble surface.
What Color Temperature and Cri Should I Pick for Warm, Luxurious Ambience?
Select LEDs in the 2700K–3000K range for warm, flattering light that complements brass and marble. Choose CRI 90 or higher so stone veining and finish tones render accurately, preserving the depth and richness that define luxury lighting schemes in premium kitchens.
Can I Mix Different Brass Finishes and Still Maintain a Cohesive Look?
Mixing brass finishes can work if you maintain a dominant tone and repeat secondary accents sparingly. Use one primary brass finish for fixtures and a complementary aged or matte piece as contrast; consistency in undertones and coordinated hardware helps achieve a curated yet eclectic result.
Are Dimmable Leds Compatible with Smart Home Systems and Traditional Dimmers?
Most dimmable LEDs work with modern smart hubs and compatible TRIAC or 0–10V dimmers, but confirm fixture and dimmer compatibility. Use manufacturer-recommended controls to avoid flicker; integrating scenes and schedules will maximize mood control and energy savings for luxury lighting setups.
How Do I Highlight Marble Veining Without Creating Glare or Hot Spots?
Position spotlights at a slight angle to graze the marble’s surface, using beam angles of 24°–40° to accent veins while avoiding glare. Combine focused spotlights with softer ambient layers and dimming to balance highlights and shadow, preserving the stone’s natural depth and texture.
Further reading: design references at Architectural Digest and contemporary lighting insights from Dezeen. For LED tech, consult manufacturer specs such as Signify/Philips.