


Concrete overlays can transform a tired plaza into a modern, durable surface—but when moisture gets trapped, delamination can turn that dream into a costly nightmare. This article examines moisture-driven delamination in overlays and how a mall plaza project revealed hidden vapor pressure problems under the surface.
Understanding moisture movement, vapor barriers, and proper installation is crucial for owners, contractors, and specifiers. You’ll learn why overlays fail, how to spot trouble early, and practical steps to prevent vapor-related delamination in future projects using concrete overlays.
In this deep-dive you’ll discover a real mall plaza case study, technical causes, testing strategies, repair options, and best practices for durable overlays—clear, mobile-friendly, and rooted in on-site experience.
Why moisture matters for concrete overlays: the hidden threat
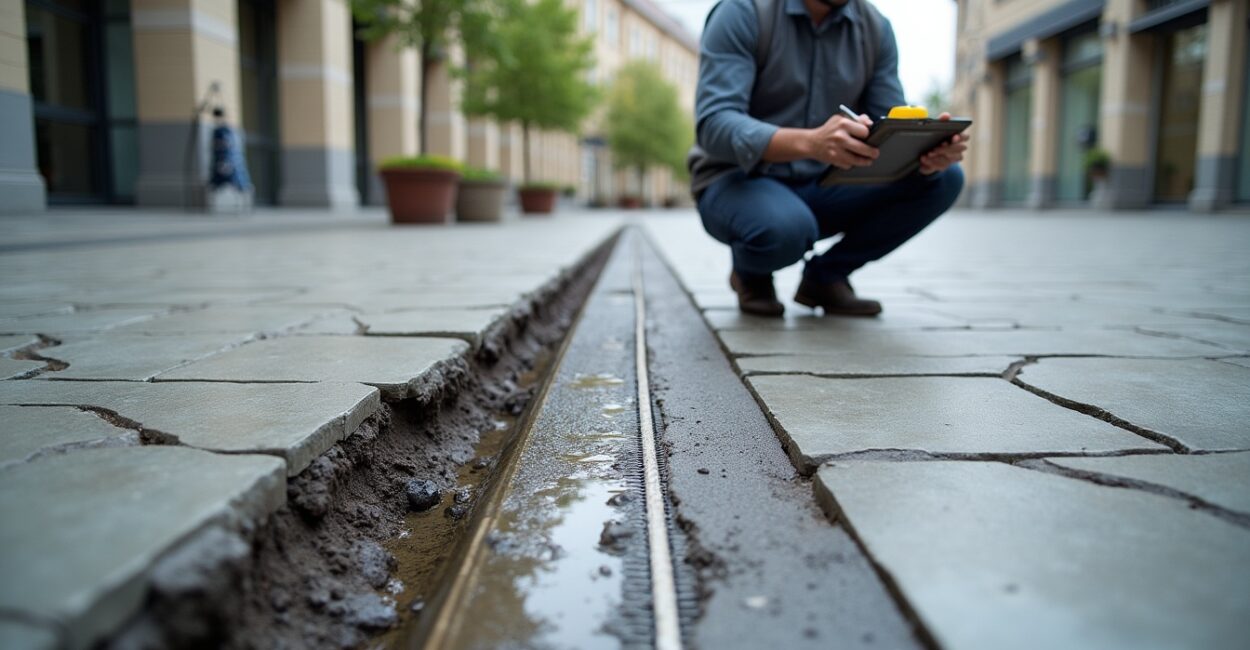
The first sign of delamination often arrives as hairline cracking or hollow sounds when tapped. Moisture trapped beneath concrete overlays creates vapor pressure that lifts and separates the topping.
Overlay systems, primers, and sealers interact with moisture differently, affecting adhesion and long-term performance. This section explains the physics and practical implications of moisture-driven delamination.
How vapor pressure forms under overlays
Ground moisture, rain intrusion, or curing water can raise relative humidity under the overlay. When temperature rises, trapped vapor expands and stresses the bond.
Vapor drive is directional and can vary seasonally. Understanding site-specific moisture profiles prevents surprises during and after installation.
Common moisture sources on plaza projects
Capillary rise from subgrade, poor drainage, and clogged joints are typical sources. Each introduces water that later becomes trapped as vapor beneath the overlay.
Plaza construction often hides these sources: landscaping beds, beneath pavers, and under membrane transitions that fail to vent or drain properly.
Case study: mall plaza overlay failure revealing trapped vapor
At a regional mall, a 20,000 ft² overlay delaminated within months. Tapping tests revealed extensive hollow areas, and infrared imaging showed cool spots—signs of moisture beneath the surface.
Investigation found a combination of high subgrade moisture, an impermeable primer in the wrong sequence, and inadequate vapor mitigation—classic contributors to moisture-driven delamination in concrete overlays.
What the site investigation uncovered
Core samples revealed saturated substrate layers and an overlay bonded to a damp slab. Adhesion tests failed consistently across the plaza, indicating a systemic issue.
Contractor records showed limited pre-installation moisture testing and no vapor retarder or venting strategy—gaps that allowed vapor entrapment and bond failure.
Immediate consequences for mall operations
Closed walkways, costly expedited repairs, and reputational damage followed. Tenants complained as sections were cordoned off for remediation.
The failure also triggered a deeper audit across other mall surfaces, increasing repair scope and budget beyond initial expectations.
Diagnosing moisture-driven delamination: tests and tools
Early detection prevents widespread failure. Use a combination of moisture mapping, infrared thermography, and adhesive pull tests to accurately diagnose trapped vapor issues under concrete overlays.
Correct diagnosis differentiates moisture entrapment from other causes like poor mixing, inadequate surface prep, or incompatible materials.
Instrumental testing methods
Relative humidity probes in drilled holes and non-destructive moisture meters provide complementary data. Infrared scans highlight cool, damp zones before coring.
Adhesion pull-off tests quantify bond strength; repeated low readings across an area point toward moisture-related loss of adhesion.
Interpreting test results for remediation
Look for RH readings above manufacturer tolerances and thermal anomalies that match moisture maps. These align with likely vapor-driven delamination zones.
Use test data to prioritize repairs and select appropriate mitigation—venting, drying, or removal—rather than guessing and repeating failures.
Prevention strategies: design and installation best practices
Prevention begins in design: specify vapor control measures, proper drainage, and substrate conditioning. These measures reduce the chance that moisture will accumulate and later delaminate a concrete overlay.
Contractors must follow manufacturer guidance for moisture limits and surface preparation; documentation and QA keep projects on track and protect warranties.
Design-level measures to control vapor
Include continuous vapor barriers where appropriate, slope surfaces for drainage, and detail transitions to avoid water traps. Proper landscaping and joint design reduce water entry.
Don’t assume existing slabs are dry—design for expected moisture and include access for testing and venting if needed.
Installation checklist for reliable bonding
Ensure substrate moisture tests pass, apply primers only per tech data sheets, and allow adequate drying time between steps. Use recommended adhesives and mixes.
Implement on-site QA: daily logs, test records, and immediate corrective actions when readings exceed limits keep overlays durable and predictable.
Repair options when overlays delaminate from vapor entrapment
Remediation depends on severity: localized patching, partial removal with replacement, or full overlay removal and substrate drying. The chosen method must address the moisture source, not just the symptom.
This section outlines practical repair methods proven in plaza projects with trapped vapor issues, balancing cost, downtime, and long-term reliability.
Targeted repairs and localized fixes
For isolated delamination, remove and replace the overlay area, dry the substrate, and improve drainage. Use breathable repair mortars where appropriate.
Targeted fixes save budget but require precise identification of moisture pathways to avoid repeat failures adjacent to repairs.
Full-scale remediation for extensive failures
When delamination is widespread, full removal may be required. Dry the slab, install vapor mitigation, and apply a compatible overlay system with proven adhesion under expected RH.
Large repairs must include a testing and monitoring phase to verify that vapor pressures have been mitigated before reapplying the overlay.
Materials and specifications that resist vapor problems
Choosing the right overlay system, primers, and sealers greatly reduces the risk of moisture-driven delamination. Materials that tolerate higher substrate RH or allow vapor transmission can be lifesavers.
Specifiers should require performance testing and clear moisture limits in contracts to ensure materials match the site’s moisture reality before installation.
Overlay products for challenging moisture conditions
Some polymer-modified toppings and cementitious overlays perform better at elevated RH. Look for products with documented tolerance to higher in-situ moisture conditions.
Vapor-permeable systems help in some scenarios by allowing controlled drying; in others, a proper vapor barrier is preferable. Choose per project specifics.
Specification language to protect projects
Include mandatory pre-installation RH testing, acceptance criteria, and corrective steps. Define product compatibility, primer requirements, and installer qualifications.
Holdbacks or staged payments tied to passing test results motivate contractors to verify moisture conditions before overlay application.
Project workflow: step-by-step to avoid delamination
A disciplined workflow prevents moisture-related failures. This actionable sequence, refined from plaza projects, focuses on pre-checks, testing, and controlled installation.
On-site sequencing for durable overlays
Start with substrate evaluation, then moisture mapping, followed by remediation, priming, and overlay placement only after passing acceptance tests.
Document every step: test reports, weather conditions, and material batch numbers. Good records simplify warranty claims and future maintenance.
Quality control during and after installation
Use daily QA checks, adhesion tests, and thermal scans immediately after placement to catch anomalies. Address them before the overlay fully cures.
Schedule post-installation monitoring to catch late-emerging moisture movement and to validate long-term performance.
Cost, timeline, and risk comparison table
Compare common remediation paths for moisture-driven overlay delamination to choose the right approach for your plaza project.
| Remediation Option | Typical Timeframe | Approx. Cost Range | Risk of Recurrence |
|---|---|---|---|
| Localized patch and dry | 1–3 days | Low–Moderate | Moderate |
| Partial overlay removal and replace | 3–10 days | Moderate–High | Low–Moderate |
| Full remove, dry, vapor control, reapply | 2–6 weeks | High | Low |
- Prioritize full diagnosis before choosing a fix.
- Weigh downtime, tenant impact, and long-term durability.
- Invest in proper vapor control for persistently wet sites.
Practical checklist and repair steps (featured snippet)
Use this concise procedural list as a site-ready roadmap to prevent or fix moisture-driven delamination in overlays on plazas and similar surfaces.
- Test substrate moisture using probes and infrared scans.
- Document and map any anomalous zones before work.
- Address drainage, capillary rise, or irrigation sources.
- Dry and install vapor barrier or choose permeable system as specified.
- Apply primer and overlay only after passing acceptance tests.
- Monitor post-installation for signs of vapor movement or delamination.
Why this sequence works
This ordered approach isolates causes, mitigates moisture sources, and ensures overlays are only placed on acceptable substrates. It reduces rework and warranty disputes.
Following these steps creates defensible documentation and aligns contractor, owner, and manufacturer responsibilities for successful outcomes.
Small investments that prevent big failures
Simple measures—accurate testing, temporary dehumidification, and correct primer choice—often cost a fraction of full removal and replacement.
Allocating budget to diagnostics and mitigation up front protects owners from expensive plaza closures and tenant disruption later.
Conclusion
Moisture-driven delamination of concrete overlays is a preventable problem when teams prioritize testing, design for vapor control, and follow disciplined installation workflows. The mall plaza case shows how hidden vapor can undermine even attractive overlays quickly.
By diagnosing moisture sources, choosing compatible materials, and documenting every step, you protect aesthetics, minimize downtime, and extend overlay life—turning a vulnerable surface into a reliable asset.
FAQ
What causes vapor-driven delamination under concrete overlays?
Vapor-driven delamination occurs when moisture in the subgrade or substrate becomes trapped beneath an overlay. Rising temperatures or environmental changes convert liquid to vapor, creating pressure that weakens the bond and lifts the topping, especially when primers or membranes block vapor escape.
How do I test if a plaza slab is safe for overlay installation?
Combine in-situ relative humidity probes with infrared thermography and non-destructive moisture meters. Core and RH tests give definitive readings; thermal scans help map hotspots. Acceptable levels depend on overlay manufacturer tolerances and should be documented before installation.
Can overlays be applied over substrates with elevated moisture?
Some polymer-modified overlays tolerate higher RH, and vapor-permeable systems allow controlled drying. Often, mitigation—such as drying, vapor barriers, or improved drainage—is necessary. Choose products with documented performance at the measured moisture levels.
What are effective long-term fixes for widespread delamination?
Extensive failures often require full removal, substrate drying, installing a proper vapor control strategy, and reapplication with compatible materials. This approach addresses root causes and lowers recurrence risk, though it increases time and cost compared to local repairs.
How can project specifications reduce the risk of overlay failures?
Include mandatory pre-installation moisture testing, acceptance criteria, materials compatibility clauses, and installer qualifications. Tie payment milestones to passing tests and require QA documentation. Clear specs align expectations and minimize disputes after completion.
References: Technical guides and standards from authoritative sources such as ASTM and industry manufacturer tech notes provide detailed test methods and material guidance. For further reading, see the ASTM moisture testing procedures and product technical data from overlay manufacturers like ASTM International and select manufacturer resources at NRMCA.