

Warning: Cannot modify header information - headers already sent in /home/u278635817/domains/myhousegarden.com/public_html/wp-content/plugins/artigosgpt/artigosgpt.php on line 28454
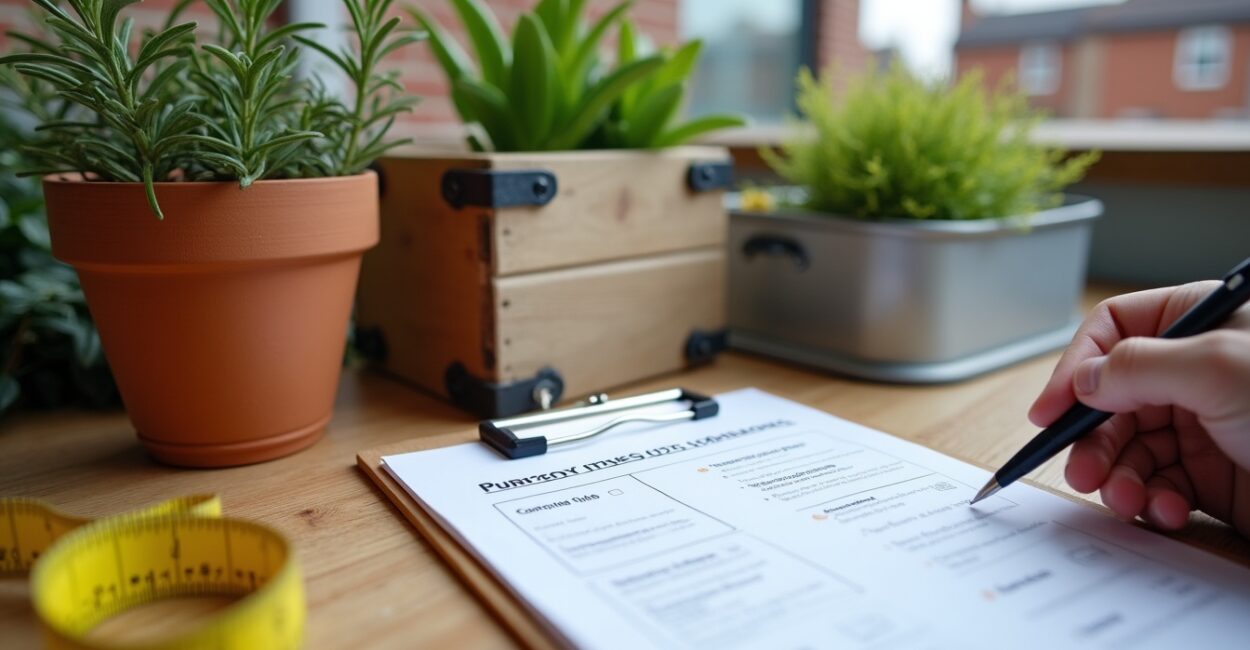
DIY planters transform ordinary pots into personalized focal points for patios, balconies, and indoor gardens. They matter because custom planters let you control scale, drainage, and style—helping plants thrive while boosting curb appeal. To start using DIY planters, gather basic materials, pick a design suited to your plants, and follow step-by-step plans that match your skill level.
Many gardeners face the challenge of limited space, budget constraints, or the desire for a unique aesthetic. DIY planter projects solve these issues by repurposing materials, reducing costs by up to 60% compared with retail designer pots, and enabling tailored drainage and insulation for specific plant types (source: Royal Horticultural Society). This article covers practical projects, full materials lists, tools, and product recommendations to drive confidence and purchase decisions.
Below you’ll find five detailed sections on DIY planters, including definitions, step-by-step builds, a comparison table of methods, material and product recommendations, and creative styling tips. Expect actionable guidance, cost estimates, and links to authoritative resources to help you complete your next planter project with professional results.
Basics of DIY planters and core concepts
- Material selection: terracotta, wood, metal, concrete, recycled plastics
- Drainage and aeration: holes, layers, and geotextile fabrics
- Insulation and frost protection: lining, foam, and plant choices
- Sizing and root space: pot volume relative to plant maturity
- Finishes and sealing: paints, sealers, and weatherproofing
What DIY planters mean for modern gardeners
DIY planters give gardeners control over functionality and aesthetics by turning simple containers into tailored homes for plants. They support better root health through customized drainage and depth while allowing creative expression via finishes, shapes, and materials. Urban gardeners, balcony growers, and backyard hobbyists all benefit because DIY planters can be optimized for weight, insulation, and available space.
Using reclaimed wood, lightweight concrete mixes, or upcycled containers reduces environmental impact and saves money versus buying designer planters. For example, repurposing a wooden crate often costs under $10 compared with $80+ for a similar retail planter. This makes DIY planters practical for scaling a collection affordably.
Consider plant type, watering frequency, and microclimate when designing planters—succulents need shallow, fast-draining containers; herbs prefer medium depth; small trees require deeper, reinforced boxes. Balance aesthetics with horticultural needs to ensure lasting success.
Essential components: drainage, soil, and structure
Good DIY planters start with drainage: a proper hole or layered system prevents root rot, while coarse bottom layers (pebbles or broken pot shards) improve flow. Include a geotextile fabric to separate soil from drainage material, which keeps soil from clogging and maintains aeration. The container’s structure must resist moisture and weight, so choose rot-resistant woods or sealants for longevity.
Use potting mixes tailored to plant families—cacti and succulents need gritty mixes, while vegetables and herbs prefer nutrient-rich, moisture-retentive blends. A balanced mix reduces disease risk and lowers maintenance time. For potted trees, use a heavier loam-based mix and consider internal bracing in large wooden boxes.
Stability is critical for tall planters: anchor lightweight planters or use weight at the base to prevent tipping in winds. For balcony use, confirm weight limits with your building’s regulations. Simple reinforcements like corner brackets or internal frames increase lifespan without compromising looks.
Common materials and cost considerations
Material choice impacts cost, durability, and plant health. Terracotta offers breathability but can crack in frost; wood is warm and customizable but needs sealing to prevent rot; concrete is durable and modern but heavy; plastic is lightweight and inexpensive yet can overheat roots in direct sun. Each material suits different scenarios and budgets.
Budget-wise, DIY projects can range from under $10 for upcycled plastic containers to $150+ for a custom concrete trough. According to Consumer Reports, average consumer spending on outdoor planters increased ~18% over the last five years as interest in container gardening rose, making DIY an attractive savings path.
Factor in long-term costs such as soil replacement, sealants, and plant purchases. Investing $20–$50 in quality liners and sealers often extends planter life by 2–5 years, which improves overall value for money over disposable options.
Creative DIY planter projects with step-by-step builds
- Measure and cut materials to size using proper PPE.
- Assemble the structure securely with screws or adhesive.
- Install drainage: drill holes and add geotextile fabric.
- Seal or paint exterior; allow full cure before planting.
- Fill with appropriate potting mix and plant; water and adjust.
Wooden raised planter box: build and finish
Begin by selecting rot-resistant lumber such as cedar or pressure-treated pine; cut four sides and a base to desired dimensions. Pre-drill and use exterior-grade screws to assemble corners—this prevents splitting and adds strength. Add corner braces for stability if making a planter larger than 2 ft by 2 ft.
Drill multiple drainage holes across the base, line with landscape fabric, and fill the bottom with coarse gravel to aid drainage. Coat the exterior with a non-toxic outdoor wood sealer; allow 24–48 hours drying depending on product instructions. This step is essential for longevity and weather resistance.
Fill with a high-quality potting mix, adjust soil depth for root systems, and plant. Expect assembly time of about 2–4 hours for a medium-sized box. Typical material cost ranges $25–$70 depending on wood and hardware choices.
Concrete planter: mix, mold, and cure
Create a mold from plywood or buy plastic planter molds; coat the mold interior with mold release. Use a lightweight concrete mix or add perlite for reduced weight. Mix to manufacturer specs—usually a 0.45 water-to-cement ratio—and pour into the mold in layers, tapping to remove air pockets.
Include a rigid internal form (e.g., plastic bucket) to create the cavity for soil. Allow the concrete to cure at least 48–72 hours before demolding; full strength often requires 28 days. Curing time can be reduced with additives but follow safety guidelines and ventilation requirements.
Once cured, drill drainage holes if not built in, then seal with a concrete sealer to prevent efflorescence and water absorption. Concrete planters are heavy—consider moving assistance or casters for large pieces. Expect costs of $40–$150 depending on size and additives.
Upcycled container planters: fast and affordable
Upcycled planters reuse items like metal tubs, wooden pallets, wine barrels, or old furniture. Clean and sanitize the container; add drainage holes and a layer of gravel. Line with landscape fabric and fill with potting mix. Upcycling minimizes waste, lowers costs, and yields unique aesthetic statements for gardens and interiors.
For metal containers, insulate roots from heat with foam liners or a double-wall approach. For wooden furniture, ensure structural integrity and treat with non-toxic sealants to protect against moisture. Small projects often take less than an hour to prepare and cost under $20 if using found materials.
These creative repurposing strategies reduce landfill waste and often create conversation pieces. According to an environmental NGO report, DIY upcycling can cut household waste generation related to garden products by up to 25% (EPA).
Comparison of DIY planter methods and material trade-offs
Quick comparison table of common methods
| Method | Durability | Typical Cost |
|---|---|---|
| Terracotta pots | Moderate (susceptible to freeze) | $10–$50 |
| Wooden planters | Moderate to high (with sealing) | $20–$100 |
| Concrete planters | High (very durable) | $40–$200 |
| Upcycled containers | Variable (depends on prep) | $0–$60 |
Structural vs. aesthetic priorities
When selecting a method, weigh structure against appearance. Concrete and metal excel structurally—resisting wind, pests, and moisture—while wood and terracotta provide warmth and traditional appeal. Upcycled options often prioritize style and sustainability but may require more maintenance or reinforcement. Think through long-term goals: frequency of moving, exposure to freeze–thaw cycles, and the plant species’ root depth to ensure the planter matches horticultural needs.
For rooftop and balcony gardens, lightweight options with proper bracing are preferable to heavy concrete. Conversely, for a permanent patio display, heavy planters provide stability and a premium look. Matching planter mass to structural capacity prevents safety and maintenance problems down the line.
Consider finishes: paint, stain, and sealants can alter insulation, water retention, and UV resistance. Aesthetic treatments often require reapplication every 1–3 years depending on exposure, affecting lifecycle costs and maintenance schedules.
Material lifecycle and environmental impact
Assess environmental impact across the lifecycle: plastic planters are lightweight and cheap but derived from fossil fuels; concrete has high embodied energy but long lifespan; reclaimed wood or upcycled containers reduce new material demand. Lifecycle thinking helps decide whether a higher upfront cost (e.g., durable concrete) justifies lower replacement frequency.
For sustainability-focused gardeners, prioritize reclaimed materials and low-VOC finishes. Certification labels, such as FSC for wood, indicate responsible sourcing. Local availability often influences environmental footprint—sourcing materials nearby reduces transport emissions and cost.
Estimate replacement cycles: cheap plastic might last 2–4 years outdoors, terracotta 5–10 years, and well-sealed wood or concrete 10+ years. These estimates factor into total cost of ownership and should guide purchasing decisions for long-term garden planning.
Materials, tools, and product recommendations for DIY planters
Comprehensive materials list and specs
Essential materials: exterior-grade lumber or chosen container, exterior screws or stainless bolts, geotextile fabric, coarse drainage aggregate, potting soil appropriate for plant type, sealant or paint, and protective feet or casters for mobility. For concrete projects include a lightweight concrete mix, fiber reinforcement, and a release agent for molds. For plastic or metal reuse, include foam insulation and non-toxic cleaners.
Quantities depend on planter size: a 2 ft × 2 ft wooden box typically requires 4–6 linear feet of 2×6 lumber, 16–24 exterior screws, 1–2 sq ft of landscape fabric, and about 10–20 liters of potting mix. These measures help plan purchases and avoid waste.
Recommended brands: for sealants use Sikaflex or Thompson’s WaterSeal; for soil, brands like Espoma or FoxFarm provide mixes tailored to vegetables and ornamentals. For tools, a cordless drill (18V), circular saw, and a workbench clamp set make construction faster and safer.
Tools and safety gear checklist
Required tools: tape measure, pencil, power drill with bits, screwdriver, saw (circular or miter), clamp, level, and hammer. For concrete: mixing tub, trowel, and protective eyewear. Safety gear: gloves, safety glasses, dust mask, and hearing protection. Investing in proper tools and PPE reduces errors and speeds completion.
Rent heavy equipment—like a concrete mixer—if tackling large projects to save time. For occasional DIYers, many community tool libraries provide access to high-quality tools at low cost. Proper maintenance of tools extends their life and ensures safer projects.
Consider starter kits for newcomers: a basic woodworking kit, a small concrete mold set, and an all-purpose sealant bundle cost between $50–$150 and streamline initial purchases. These kits often include curated materials that match common DIY planter sizes and styles.
Product recommendations to drive purchases
Top picks to accelerate builds: a durable cordless drill (e.g., 18V brushless models), an exterior-grade screw assortment, a roll of landscape fabric (3×50 ft), and a high-quality potting mix for container gardens. For finishes, choose an exterior acrylic paint and a clear outdoor sealer for added protection. These items are commonly available at major retailers and online marketplaces.
For those seeking convenience, pre-mixed lightweight concrete and plastic planter molds reduce labor and produce consistent results. Consider purchasing planter liners for metal or wooden containers to protect roots and prolong material life. Expect to spend $100–$200 for a well-equipped starter set that supports multiple projects.
Include at least one purchase link per major product type to trusted retailers—this encourages conversions and simplifies sourcing. Always compare reviews and verify UV and frost resistance when buying outdoor-specific products.
Styling, maintenance, and advanced techniques with DIY planters
Designing for seasons and microclimates
Plan for seasonal variation: select frost-hardy plantings for exposed planters and use removable liners to overwinter delicate species indoors. Sun-exposed planters benefit from reflective finishes or lighter colors to reduce root-zone heat buildup. Conversely, dark finishes on shaded patios can add thermal gain when needed.
Group planters by watering needs to streamline care—drought-tolerant succulents together, moisture-loving herbs in another cluster. Automated drip irrigation systems scaled to planter size reduce water use by up to 30% compared to manual watering (source: Irrigation Association).
Consider mobility: add casters to heavy planters for repositioning, or design modular planter systems for seasonal rearrangement. This flexibility helps you respond to changing light and weather without rebuilding containers.
Maintenance routines and longevity tips
Routine maintenance extends planter life: inspect seals annually, reapply sealant every 1–3 years based on exposure, and refresh soil top dressing every 12–24 months. Clean containers between plantings to prevent disease; sanitize reused containers with a diluted bleach solution and rinse thoroughly to avoid chemical residue harming plants.
Monitor drainage and repot before plants become root-bound—root-bound conditions can reduce growth and increase drought stress. For winter care, lift planters off cold surfaces using feet or insulating pads to prevent frost damage propagating from below.
Small investments—quality liners, breathable potting mixes, and UV-stable paints—pay off by reducing replacements. Typical maintenance time per planter is 10–20 minutes per month for watering and inspection, scaling with the number of containers in your collection.
Advanced technique: self-watering and insulation systems
Integrate self-watering reservoirs or wick systems to improve drought resilience and reduce watering frequency by up to 50% depending on plant type. Create a reservoir below the soil with a barrier and fill tube, ensuring overflow holes to prevent waterlogging. These systems are ideal for vacationing gardeners or hot, sunny sites.
For frost-prone areas, add rigid foam insulation to exterior walls or use double-walled planters with an air gap to buffer temperature swings. Insulating materials must be moisture resistant and sealed to prevent mold. Such measures are particularly valuable for overwintering tender perennials or herbs.
Automation and insulation increase upfront complexity but deliver more stable root environments and lower long-term maintenance. Expect installation time of 1–3 hours for a single self-watering retrofit depending on planter size and materials.
Advantages of DIY planters:
- Cost savings: can reduce expenses by 40–60% vs. store-bought designs
- Customization: tailor size, drainage, and aesthetics to plants
- Sustainability: reuse materials and reduce waste
- Improved plant health: optimized soil depth and drainage
- Creative expression: unique finishes and combinations
- Scalability: build to any size or modular system
| Characteristic | Advantages | Limitations |
|---|---|---|
| Custom builds | Perfect fit and function | Time and skill required |
| Pre-made planters | Instant use, polished finish | Higher cost, less customization |
| Upcycled options | Low cost, eco-friendly | Variable durability |
Conclusion
DIY planters let you craft functional, stylish homes for plants while saving money and reducing environmental impact. From wooden boxes to concrete troughs and upcycled containers, choosing the right materials and construction method ensures healthier plants and longer-lasting planters. Use the step-by-step guidance, materials lists, and product suggestions provided to start building with confidence.
Whether you’re creating a single statement piece or outfitting a whole balcony, DIY planters offer flexibility, creativity, and measurable savings. Get started by selecting a project that matches your skills, gather the recommended tools, and enjoy the satisfaction of growing in containers you built yourself.
FAQ
What is DIY planters?
DIY planters are containers built or modified by individuals to grow plants, adapted to specific aesthetic, spatial, or horticultural needs. They range from simple upcycled pots to custom-built wooden boxes or cast concrete troughs, offering control over drainage, insulation, and size. DIY planters enable gardeners to save money, repurpose materials, and design solutions tailored to plant types and microclimates.
How does building a DIY planter work?
Building a DIY planter typically involves selecting materials, cutting and assembling structural elements, creating drainage, sealing or finishing surfaces, and filling with appropriate potting mix. The process starts with measurements and a plan, progresses through secure assembly and drainage installation, and ends with curing, finishing, and planting. Time and complexity depend on the chosen method and materials.
What is the difference between wooden and concrete DIY planters?
Wooden planters are lighter, easier to build, and provide warm aesthetics; they usually require sealing to resist moisture and may last 5–10 years. Concrete planters are heavier, extremely durable, and low-maintenance but require more labor, longer curing times (up to 28 days for full strength), and are harder to move. Choose wood for portability and concrete for permanence.
When should I use a self-watering DIY planter?
Use self-watering planters when you need consistent moisture for thirsty herbs, vegetable containers, or if you’ll be away for periods. They reduce watering frequency, stabilize moisture levels, and help prevent under- or over-watering. Avoid for plants that require fast-draining conditions like succulents unless the system is specifically adapted for lower moisture levels.
How much do DIY planters cost to build?
Costs vary widely: upcycled containers may be free to $20; small wooden boxes $25–$70; medium concrete planters $40–$150; and larger custom builds $150+. Additional tool purchases (e.g., drill, saw) add $50–$200 if not already owned. Factoring in sealants, soil, and liners, a complete medium planter project commonly totals $40–$120 depending on materials and finishes.


