


Warning: Cannot modify header information - headers already sent in /home/u278635817/domains/myhousegarden.com/public_html/wp-content/plugins/artigosgpt/artigosgpt.php on line 28454
Imagine stepping outside after a long winter to find your dream backyard marred by a cracked shell or a sagging coping line — a heart-sinking moment many pool owners face. inground pools promise summer bliss, but construction errors turn that promise into costly repairs.
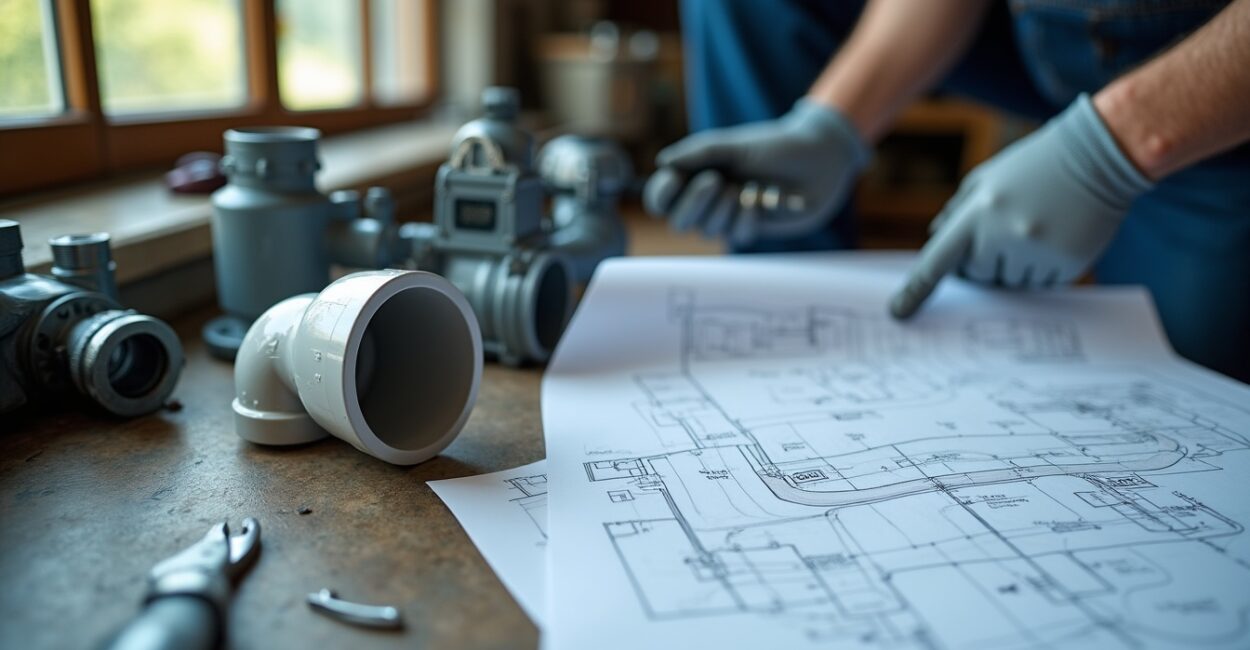
Inground pools are more than a hole in the ground: they combine structure, plumbing, concrete, and soil science. This article explains common failures like poor backfill, wrong piping, and bad concrete pours, and shows how to avoid them with clear, actionable guidance.
Read on to discover real-world examples, preventive maintenance, and inspection checkpoints so your inground pools deliver safe, lasting enjoyment rather than seasonal headaches.
Why inground pools fail: common root causes and warning signs
The most frequent failures stem from poor backfill, inadequate drainage, and incorrect shell installation. Soil settling, frost heave, and hydrostatic pressure exploit weak construction details.
Structural failures and shell cracks
Cracked concrete shells often follow winter freeze-thaw cycles, poor curing, or uneven compaction. These lead to visible fissures and water loss.
Look for hairline cracks, bulging walls, or soft spots in the surrounding deck. Early detection reduces repair scope and expense.
Plumbing, skimmers, and circulation issues
Wrong piping layout or cheap fittings cause leaks, poor turnover, and pressure loss. Incorrect slope or excessive bends reduce flow and increase wear.
Test circulation at startup and inspect visible lines. Persistent low flow often signals a hidden leak or misrouted pipe requiring pro attention.
Backfill and soil: the invisible culprit
Improper backfill is a silent destroyer of many inground pools, causing settlement, wall bowing, and tile failure within months or years.
Recommended backfill materials and compaction
Use clean, granular fill with staged compaction. Avoid organic soils, clay clumps, or native topsoil that hold moisture and compress over time.
Compact in 6–8 inch lifts and verify density. A geotechnical report and controlled compaction prevent long-term settling and structural distress.
Drainage and hydrostatic relief
Hydrostatic pressure pushes up on empty pools and cracks shells. Install relief valves, perimeter drains, and proper grade to divert groundwater.
Ensure yard grading slopes away from the pool and include a functioning sump or drain system to manage seasonal high water tables.
- Inspect soil type before installation.
- Require staged compaction and testing.
- Install perimeter drains and hydrostatic relief.
- Confirm final grading slopes away from pool.
Plumbing pitfalls: wrong piping, fittings, and flow problems
Poorly designed circulation piping reduces efficiency and causes chronic leaks—this directly undermines the longevity of inground pools.
Materials, pipe sizing, and flow design
Use appropriate PVC schedule and correctly sized lines for pump capacity. Undersized piping increases velocity and leak risk at joints.
Balance skimmer and main drain flow to maintain turnover. Include cleanouts and access points for easier troubleshooting.
Common installation mistakes to avoid
Avoid excessive bends, exposed joints, and glued connections near high-stress areas. Use vibration-resistant supports and flexible couplings as needed.
Pressure-test all lines before backfilling. A documented test prevents costly excavations to find hidden leaks after landscaping completion.
Concrete and finishes: the art of a correct pour
Bad concrete pours, poor curing, or rushed plastering cause delamination, cracks, and surface erosion — common failures in inground pools after winter or drought.
Proper mix, reinforcement, and curing
Design mixes for exposure to chlorinated water and freeze-thaw cycles. Reinforce with rebar and ensure uniform cover to prevent corrosion.
Cure concrete slowly and keep it moist for recommended times. Rapid drying leads to shrinkage cracks and weakened shell performance.
Surface finishes and tile adhesion
Poor plaster or tile bonding causes spalling and water intrusion behind finishes. Surface prep and correct bonding agents are essential.
Apply finishes in appropriate weather windows and follow manufacturer guidelines. Test adhesion and warranty coverage before acceptance.
- Remove unstable material and prepare substrate thoroughly.
- Mix and pour concrete per engineer specifications.
- Cure concrete slowly with moisture retention for days.
- Apply finish only after proper curing and humidity checks.
- Inspect tile and plaster adhesion; remediate immediately if any delamination appears.
Inspection checklist: pre-season and post-winter evaluation
Routine inspections catch small issues before they balloon into structural failures. A consistent checklist saves time, money, and heartache.
Visual and operational checks
Inspect coping, decking, shell, and visible plumbing for cracks or movement. Run the pump and check flow rates and filter pressure.
Listen for unusual pump noise and watch for steady pressure changes. Test for dye traces to find leaks around fittings and returns.
Professional inspections and testing
Schedule a structural and plumbing inspection every few years, and after major freezes or earthquakes. Use certified pool inspectors for thorough reports.
Record all findings and repairs in a maintenance log. This documentation strengthens resale value and insurance claims when needed.
- Check water level and visual shell integrity.
- Run the pump and monitor filter pressure.
- Look for bulging or tile separation.
- Call a pro for unexplained loss or structural change.
Real-life example: cracked shell after winter freeze and salvage steps
A homeowner discovered a gaping shell crack after a hard freeze. Poor backfill and missing hydrostatic relief amplified frost heave, destroying tile and coping.
Immediate containment and safety
Drain control, temporary bracing, and fencing kept the property safe. Turning off electrical and isolating pumps reduced hazards during assessment.
Always prioritize safety: secure the area, prevent children and pets access, and stop chemical circulation until repairs begin.
Repair path and long-term prevention
Engineers recommended partial excavation, rebar replacement, and a new concrete pour with improved drainage. The homeowner added a sump and upgraded backfill.
Post-repair, a monitoring schedule and annual inspections were implemented. Preventive measures resolved the root causes and restored pool longevity.
| Issue | Likely Cause | Immediate Action | Prevention |
|---|---|---|---|
| Cracked shell | Poor backfill, freeze-thaw | Shore up, inspect, stop circulation | Perimeter drains, compacted granular fill |
| Low flow | Undersized piping, leaks | Pressure test, inspect fittings | Correct piping design, access points |
| Tile failure | Poor adhesion, movement | Remove loose tile, dry and test | Proper prep, flexible grout, expansion joints |
Maintenance habits that protect your investment
Regular maintenance extends service life and prevents many common failures. Small, consistent habits pay off when it matters most.
Seasonal routines and chemical balance
Maintain proper pH and sanitizer levels to protect concrete and metal components. Balance prevents corrosion and surface degradation.
Winterize with care: lower water to recommended levels and protect plumbing against freeze with insulation or heat tracing where needed.
Record keeping and professional service
Keep invoices, inspection reports, and photos of the pool’s condition. This helps diagnose recurring issues and supports warranty or insurance claims.
Engage a trusted pool contractor for annual checkups and complex repairs. Their experience reduces risk and improves long-term enjoyment.
- Test water twice weekly during season.
- Document repairs and inspections.
- Schedule annual pro inspections and service.
Conclusion
inground pools give unforgettable summers, but construction and maintenance missteps turn them into expensive disappointments. Recognizing common errors—poor backfill, wrong piping, bad concrete pour—lets you act early and protect your backyard oasis.
Start with careful contractor selection, insist on proper backfill, plumbing tests, and curing practices, and maintain a disciplined inspection routine. With the right approach, your pool will reward you for years rather than demand unexpected fixes.
Frequently Asked Questions
How can I tell if my inground pool shell is cracking from freeze-thaw damage?
Look for hairline cracks, widened joints, buckling tile, or water level drops after winter. Inspect coping and surrounding deck for movement, listen for unusual water noises, and perform a dye test near suspected areas. Hire a structural pool inspector if cracks appear larger than hairline or if the shell shows bulging, as professional assessment prevents misdiagnosis and guides appropriate remediation steps.
What are the best practices for preventing backfill-related settlement around inground pools?
Specify clean, granular backfill with staged compaction and proof-rolling; avoid organic topsoil and clay. Require compaction testing, use drainage aggregates near critical zones, and install perimeter drains. Confirm grading slopes away from the pool and add geotextile where needed. These steps reduce settlement risk, improve load distribution, and protect pool finishes and coping from differential movement and long-term distress.
Which plumbing problems most commonly cause low circulation in inground pools?
Low flow is often due to undersized piping, excessive bends, partial blockages, or undetected leaks. Improper pump sizing and clogged filters also contribute. Pressure-test lines, inspect for visible leaks, and verify correct pipe diameters relative to pump specifications. A certified technician can diagnose balance issues, replace restrictive fittings, and optimize the layout to restore efficient turnover and reliable circulation.
How should concrete be poured and cured to avoid early cracking in inground pools?
Use a mix designed for pool exposures, include adequate reinforcement, and follow engineer specifications for thickness and cover. Cure concrete with moist curing methods for the recommended period and avoid rapid drying or extreme temperature swings during setting. Proper curing reduces shrinkage cracks and improves durability. Post-pour inspections ensure no premature finishing or chemical exposure compromises the shell integrity before finish application.
When should I call a professional versus attempting a DIY repair on my inground pool?
Call a professional for structural cracks, unexplained rapid water loss, plumbing pressure failures, or any issue involving shell stability or major concrete repair. DIY is reasonable for routine maintenance like minor plaster touch-ups, filter cleaning, and basic chemical balancing. For safety and warranty protection, complex structural, plumbing, or electrical problems require licensed contractors and engineers to ensure lasting, code-compliant repairs.
Sources: CDC Pool Safety, Pool & Hot Tub Alliance.


