


The ZZ plant quietly transforms dull corners into calm, cleaner havens — resilient, glossy, and surprisingly effective at improving indoor air. If you want simple, proven tips for healthier home air, the ZZ plant is a smart, low-effort ally.
Compact flats often suffer from stale, polluted air and limited light. This guide shows easy ZZ plant care that reduces pollutants, fits tiny spaces, and requires almost no fuss — perfect for busy lives and plant-curious beginners.
Read on to discover practical watering routines, light hacks, pest prevention, and quick troubleshooting so your ZZ plant thrives while purifying your room.
Why choose a ZZ plant for indoor air and small spaces
Hardy nature and air-cleaning benefits
ZZ plant leaves are thick and glossy, enabling steady transpiration and some pollutant removal. They’re known for tolerance to neglect and low light.
In small flats, a ZZ plant’s compact footprint and air-improving traits make it an efficient choice for healthier, calmer interiors with minimal maintenance.
Ideal for busy or novice plant owners
The ZZ plant survives irregular watering, low humidity, and short daylight hours — perfect for hectic schedules or first-time plant keepers seeking wins.
Its slow growth and durable stems mean fewer repots and less pruning, freeing time while still giving the psychological benefits of greenery.
Light and placement: optimal spots for the ZZ plant
Understanding light needs
ZZ plant tolerates low to bright indirect light, avoiding direct harsh sunlight that can scorch foliage. Aim for bright, filtered light when possible.
Rotate the pot monthly so leaves receive even exposure. Too little light slows growth; too much causes yellowing and brown edges.
Practical placement tips
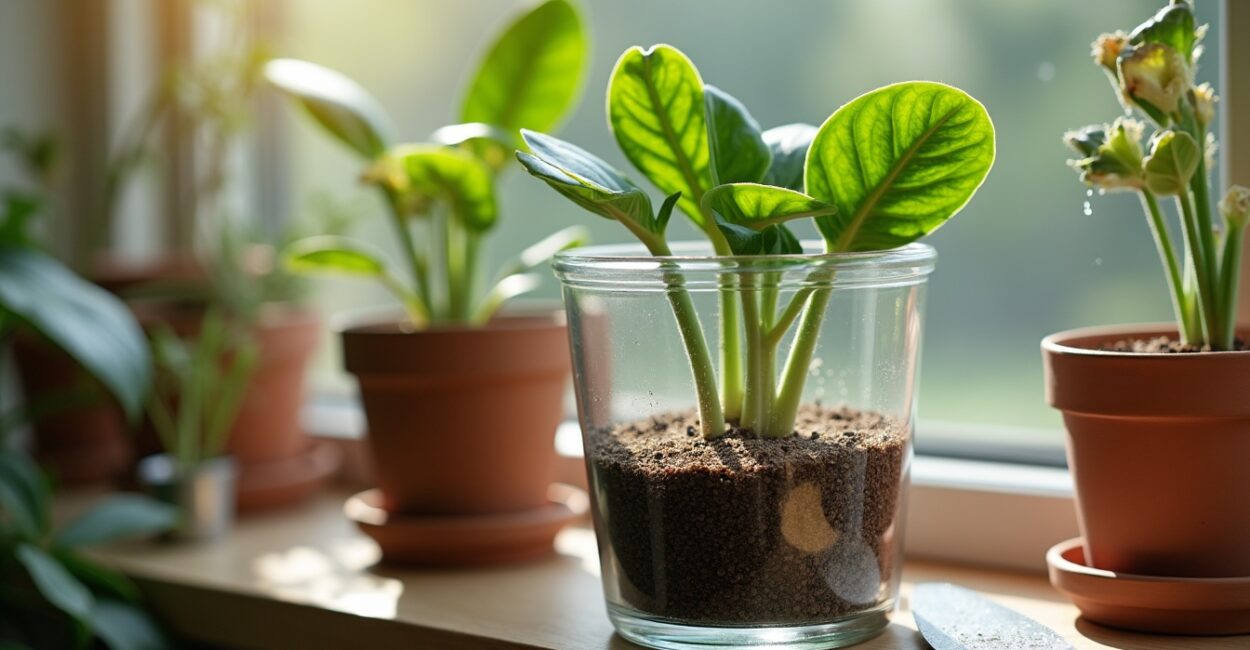
Place near north or east-facing windows, or in bright corners with sheer curtains. ZZ plants suit desks, shelves, or bathroom counters with window light.
Keep away from vents and drafts. A small saucer under the pot guards furniture from occasional watering drips and helps humidity slightly.
- Choose filtered light over direct sun.
- Rotate the plant gently every few weeks.
- Avoid cold drafts and hot radiators.
Watering and soil: simple routines that prevent root rot
How often to water
Water sparingly: let the top 2–3 inches of soil dry before watering again. Overwatering is the most common cause of ZZ plant decline.
Use a finger test or moisture meter for accuracy. In winter, reduce watering frequency to prevent soggy roots and fungal issues.
Best soil and drainage
Use a well-draining potting mix with perlite or coarse sand. A pot with drainage holes is essential to avoid stagnant water at roots.
Repot only every 2–3 years or when crowded; ZZ plants prefer slight root confinement and bloom when slightly snug in their pots.
Feeding, pruning, and propagation for long-term health
Fertilizing without fuss
Feed lightly during spring and summer with a balanced, diluted houseplant fertilizer once every 6–8 weeks. Skip feeding in dormancy months.
Over-fertilizing causes salt build-up and leaf damage. Flush soil with plain water occasionally to remove residues and keep roots healthy.
Pruning and propagating the ZZ plant
Trim yellow or damaged leaves at the base to maintain appearance. Cut back leggy stems to encourage bushier growth and new shoots.
Propagate via division or leaf cuttings. Dividing rhizomes during repotting is fastest, while leaf propagation requires patience but yields new plants.
- Remove yellow leaves promptly.
- Divide rhizomes every few years if crowded.
- Use clean tools to prevent disease spread.
| Issue | Likely Cause | Quick Fix |
|---|---|---|
| Yellowing leaves | Overwatering or poor drainage | Reduce watering, repot in well-draining mix |
| Brown leaf tips | Low humidity or salts | Wipe leaves, flush soil, mist occasionally |
| Slow growth | Insufficient light or nutrients | Move to brighter spot, feed lightly in spring |

Pest control and common problems
Identifying pests early
Check for scale, mealybugs, or spider mites by inspecting leaf undersides and stems. Early detection prevents infestations and stress.
Wipe leaves weekly with a damp cloth. Sticky residue or cottony clusters signal trouble; act quickly to avoid spread to other houseplants.
Safe treatments and prevention
Use insecticidal soap or neem oil for small infestations, applying in the evening and repeating weekly until cleared. Avoid harsh pesticides indoors.
Quarantine new plants for two weeks and maintain cleanliness. Proper light, ventilation, and watering reduce pest attractants significantly.
- Isolate the plant to prevent spread.
- Remove visible pests with a soft cloth.
- Apply insecticidal soap thoroughly.
- Repeat treatment weekly until resolved.
- Monitor neighboring plants closely.
Design ideas: styling the ZZ plant in small interiors
Layering and placement for impact
Pair a ZZ plant with textured pots and layered lighting to create depth in compact living rooms or bedrooms. Height contrast enhances the visual effect.
Combine with reflective surfaces or mirrors to amplify greenery and perceived space. Choose pots that complement your decor while ensuring drainage.
Wellness and emotional benefits
ZZ plants reduce visual clutter and create calming focal points. Studies link indoor plants to reduced stress and improved mood in small apartments.
Caring for a ZZ plant provides routine and small accomplishments, boosting wellbeing. Its forgiving nature helps sustain the therapeutic relationship with greenery.
- Use slender stands to raise plants off floors.
- Choose decorative pots with drainage liners.
- Group with other low-light plants for variety.
Troubleshooting: quick fixes for common ZZ plant issues
Leaves turning yellow or mushy
Yellow or mushy leaves usually mean overwatering. Remove affected leaves, assess drainage, and let soil dry thoroughly before watering again.
If roots smell foul, repot after trimming rotten roots in sterile conditions. Adjust watering schedule to match your home’s conditions.
Slow growth or pale leaves
Pale leaves suggest insufficient light or nutrients. Move closer to indirect light and feed lightly during active growth months to revive vibrancy.
Be patient: ZZ plants grow slowly. Small improvements in light, feeding, and humidity often restore steady growth within months.
Conclusion
The ZZ plant is a compassionate, efficient partner for small flats — low-maintenance, air-helping, and emotionally rewarding. With simple care, it improves indoor air and brightens daily life.
Return to the watering tips, light placement, and troubleshooting steps above when needed. Your ZZ plant will repay your attention with steady beauty and cleaner, calmer air.
Frequently Asked Questions
How often should I water my ZZ plant to avoid root rot?
Water your ZZ plant sparingly: allow the top 2–3 inches of soil to dry between waterings. In general, water every 2–3 weeks in active months and reduce to monthly in winter. Ensure the pot has drainage holes and avoid letting the plant sit in standing water to prevent root rot and fungal issues.
Can ZZ plants improve indoor air quality in small apartments?
Yes, ZZ plants contribute to healthier indoor air by steady transpiration and modest removal of some VOCs. While not a full air purifier, their resilience and continuous leaf surface area make them effective in compact flats, especially combined with ventilation and reduced pollutant sources.
Are ZZ plants safe around pets and children?
ZZ plants contain calcium oxalate crystals and are mildly toxic if ingested, causing irritation to mouth and stomach. Keep plants out of reach of curious pets and children, and wash hands after handling. For households with high risk, consider pet-safe plant alternatives instead.
What is the best soil mix for long-term ZZ plant health?
Use a well-draining mix combining quality potting soil with perlite or coarse sand. A cactus or succulent blend works well. Good drainage prevents root saturation, supports aerobic roots, and reduces the risk of overwatering-related decline.
How should I propagate my ZZ plant to make new plants?
Propagate by dividing rhizomes during repotting or using leaf cuttings. Division is faster: separate clumps with rhizomes and repot. Leaf cuttings take longer but yield new shoots; place leaves atop moist soil and be patient as roots and shoots form.
Sources: Royal Horticultural Society, NASA Clean Air Study.