


Warning: Cannot modify header information - headers already sent in /home/u278635817/domains/myhousegarden.com/public_html/wp-content/plugins/artigosgpt/artigosgpt.php on line 28454
Have you ever repainted a room expecting a fresh, lasting finish only to watch the trim take on a dull, yellow cast? Satin paint can look immaculate at first but may yellow unexpectedly, turning crisp kitchen trim into an eyesore within months.
Understanding why satin paint yellowing happens—especially on kitchen trim repainted and discolored within 18 months—helps homeowners protect value and beauty. This article explains causes, tests, prevention, and fixes for satin paint yellowing.
Read on to learn actionable steps, professional tips, and when to call a pro so your satin paint stays true, bright, and worry-free.
Why satin paint can yellow: the unseen chemistry
Satin paint often contains alkyd or oil-modified binders that can oxidize and amber over time, causing satin paint yellowing on trim and walls. Heat, smoke, and cooking vapors accelerate this reaction.
Binder types and their risks
Oil-based and alkyd binders dry by oxidation, which can create yellowing. Waterborne enamels resist yellowing but may behave differently on trim surfaces.
Manufacturers blend resins, additives, and pigments that influence durability, gloss, and color stability under household conditions.
Environmental factors that speed yellowing
Heat, humidity, grease, and nicotine deposit residues that react with paint surfaces. Kitchens are high-risk zones for satin paint yellowing.
UV exposure sometimes helps but often unevenly affects trim, leaving other coated areas intact while trim yellows faster.
How to spot early satin paint yellowing
Early detection of satin paint yellowing saves time and expense—look for warmth in the white, loss of brightness, or a patchy amber cast on trim or cabinets.
Visual clues to watch for
Inspect corners, door frames, and areas near light fixtures. Compare with adjacent unpainted wood or baseboards for contrast.
Use a white cloth to wipe; if residue transfers, contaminants may be causing apparent yellowing rather than the paint itself.
Simple home tests
Rinse a small area with mild detergent; persistent yellowing suggests chemical change in paint. Test with a UV flashlight to reveal surface deposits.
Document with photos monthly—subtle yellowing is easier to track after comparing images over time.
- Check trim within 6, 12, and 18 months post-painting.
- Compare painted trim to door jambs and baseboards.
- Note areas near stoves, vents, and light fixtures.
Real homeowner warning: a kitchen trim case
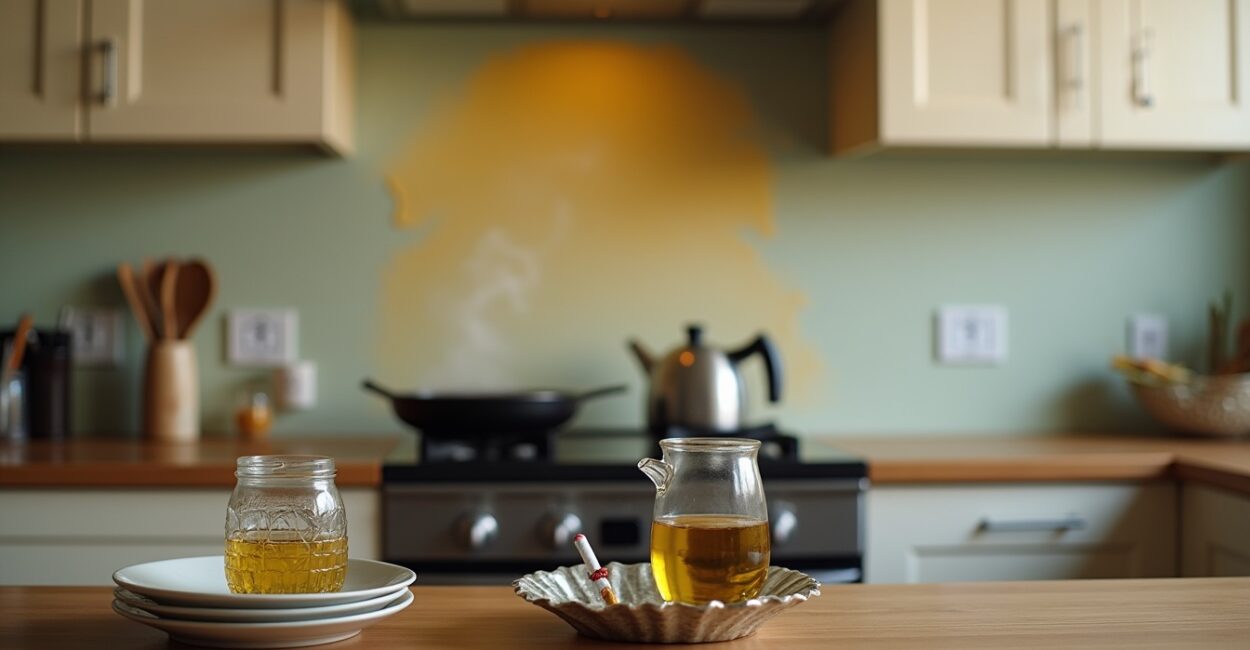
A homeowner repainted kitchen trim with satin paint and noticed discoloration within 18 months—an abrupt, uneven yellowing concentrated near the stove and vent hood.
What likely happened
Cooking grease and heat likely accelerated oxidation and deposited films that yellowed the satin finish. Poor ventilation increased exposure.
Trim priming and choice of paint sheen also affected adhesion and susceptibility to staining and ambering.
Lessons learned for other homeowners
Prioritize ventilating kitchens, use waterborne alkyds or acrylics for trim, and select paints advertised as non-yellowing for high-heat zones.
Document finishes and keep paint cans for touch-ups; consider professional-grade products for trim near heat sources.
Prevention strategies that actually work
Preventing satin paint yellowing involves choosing non-yellowing formulations, proper priming, and reducing exposure to heat, grease, and poor ventilation.
Preparation and product choices
Use stain-blocking primers and waterborne alkyd or high-quality acrylic enamels labeled non-yellowing. Proper drying and curing are essential.
Avoid oil-based alkyds on kitchen trim; if used, expect higher yellowing risk and plan for more frequent maintenance.
Daily habits to reduce yellowing
Improve ventilation with range hoods, clean surfaces to remove grease, and avoid placing heat sources close to painted trim.
Regular gentle cleaning prevents build-up that can discolour satin paint over time.
| Solution | Why it helps | When to use |
|---|---|---|
| Waterborne alkyd satin | Combines durability with lower yellowing | High-traffic trim and kitchens |
| Stain-blocking primer | Seals stains and prevents oxidation effects | Over bare wood or repaired trim |
| Improved ventilation | Reduces grease and heat exposure | Active cooking areas |
- Clean the surface thoroughly and let dry.
- Sand lightly and apply a stain-blocking primer.
- Choose a non-yellowing waterborne satin paint.
- Apply thin, even coats and allow full cure time.
- Maintain ventilation during and after painting.
How to fix satin paint that already yellowed
Restoring yellowed satin paint depends on cause—cleaning may remove surface deposits; otherwise, sanding and repainting with non-yellowing products is necessary.
Cleaning and testing first
Try mild degreaser and a soft cloth; if yellowing reduces, ongoing cleaning may suffice. Avoid harsh abrasives that damage finish.
Perform a small test: clean, then recoat a discreet area to compare results before full refinishing.
Refinishing steps for severe yellowing
Strip or sand affected trim to bare substrate, prime with stain-blocking primer, and repaint with a quality non-yellowing satin paint.
Consider professional spraying for uniform finish, especially on intricate profiles and cabinetry.
- Remove grease and residues with a degreaser first.
- Sand to remove oxidized layers if cleaning fails.
- Prime and repaint with non-yellowing waterborne satin.
Choosing the right product and pro help
Select paints from reputable brands that explicitly state non-yellowing properties; consult professionals for trim near heat sources or in older homes with nicotine stains.
What to look for on labels
Look for “non-yellowing,” “waterborne alkyd,” or “acrylic enamel” and check manufacturer tech sheets for lightfastness and VOC info.
Compare warranties and read user reviews focusing on kitchens and trim longevity for real-world performance.
When to call a professional
Hire a pro if yellowing is extensive, if trim detail is complex, or if you need color-matching and spray application for seamless results.
Professionals can recommend primers and paints and control environmental factors during application for best outcomes.
- Request product data sheets and ask about non-yellowing guarantees.
- Get a professional assessment for stubborn or widespread discoloration.
- Prioritize ventilation and surface prep in any quote or plan.
Conclusion
Satin paint yellowing is a frustrating but manageable problem—especially when kitchen trim discolors within 18 months. With the right products, prep, and ventilation, you can prevent ambering and preserve the original finish.
Act early: test, clean, and if necessary refinish using non-yellowing waterborne options. That fresh satin look you fell in love with can and should last.
FAQ
What causes satin paint to yellow so quickly in kitchens?
Kitchen satin paint often yellows due to oil-based binders oxidizing, combined with heat, grease, and cooking vapors accelerating discoloration. Poor ventilation traps fumes and particles that deposit on painted trim, making even newer satin finishes show yellowing within months despite normal cleaning routines.
Can yellowing be cleaned off satin paint without repainting?
Sometimes surface yellowing caused by grease or smoke can be reduced with mild degreasers and careful cleaning. If the yellowing is chemical oxidation of the binder, cleaning won’t restore whiteness and sanding plus repainting with a non-yellowing product is usually required.
Which paint types are least likely to yellow on trim?
High-quality waterborne alkyds and acrylic enamels marketed as non-yellowing resist ambering best on trim. They combine durability and color stability, making them preferable for kitchens and areas with heat exposure compared to traditional oil-based alkyds.
How should I prime trim before using satin paint to avoid yellowing?
Apply a stain-blocking, high-adhesion primer appropriate for your substrate to seal resins and stains. This creates a stable base that reduces binder interaction and prevents bleed-through, improving color retention and reducing the risk of satin paint yellowing over time.
When is it worth hiring a professional to fix yellowed trim?
Hire a professional when yellowing is extensive, if the trim has intricate profiles requiring spraying, or when color-matching and guarantees are important. Pros control prep, application, and environmental factors, often delivering a longer-lasting, uniform finish than DIY repairs.
External references: EPA Indoor Air Quality, Sherwin-Williams.


