
DIY Garden Edging on a Budget: Clean Lines for Less
How to install durable, budget-friendly garden edging using materials matched to your soil and climate, with tips on trenching, leveling, and drainage for la…
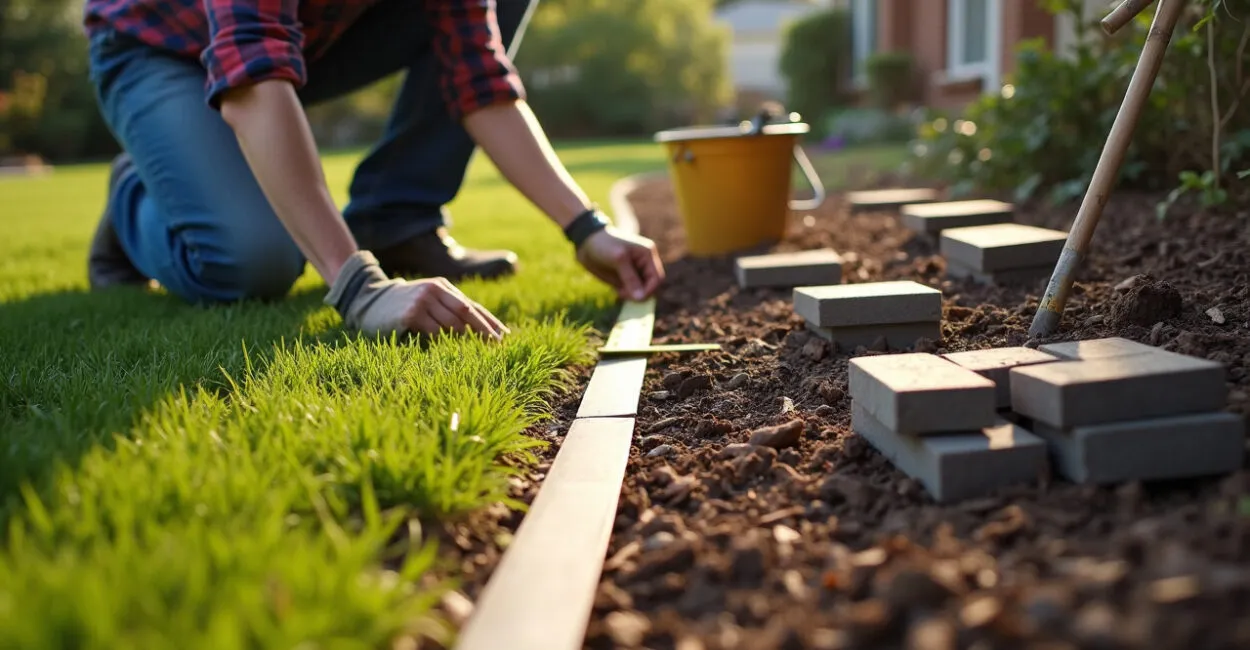 Homeowner measures a curved garden bed border
Clean edging does more than make a yard look neat. It keeps mulch where it belongs, stops grass from creeping into beds, and gives a landscape the finished edge that people usually assume costs more than it does. With a smart plan, DIY garden edging on a budget can be done with basic tools, affordable materials, and a weekend’s worth of work.
The trick is not chasing the fanciest material. It is choosing an edge that matches your soil, your climate, and how much abuse the border will take from mowers, rain, and foot traffic. Below, you’ll find practical materials, installation steps, and the trade-offs that matter in real yards—not just in polished project photos.
What You Need to Know
- Good edging is a boundary system, not just a decorative strip; it holds mulch, defines beds, and reduces maintenance.
- Cheap materials can work well, but durability depends more on installation depth and drainage than on price alone.
- Landscape steel, pavers, brick, wood, and recycled plastic all solve different problems, so the “best” choice depends on your yard’s conditions.
- A shallow trench, a level line, and compacted backfill prevent most edging failures before they start.
- The lowest-cost option is not always the cheapest over time if it warps, heaves, or breaks after one season.
DIY Garden Edging on a Budget: The Materials That Actually Hold Up
In technical terms, garden edging is a physical separator installed along the perimeter of a planting bed to control material movement, protect root zones, and create a visual line. In plain English, it keeps the bed from turning into a mess. The best budget choice is the one that survives your soil and weather without constant repairs.
For most homeowners, the realistic contenders are wood, brick, concrete pavers, recycled plastic, steel or aluminum edging, and natural stone. Each has a different cost curve. Wood is cheap upfront but can rot. Plastic is easy to install but can look flimsy in bright sun. Steel edging costs more, yet it stays crisp and nearly disappears visually, which is why many pros like it for clean lines.
When I see edging fail, it is usually not because the material was “bad.” It is because the installer skipped the prep. A two-inch trench that is not compacted will let almost anything lean or pop out. Soil movement is the real enemy.
Budget edging works when the material matches the load and the install depth matches the soil; it fails when either one is guessed instead of measured.
Best Low-Cost Materials by Use Case
- Wood: Best for temporary beds, vegetable gardens, or rustic layouts where you accept a shorter lifespan.
- Brick or pavers: Best for formal borders and curved edges, especially if you already have leftovers from another project.
- Recycled plastic: Best for easy installation and gentle curves, but it needs proper staking.
- Steel edging: Best for a sharp, long-lasting line along lawns and pathways.
How to Choose an Edge That Fits Your Yard, Not Just Your Pinterest Board
The cheapest material on the shelf can become expensive if it fights your site conditions. Heavy clay pushes edges out of line. Sandy soil drains well but may not hold stakes. Frost heave changes everything in cold climates because water expands as it freezes and lifts shallow installations. That is why location matters more than trend.
Use three questions before buying anything: Do you want a hard edge or a soft one? Will a mower ride against it? Do you need a straight line or a curve? A mower-friendly border calls for low-profile materials, while a planting bed away from turf can use more decorative options.
Match the Material to the Job
Material
Upfront Cost
Durability
Best For
Wood
Low
Low to medium
Temporary beds, raised borders
Brick / Pavers
Low to medium
High
Formal edges, reused materials
Plastic
Low
Medium
Fast installs, curved layouts
Steel / Aluminum
Medium
High
Clean modern lines, lawn borders
If you want a long-term result with minimal visual clutter, steel is the strongest budget-to-performance pick. If your priority is reusing what you already have, brick or pavers usually win. That is where DIY garden edging on a budget becomes a design decision instead of a thrift exercise.
The most expensive edging is the one you install twice.
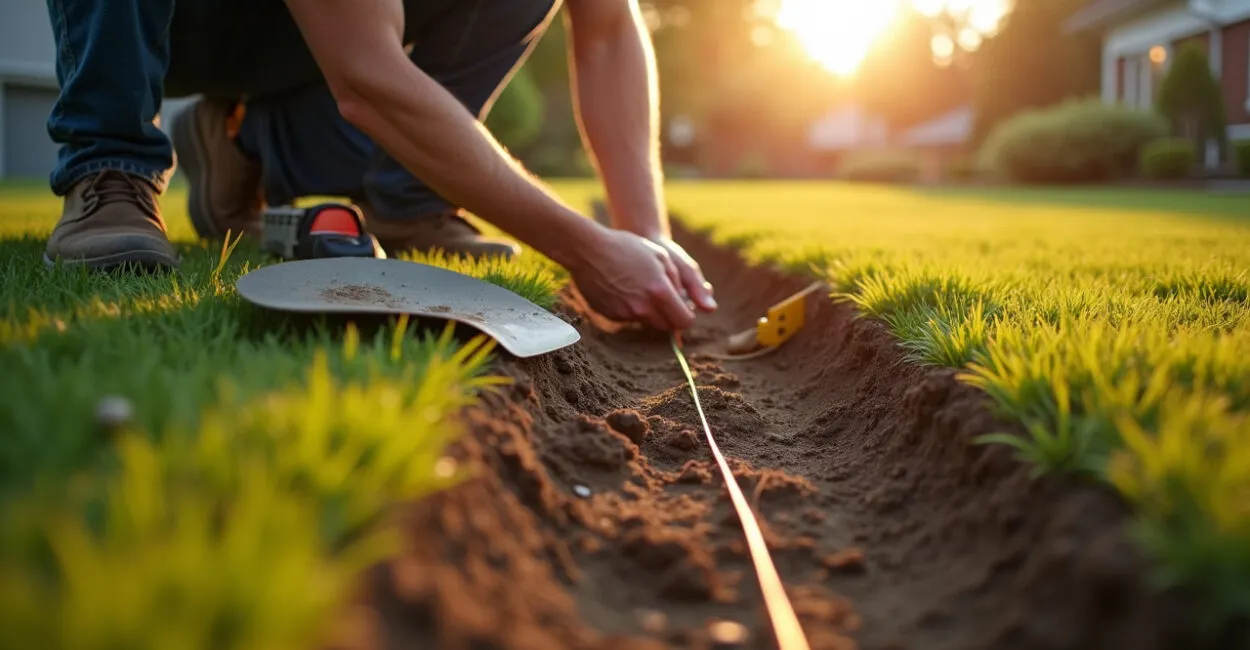
Tools, Layout, and Prep That Save More Money Than the Edging Itself
Good prep does two jobs at once: it makes the install easier and extends the life of the border. You do not need a trenching machine for a small bed. A flat spade, shovel, hand tamper, tape measure, line level, stakes, string, and a rubber mallet cover most projects.
The layout phase matters because edging telegraphs every mistake. If the line wanders, the bed will look crooked even with premium materials. If the curve is too tight for the material, you will fight every piece during installation. That is why people who do this often snap a string line before they dig.
Prep Steps That Prevent Rework
- Mark the bed line with a hose or string.
- Remove sod and roots along the border.
- Dig a shallow trench wide enough for the edging and stakes.
- Level the bottom and compact it.
- Set the edging, check height, and backfill in layers.
The USDA’s Natural Resources Conservation Service has long emphasized how soil structure and drainage affect stability in outdoor installations. That principle applies here: loose, wet, or highly compacted soil changes how well edging stays put.
Step-by-Step Installation for Straight Beds and Curves
Start with the longest visible section first. Straight runs are easier to keep level, and they reveal whether your trench depth is consistent. Set the first piece, then move outward in short sections so the line does not drift. For curves, short segments or flexible edging work better than forcing rigid material into a shape it resists.
Read also: Landscape Lighting: How to Increase Your Homes Value in 3 Days — Step-by-Step
If you are using brick or pavers, seat each piece into a shallow bed of sand or leveled soil and tap it down until it sits firm. For steel or aluminum, bury enough of the profile so only the visible lip remains above grade. Plastic edging usually needs stakes at regular intervals; skip the stakes and the edge will buckle after the first hard rain.
A Small Example from a Real Front Bed
A narrow front bed beside a driveway had a constant problem: mulch washed onto the pavement after storms. The owner tried landscape fabric, then added more mulch, and neither solved it. The fix was a 3-inch steel edging strip set a little below grade with compacted backfill. The line stayed sharp, the mulch stopped migrating, and the driveway looked cleaner without adding more material.
Read also: Shade Gardens for Low-Maintenance Yards on the Rise Now
That kind of result is common when the edge addresses the movement problem instead of hiding it. The National Association of Landscape Professionals notes that strong landscape details reduce maintenance pressure over time; edging is one of the cheapest places to get that benefit. See more at the National Association of Landscape Professionals.
Budget Mistakes That Make Cheap Edging Look Cheap
Cheap does not have to look cheap. What usually creates that look is uneven height, exposed stakes, visible gaps, or a border that has already started to lean. The eye catches inconsistency faster than material quality, which is why finishing details matter more than many people expect.
One common mistake is buying edging before measuring the curve. Another is ignoring transitions where a bed meets a walkway, tree ring, or corner. Those spots need extra care because they collect stress. If the border starts and stops awkwardly, the whole landscape feels unfinished.
Common Errors to Avoid
- Setting the edge too high, which exposes stakes and makes mowing harder.
- Skipping compaction, which lets the border sink or tilt.
- Choosing a material that cannot handle your climate.
- Using one long rigid piece on a tight curve.
- Leaving gaps where mulch, grass, or weeds can creep through.
The University of Minnesota Extension offers practical guidance on yard and soil management that aligns with this: stable borders depend on site prep, not only on product choice. See University of Minnesota Extension for soil and landscaping basics that help with outdoor projects.
In garden edging, the visible finish matters, but the buried support is what determines whether the line still looks good next season.
How to Keep the Border Looking Clean Without Spending More
Once the edging is in, maintenance should be light. Trim grass along the edge before it starts to overgrow the border. Add mulch in moderate layers instead of piling it against the edging. If you use a mower, keep the wheel path consistent so the border is not hit at a different angle every week.
Every season, walk the line after heavy rain or frost. Check for lifted sections, loose stakes, or soil washout. A five-minute reset now can keep a small issue from becoming a full rebuild later. That is the advantage of choosing a simple system you can actually maintain.
Low-Cost Maintenance Routine
- Re-seat any loose sections before they shift further.
- Top off eroded areas with compacted soil or sand.
- Trim grass from the bed edge before it roots across the line.
- Replace damaged stakes before the border starts to lean.
What to Buy First If You Want the Best Return for the Money
If the goal is a strong visual payoff with limited cash, start with one high-visibility bed and one material that suits the site. You do not need to edge the entire yard at once. A front-facing border, driveway edge, or patio bed usually gives the biggest return because it changes the way the property reads from the street.
My take is straightforward: buy the material that matches the worst condition on your property, not the prettiest one. If your soil moves a lot, prioritize flexibility and staking. If your lawn border gets hit by equipment, prioritize a tougher profile. That is the difference between an affordable project and a repeat project.
For broader landscaping standards and homeowner guidance, the EPA’s outdoor water-use guidance is also useful because edge design affects how mulch, watering, and runoff behave around beds. A border that contains mulch well often reduces cleanup and wasted watering.
Próximos Passos
The smartest budget move is to treat edging like infrastructure, not decoration. Measure the line, choose the material for your soil, and install it deep enough to survive weather and mowing. If you do those three things well, even a modest border can make a yard look finished.
Pick one bed, gather the tools, and test the method on a short run before committing to the whole yard. That single trial will tell you more than a dozen inspiration photos. Then build the rest with the same line, the same depth, and the same stakes.
📱 See this content as a Web Story
Perguntas Frequentes
What is the Cheapest Garden Edging That Still Looks Decent?
Brick, reclaimed pavers, and recycled plastic are usually the lowest-cost options that can still look clean when installed well. The real difference comes from how straight the line is and how neatly the pieces sit at grade. Cheap materials look far better when the border is compacted, level, and matched to the shape of the bed. If you already have leftovers from another project, reuse often beats buying new.
Is Wood Edging Worth It for a Budget Project?
Yes, but mostly for temporary or low-stress borders. Wood is easy to cut and install, which makes it attractive for beginners, vegetable beds, or rustic designs. The trade-off is lifespan: untreated wood can rot, and even treated lumber eventually weathers. It works best when you accept that it is a practical fix rather than a permanent one.
How Deep Should Garden Edging Be Installed?
Depth depends on the material, but most borders need enough embedment to resist movement from rain, frost, and mowing. A shallow edge that only sits on the surface tends to shift or lean. For many projects, burying part of the profile and compacting the backfill is more important than exact depth alone. The goal is stability, not just appearance.
Can I Install Edging Without Special Tools?
Yes. A shovel, flat spade, hand tamper, mallet, stakes, string, and level are enough for most budget installs. Special tools speed things up, but they are not required for a small or medium bed. The bigger factor is careful layout. If the line is marked well and the trench is consistent, the job stays manageable with basic equipment.
What Kind of Edging Holds Up Best in Freezing Weather?
Steel edging, deeply set brick, and properly compacted pavers tend to hold up well in freeze-thaw cycles. Plastic can work too, but only if it is flexible enough and well staked. The main risk in cold climates is frost heave, which lifts anything installed too shallowly. If winters are harsh, prioritize depth and drainage over price alone.