

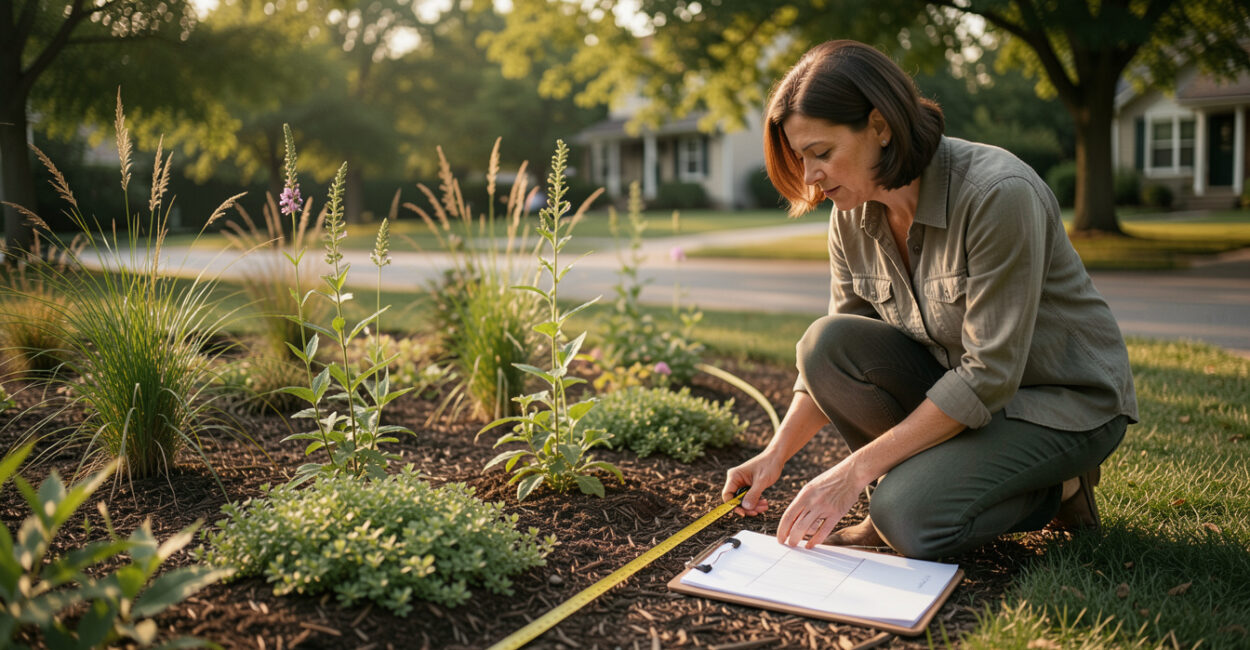
A front-yard bed can look crowded before its plants reach half their mature size. Native plant spacing works best when you plan around each plant’s expected mature width, then decide how much open space you’re willing to see while the garden fills in. That gives roots and foliage room to grow without leaving you with a bed that feels bare for years.
There is no single spacing distance for all native plants. A compact sedge, a spreading groundcover, and a tall perennial need different amounts of room, even if they come in identical nursery pots. The steps below help you map a small bed with those differences in mind.
Quick Planning Notes
- Spacing reference: Mature width, also called mature spread
- Measurements to gather: Bed length, depth, and plant width
- Planning tool: Graph paper or a simple scaled sketch
- Dense planting trade-off: Faster visual coverage, with more competition and pruning
- Key site factors: Sun, soil moisture, drainage, and access for maintenance
Native Plant Spacing Starts with Mature Width
Space native plants according to their expected mature width, not the size of the nursery pot. For a straightforward layout, place plants about one mature width apart from center to center; reduce that distance for a quicker, denser look, or increase it where airflow, access, or a plant’s natural form calls for more room. Check the plant label and regional references because spread varies by species and site.
Mature width is the approximate horizontal space a plant occupies when established under suitable growing conditions. In everyday terms, it is the distance you should plan between plant centers if you want neighboring foliage to meet near maturity. A four-inch pot may eventually hold a plant two feet wide, while a larger pot may belong to a naturally compact species.
Use the width listed for the species and, when available, the cultivar you are planting. The USDA PLANTS Database can help confirm plant names and distribution, while regional extension resources can add growing information suited to local conditions.
Plant-center spacing is a decision about the garden’s mature shape, not the size of its containers on planting day.
Measure and Sketch the Front-Yard Bed
Start with the bed’s actual boundaries. Measure its length and depth, note curves, downspouts, utility boxes, paths, and places where people need to reach for weeding or pruning. A shallow bed beside a walkway has different layout limits from a deep island bed, even if both have the same total area.
- Draw the bed to scale on graph paper. For example, assign one square to six inches or one foot, then use that scale consistently.
- Mark fixed features, including the house, path edges, mature trees, and any spots that stay wet or dry.
- Sketch plant centers as circles sized to their mature spread. Keep the outline simple at first; you can refine groupings after checking fit.
For a small native garden layout, it helps to sketch from the street-facing edge inward. Leave a usable strip beside paths and foundations, then check that the back of the bed remains reachable. A plant that eventually leans over a narrow walkway can become a recurring maintenance problem.
If the bed’s purpose is pollinator habitat, spacing is one part of the plan. A native pollinator garden plan can help you coordinate the bed layout with bloom timing and plant groupings.

Choose a Spacing Approach for the Look You Want
Spacing choices shape both the time it takes for a bed to fill and the work required to keep it healthy. A wider layout shows more mulch or soil at first, but gives plants room to reach their expected size. Closer spacing can soften that open look sooner, though plants may compete more as they mature.
Read also: Native Groundcovers for Small Yards: 6 Easy Options
Complete guide: Native Plants for Small Yards: A Low-Maintenance Guide to Front Yard Plants
| Layout approach | Plant-center spacing | What to expect |
|---|---|---|
| Room to mature | About one mature width apart | More open early on; less overlap at maturity |
| Moderately full | About three-quarters of mature width | Foliage may meet sooner; monitor competition |
| Dense, quick coverage | About one-half of mature width | Faster coverage; may require thinning or more maintenance |
These are planning starting points, not fixed horticultural standards. A spreading groundcover may knit together at closer spacing, while a clumping plant can become cramped when pushed together. A common pollinator-garden planning mistake is to focus on immediate bloom or coverage without accounting for how plants will expand.
A bed looks full sooner when plants overlap early, but that choice can mean more thinning and less airflow later.
Calculate Spacing from Mature Spread
For a basic plant spacing calculator, use this formula: center-to-center spacing = the average of the two plants’ mature widths. If both neighboring plants are expected to spread 24 inches, start with centers about 24 inches apart. If one is 18 inches wide and the other is 30 inches wide, start around 24 inches between centers.
This method gives each plant room to approach its expected footprint. For a denser arrangement, multiply that result by about 0.75; for a more open layout, increase it. Treat those adjustments as design choices, then verify that they suit the plants’ growth habits and the conditions in your bed.
For a bed with several plants, draw each mature circle on the sketch. Circles that overlap heavily flag potential crowding; large gaps show where you may want another plant or a different grouping. The circle represents an estimate, not a guarantee: shade, moisture, soil, and competition can all change a plant’s final spread.
Arrange Plants in Layers for a Natural Layout
Place taller plants toward the back of a bed viewed from one side, or near the center of an island bed. Put shorter plants and groundcovers near the front, where they can soften the edge without hiding the plants behind them. For a cohesive look, repeat a few species in small groups rather than distributing every plant as a single specimen.
Build the layout around mature height and width together. A tall plant with a broad base can occupy more visual space than its height suggests. Keep enough distance between a large clump and the bed edge so foliage does not spill into paths before you want it to.
Bloom sequence can also influence where groups go. If seasonal color matters, a guide to native plant borders with blooms across the season can help you plan the planting pattern alongside spacing.
Test the Plan Before Planting
Set the nursery pots on the ground in their proposed positions before digging. View the arrangement from the street, the front door, and the nearest path. This quick test often reveals an awkward gap or an oversized plant near a walkway that is hard to judge on paper.
Use the pot as a temporary marker, not as a guide to the plant’s eventual footprint. If a plant’s label gives a range, mark the larger end of that range when clearance matters, such as beside a path or foundation. Then move the pots until the composition works at both the current scale and the estimated mature scale.
For a small bed, a cardboard circle or string loop cut to the listed spread makes a useful field check. Set it around each pot to see how mature foliage may meet nearby plants. This catches a common mistake: measuring from pot edge to pot edge instead of from plant center to plant center.
Adjust for Maintenance and Site Conditions
Expected mature spread depends on growing conditions. A plant in richer, consistently moist soil may grow larger than the same species in a dry, exposed spot; shade can also change its form. The National Park Service’s pollinator guidance emphasizes the value of suitable native habitat, but exact spacing still depends on the species and local site.
Leave more room where you need to reach in for deadheading, dividing, or removing weeds. In a narrow foundation bed, prioritize access and clearance over a fast, continuous mass. Where the goal is quick coverage, closer planting can work, but plan to monitor overlap and thin plants if vigor or airflow becomes a problem.
Regional recommendations can differ because “native” describes a plant’s relationship to a region, not one universal growing condition. Confirm the mature width for your location and cultivar, and use the larger end of a published range when crowding would be costly. For plant selection beyond layout, a native plant selection and landscape guide can help connect species choice to the garden’s purpose.
Before planting, mark the centers with small flags and leave them in place for a day or two. Walk past the bed from the angles you use most, then adjust any position that blocks access or looks too tightly packed. That final check costs little and can save years of pruning around a poor fit.
How Far Apart Should Plants Go If the Label Gives a Width Range?
Use the midpoint of the range for a typical layout, then shift toward the larger figure where you need clear access or want to avoid overlap. If the bed is meant to fill quickly, space closer and expect to thin or maintain the planting as it grows.
Can I Plant Native Species Closer Together to Suppress Weeds?
Closer planting can reduce exposed soil as foliage spreads, but it does not eliminate weeds during establishment. Dense spacing also increases competition, so confirm that the plants tolerate close neighbors and keep the bed watered and weeded while they take hold.
Should I Leave Space Between Different Species?
Yes, when their mature widths, growth habits, or maintenance needs call for it. Plants can touch or overlap in a naturalistic design, but the centers should still reflect how large each species is expected to become and whether you need room to reach between groups.
📱 See this content as a Web Story