
How to Paint Kitchen Cabinets for a Smooth, Durable Finish
How to prepare kitchen cabinets for painting: assess condition, choose compatible primer and paint, plan drying space, and manage time for a durable, fresh f…
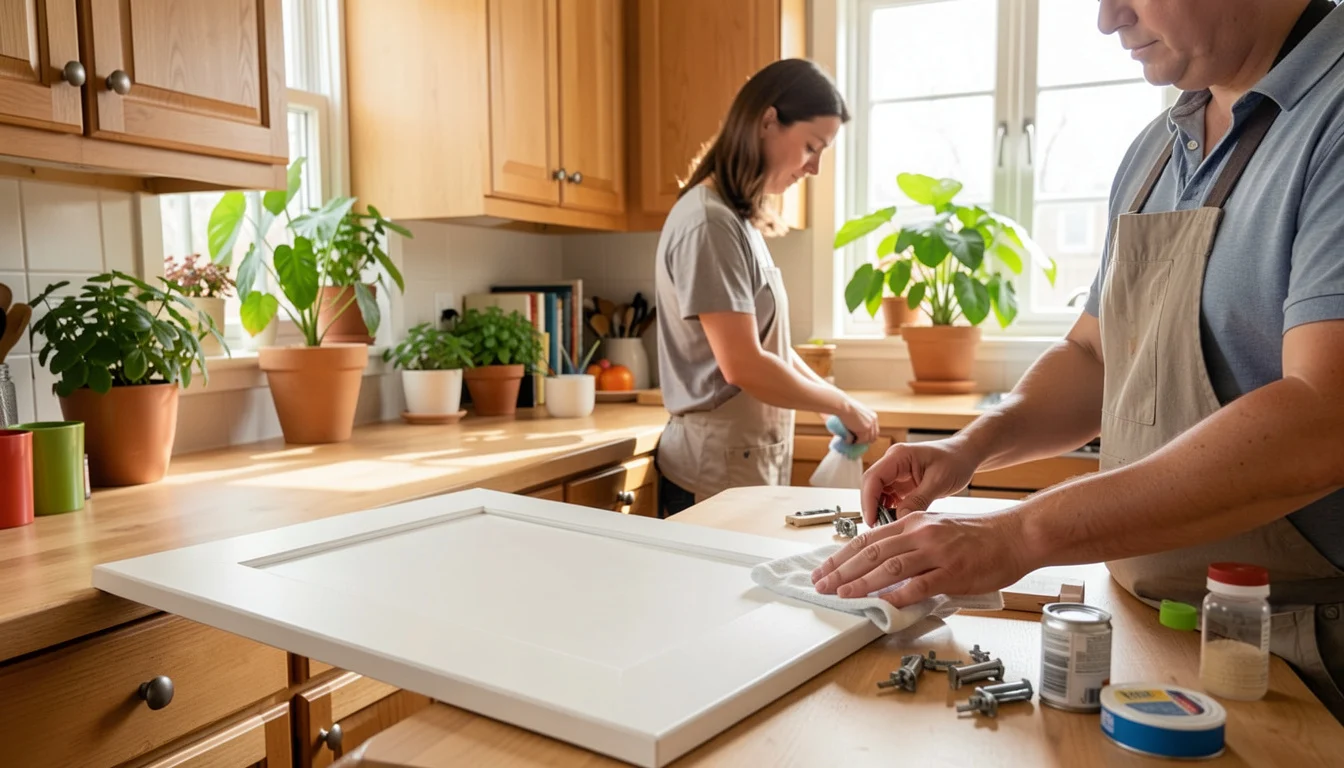 Degreasing cabinet doors before painting
A glossy cabinet door can look smooth while still carrying a thin film of cooking grease that ruins paint adhesion. To paint kitchen cabinets for a finish that holds up, remove the hardware, clean every surface, prepare it for the specific cabinet material, and apply compatible primer and paint in thin coats. Allow the finish to cure before heavy use.
The work takes longer than painting a wall because doors and drawer fronts need careful preparation and a controlled drying area. The payoff is a fresh look without replacing sound cabinets.
Before You Start
- Check what the doors are made of and whether their surfaces are damaged or peeling.
- Choose a paint and primer labeled for cabinets or trim, and confirm they are compatible.
- Set aside a space where doors can lie flat or dry without dust, pets, or kitchen traffic.
- Plan for several days of work and additional time before the finish is ready for regular use.
Plan to Paint Kitchen Cabinets: Condition, Color, and Cost
Painting kitchen cabinets means coating cabinet doors, drawer fronts, and frames with a compatible finish after cleaning and surface preparation. For sound wood or previously painted cabinets, a careful DIY process can refresh the kitchen; laminate, thermofoil, damaged finishes, and cabinets with heavy grease need more specialized preparation. The right paint and primer depend on the material, while total cost depends on cabinet quantity, repairs, tools, and whether you do the work yourself.
Look for a cabinet or trim enamel designed for frequent handling and cleaning. Benjamin Moore’s cabinet-painting guidance and Sherwin-Williams’ cabinet-refinishing guidance both emphasize preparation and following the chosen product’s application instructions. There is no single best paint for every kitchen: compare the label’s approved surfaces, required primer, recoat window, and cure guidance before buying.
Color choice should account for fixed finishes. Warm white or soft greige can sit comfortably with beige stone and warm wood floors; cooler white, blue, or charcoal may suit gray counters and cooler flooring. If the countertop has strong veining or pattern, quieter cabinet colors help keep the room balanced. For painting kitchen cabinets white, test a sample beside the counter and floor, because the same white can look yellow, gray, or stark under different light.
Cost item What affects it Paint and primer Cabinet count, coverage, product quality, and whether a specialty primer is needed Preparation supplies Degreaser, abrasives, filler, masking materials, and drop cloths Tools or spraying Brushes and rollers, or sprayer rental and extra masking supplies Labor and repairs DIY versus professional work, door condition, and hardware or finish repairs
For a useful kitchen cabinet painting cost estimate, count doors and drawer fronts, inspect for peeling or water damage, then price materials and labor separately. A small kitchen with sound doors and DIY labor can cost far less than a large kitchen requiring repairs or professional spraying; a single flat price would hide those differences.
Gather Supplies and Set Up a Work Area
Collect everything before removing doors, so the kitchen does not remain dismantled while you shop. Use a well-ventilated work area, and follow the labels for ventilation, protective equipment, cleanup, and disposal.
- Screwdriver or drill, painter’s tape, and bags or containers for hardware
- Degreasing cleaner, clean water, lint-free cloths, and disposable gloves
- Sandpaper or sanding sponges, filler, and a putty knife
- Primer and cabinet-grade paint, with compatible brushes and a fine-finish roller
- Drop cloths, a vacuum or tack cloth, and supports or racks for drying doors
If the project includes painting walls or trim too, this overview of DIY interior painting techniques can help with masking and applying paint evenly. Cabinet doors still need their own preparation and product choices.
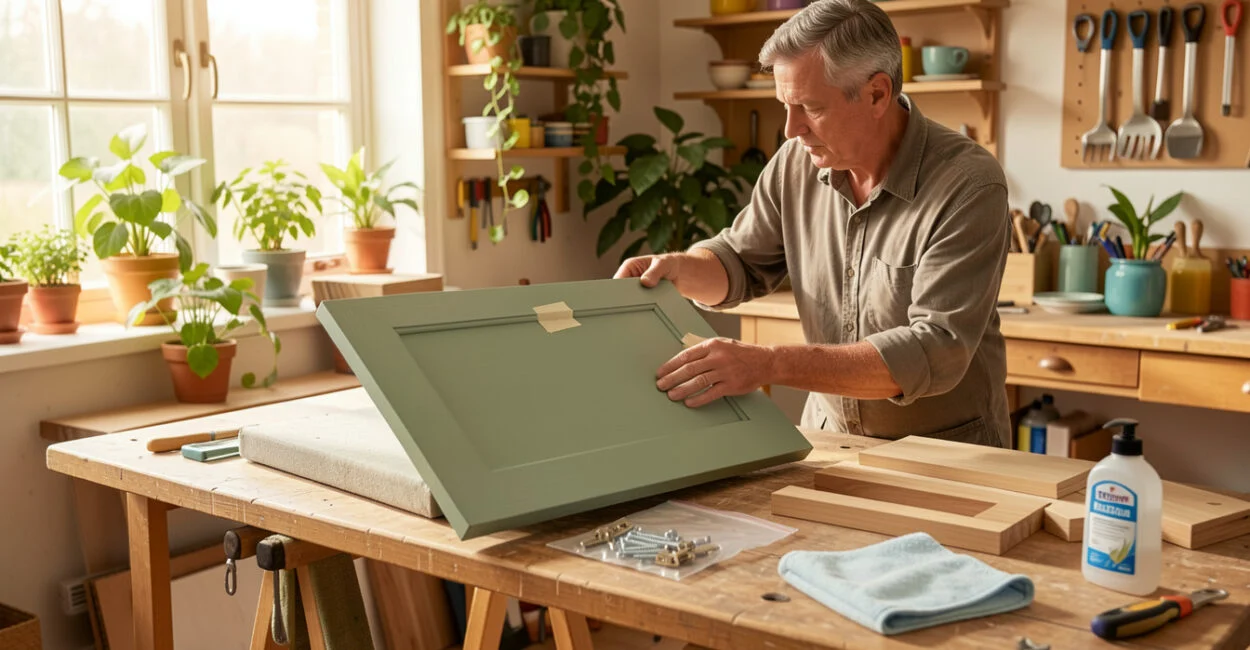
Remove, Label, and Clean Doors and Frames
Remove doors and drawer fronts when possible, and label each one with its original location before taking it to the work area. A small piece of tape on the back works well; keep hinges and screws together in labeled bags. Remove knobs and pulls, and protect cabinet interiors, floors, counters, and nearby appliances.
Wash doors, drawer fronts, and frames with a cleaner suited to the existing finish, paying close attention to areas around handles, the stove, and the sink. Rinse if the cleaner requires it, then let the surfaces dry fully. Grease left behind can cause fisheyes, uneven coverage, or peeling, even when the paint itself is sound.
Painting with doors attached is possible, but it makes it harder to reach edges and hinge recesses and increases the chance of drips or paint bridging the gaps. If you cannot remove them, support each door open, mask hinges and surrounding surfaces, and accept that the result may be less even.
For homes built before 1978, old paint may contain lead. The EPA’s Renovation, Repair and Painting Rule sets requirements for many renovation projects that disturb lead-based paint in covered homes and child-occupied facilities. Check the rules that apply before sanding or scraping, and use lead-safe practices rather than creating dust.
Repair and Sand for Better Paint Adhesion
Fill dents and unused hardware holes with a suitable filler, let it dry, then sand the repair flush. Scrape only loose or failing paint; painting over a peeling edge will not make it stable. Once repairs are smooth, lightly sand sound glossy finishes to dull the sheen and give primer a surface to grip.
Sand with the grain on wood where practical, and use a finer abrasive for the final pass rather than trying to remove the entire existing finish. Vacuum dust from corners and profiles, then wipe the surface as the primer label directs. Dust left in panel grooves can show through the finish as rough specks.
“No-sanding” bonding products can be useful on a clean, firmly attached surface when their label specifically approves the material. They do not repair peeling paint, remove grease, or guarantee adhesion to every laminate or factory finish. If the existing coating is glossy, damaged, or unknown, a test patch and the product maker’s instructions should guide the decision.
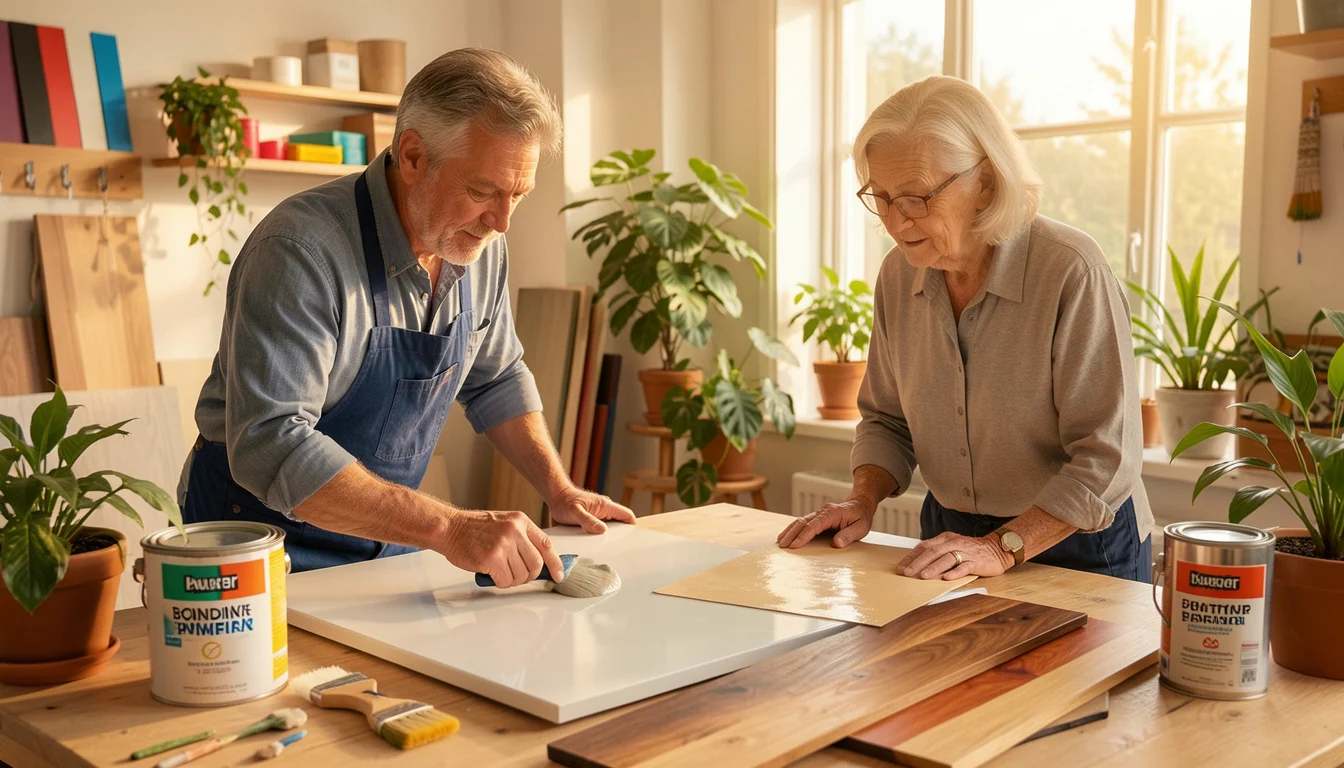
Choose and Apply the Right Primer
Use a primer made for the cabinet’s surface and the paint system you have chosen. Bare wood, stained wood, laminate, and previously painted surfaces do not always need the same primer; check the label for approved substrates and whether sanding or a bonding primer is required.
Stain or tannin can bleed through some light-colored finishes, so use a stain-blocking primer when the product guidance calls for it. For laminate or slick factory coatings, choose a bonding primer expressly rated for that substrate. Test it on an inconspicuous area and check adhesion after the stated drying time before coating every door.
Apply a thin, even primer coat and allow it to dry for the full time on the label. If the surface feels rough, lightly sand as directed and remove the dust before painting. Benjamin Moore and Sherwin-Williams both advise following the specific product directions; temperature, humidity, and substrate can change drying and recoat times.
Paint Cabinets for a Smooth, Even Finish
A brush, fine-finish roller, or sprayer can produce a good result when matched to the project. A brush reaches corners and profiles; a roller covers broad flat areas efficiently; a sprayer can leave fewer tool marks but requires more masking, ventilation, and practice. For a first-time project, a quality brush and cabinet-rated roller are often the more manageable choice.
Apply thin coats rather than trying to cover everything at once. Work from detailed edges toward flat panels, watch corners for pooled paint, and smooth out runs before they set. On paneled doors, avoid loading paint into the inside corners: excess there can wrinkle or remain soft longer than the thin film on the panel.
Follow the label’s recoat window, which is not always the same as “dry to the touch.” Lightly sand between coats only if the product instructions call for it or if you need to remove dust nibs or roughness. Two thin finish coats are common, but coverage and product directions determine whether another is needed.
Keep doors horizontal while they dry when practical, and do not stack them until the coating is ready for handling. A light finish can reveal brush marks and surface flaws, so inspect each door from several angles before moving it out of the work area. For best kitchen cabinet paint colors and combinations, compare samples in the room at different times of day rather than relying on small online swatches or kitchen cabinets color combination pictures alone.
Cure, Reassemble, and Fix Common Problems
Dry-to-touch does not mean fully cured: the paint may feel dry while still being vulnerable to dents, sticking, and cleaning. Follow the manufacturer’s cure guidance before normal use; depending on the product and conditions, this can take days or longer. Keep doors from rubbing against frames, and avoid scrubbing or placing heavy objects against freshly painted surfaces during that period.
Reinstall doors only when they can be handled without marking, using the labels to match each door to its opening. Tighten hardware without overtightening, since a screwdriver can scratch a soft finish. Clean the new surface with a soft cloth and mild cleaner once it is ready for routine care; avoid abrasive pads and harsh chemicals unless the paint maker approves them.
If paint fisheyes or pulls away, stop and check for oil, silicone, or cleaner residue before adding another coat. If it peels, the likely problem is poor adhesion or an unstable layer underneath, not a lack of extra paint. Let the coating dry, correct the surface issue, and test the repair system in a small area; persistent peeling on thermofoil or laminate may make replacement or professional refinishing the better option.
Thermofoil and laminate cabinets can sometimes be painted, but success depends on the condition of the surface, a compatible bonding primer, and careful adhesion testing. Peeling thermofoil, swollen substrate, or damaged edges are poor candidates because paint cannot fix a failing covering or water-damaged core.
📱 See this content as a Web Story
Frequently Asked Questions
How Can I Coordinate Cabinet Colors with a Patterned Countertop?
Choose a cabinet color that picks up a quieter undertone in the countertop, then compare a sample beside the floor as well. When both surfaces have strong patterns, a restrained cabinet color usually keeps the room from feeling visually crowded.
Should Cabinet Hardware Be Replaced Before or After Painting?
Remove existing hardware before painting. Decide on replacements early if the new pulls have different hole spacing, since filling and drilling holes is easier before the finish goes on.
How Should I Store Leftover Cabinet Paint?
Seal the container tightly, label it with the room and date, and store it within the temperature range specified on the label. Keep it away from children and heat sources.
Can I Use Leftover Wall Paint on Cabinet Doors?
It is usually a poor choice unless its label specifically approves cabinets or trim and the existing primer is compatible. Wall paint is formulated for different demands and may not resist handling or cleaning as well as a cabinet or trim enamel.
What Should I Do If a Newly Painted Door Sticks to Its Frame?
Do not force it open or shut, since that can tear the soft coating. Separate the surfaces gently if possible, then allow more cure time; check for excess paint at contact points before the door goes back into regular use.