
How to Regrout Bathroom Tile Without Removing the Tiles
How to regrout bathroom tile without removing tiles: when to remove old grout, checking for loose tiles or leaks, and ensuring proper depth and cure for last…
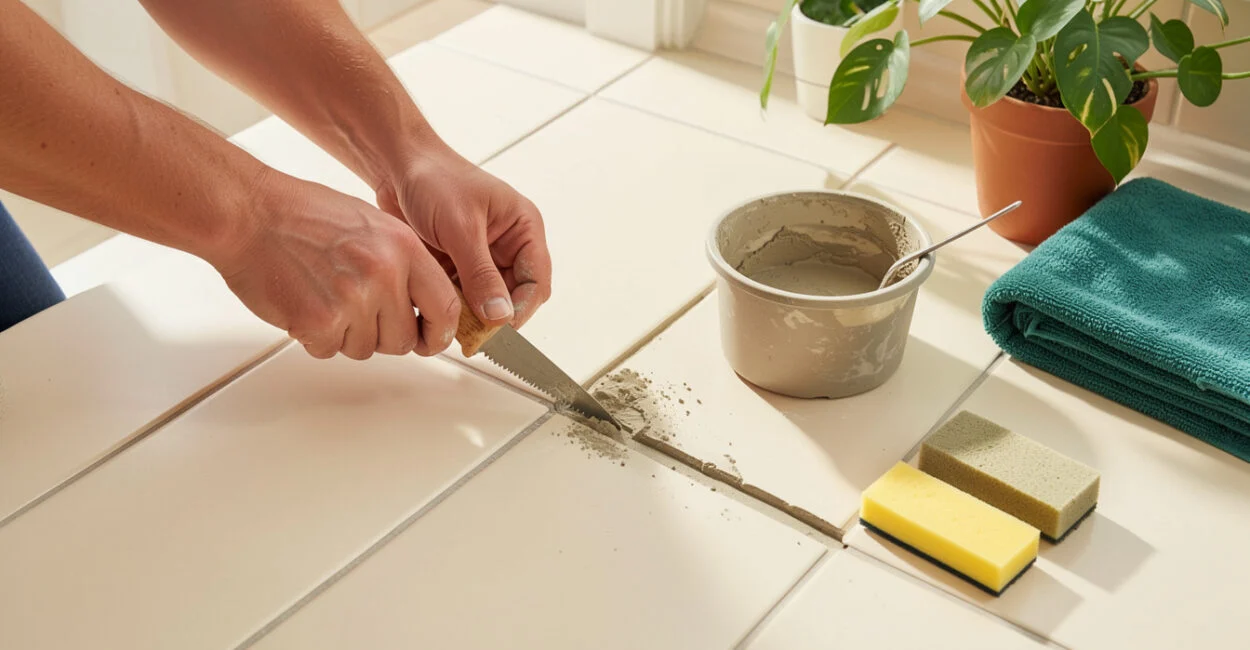 Carefully clearing grout between bathroom tiles
When grout crumbles under a fingernail or darkens again soon after cleaning, the fix depends on what is happening beneath the surface. You can regrout bathroom tile without removing the tiles, but you usually need to remove the failed grout first. New grout needs enough clean joint depth to bond; spreading a thin layer over intact grout is unreliable.
That distinction matters most in showers, where repeated water exposure can reveal a leak or a failed waterproofing detail that fresh grout cannot repair. First check whether the problem is limited to grout, then choose a compatible product and follow its instructions for mixing, cleanup, and cure time.
At a Glance
- Tile removal: Usually unnecessary if tiles are firmly bonded.
- Old grout: Remove failed grout and enough material to meet the new grout manufacturer’s depth requirements.
- Changes of plane: Use an appropriate flexible sealant, often silicone, rather than grout.
- Shower use: Wait for the product’s stated cure time before exposing new grout to water.
- Best first step: Check for loose tiles, recurring moisture, and failed caulk before cutting out grout.
Can You Regrout Bathroom Tile Without Removing the Tiles?
Yes. Regrouting replaces grout in the joints while the existing tiles stay in place, provided they are secure and the substrate has no unresolved movement or moisture problem. Remove the failed grout before adding new material; a surface skim over sound, intact grout generally lacks the joint depth and clean sides needed for a dependable bond.
There is one limited exception: a grout product may allow application over existing grout in certain conditions, but only when its technical instructions specifically permit it and the surface is prepared as directed. Treat “new grout over old grout” as a product-specific method, not a reliable shortcut. If the joint is too shallow to remove safely, a compatible colorant may improve its appearance, but it will not replace failed grout.
Check the Grout and Find the Cause of the Damage
Grout is the material packed into the spaces between tiles. It helps fill joints and support a finished tile surface, but it is not a substitute for a shower’s waterproofing system. A cracked joint may result from worn grout, movement, a loose tile, or a leak; those causes call for different repairs.
Look for patterns before picking up a grout saw. Isolated crumbling in a stable area may be a straightforward repair. Cracks that return in the same line, tiles that shift or sound hollow, or persistent dampness beyond the shower surface suggest a bigger issue. Regrouting will not stabilize a moving floor or fix failed waterproofing.
Black or pink discoloration can come from surface growth, trapped residue, or staining within the grout. Clean a small area and let it dry to see whether the discoloration lifts. If it returns quickly, spreads, or accompanies a musty smell or persistent dampness, investigate the moisture source instead of sealing in the symptoms.
Grout and caulk do different jobs. At inside corners and where a tiled wall meets a tub or floor, movement can open a rigid grout joint. Remove failed caulk and replace it with a sealant suitable for the location; filling that joint with grout often leads to another crack. For context on how material choice affects bathroom performance, see these risks hidden in popular bathroom tile choices.
Fresh grout lasts only when the tile is stable, the joint is clean, and the cause of failure has been addressed.
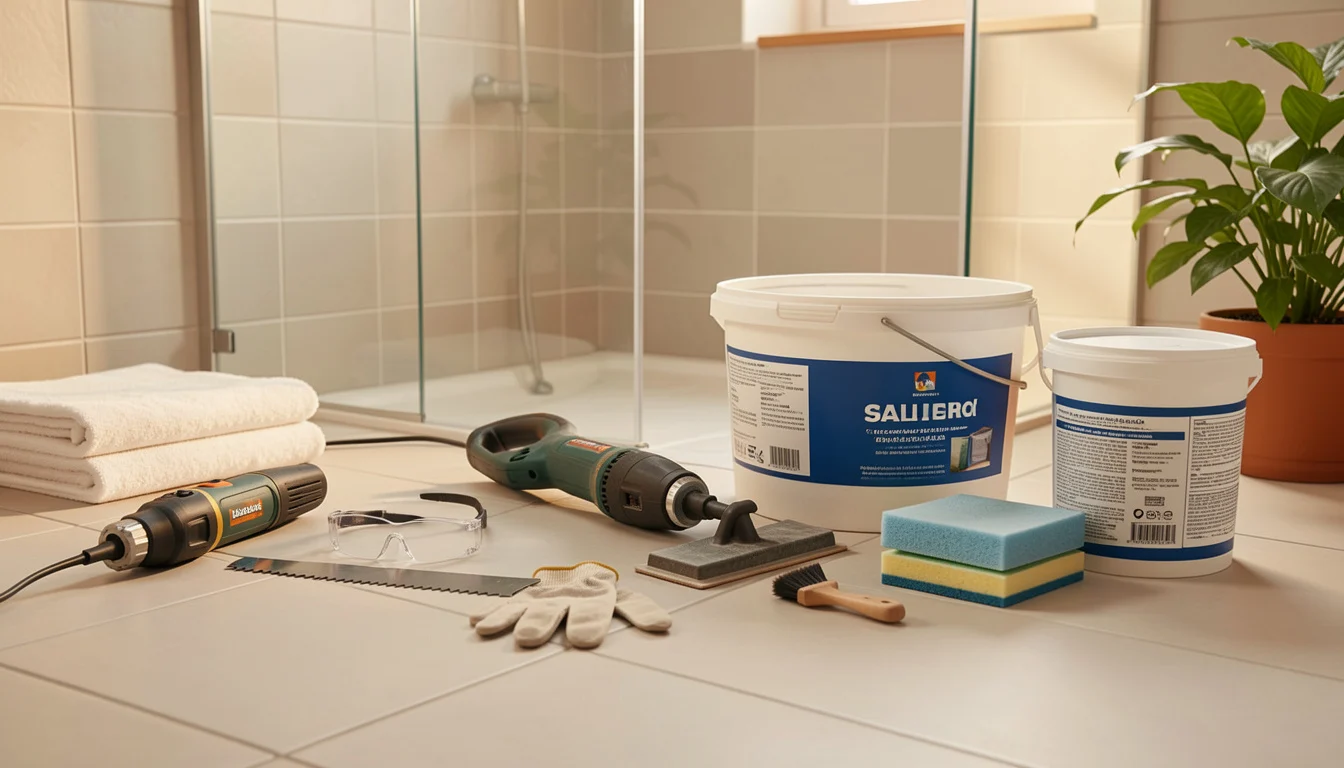
Tools and Materials for Regrouting
Gather the tools before starting, especially if you are working in a shower. A grout saw removes material from the joints; a carbide-grit hand saw offers control, while a powered oscillating tool can work faster but raises the risk of chipping tile edges.
- Grout saw or oscillating tool with a grout-removal blade
- Eye protection, a well-fitting dust mask or respirator appropriate for the dust, and work gloves
- Plastic sheeting or towels to protect fixtures and nearby surfaces
- Small brush and vacuum with a suitable dust filter
- Grout selected for the joint width, tile type, and location
- Grout float, mixing bucket, measuring tools, and clean sponges
- Compatible sealant for corners and other changes of plane
Read the grout label before buying. Product limits can vary by joint width and tile material, and some natural stone may scratch or stain with certain grout formulas. For installation details, compare the manufacturer’s technical data sheet with the applicable requirements in the Tile Council of North America Handbook and ANSI A108.10, which addresses grout installation in tilework.
How to Remove Old Grout Without Damaging Tile
Work slowly and keep the removal tool centered in the joint. The goal is to remove failed grout to the depth required by the replacement product without cutting into the tile edges or the layer beneath the tile.
Score a short section first and check your progress. Keep the saw angled away from the tile edges; a blade that rides against a glazed edge can chip it, and a powered tool can jump if it catches a corner. Vacuum debris as you go so you can see the joint and avoid grinding loose grit into the tile face.
There is no universal safe depth for every regrouting job. Follow the new grout’s written instructions, and stop if the tool reaches the tile substrate, waterproofing layer, or a surface you cannot identify. If the joint cannot be cleaned to the required depth without risking tile damage, a tile professional can assess whether a different repair is appropriate.
“How to soften grout for removal” comes up often, but cured cement grout does not reliably soften with household cleaners or warm water. Some specialty removal products have specific uses and risks; do not apply acids or solvents unless the product label confirms they are safe for your grout, tile, and surrounding materials.
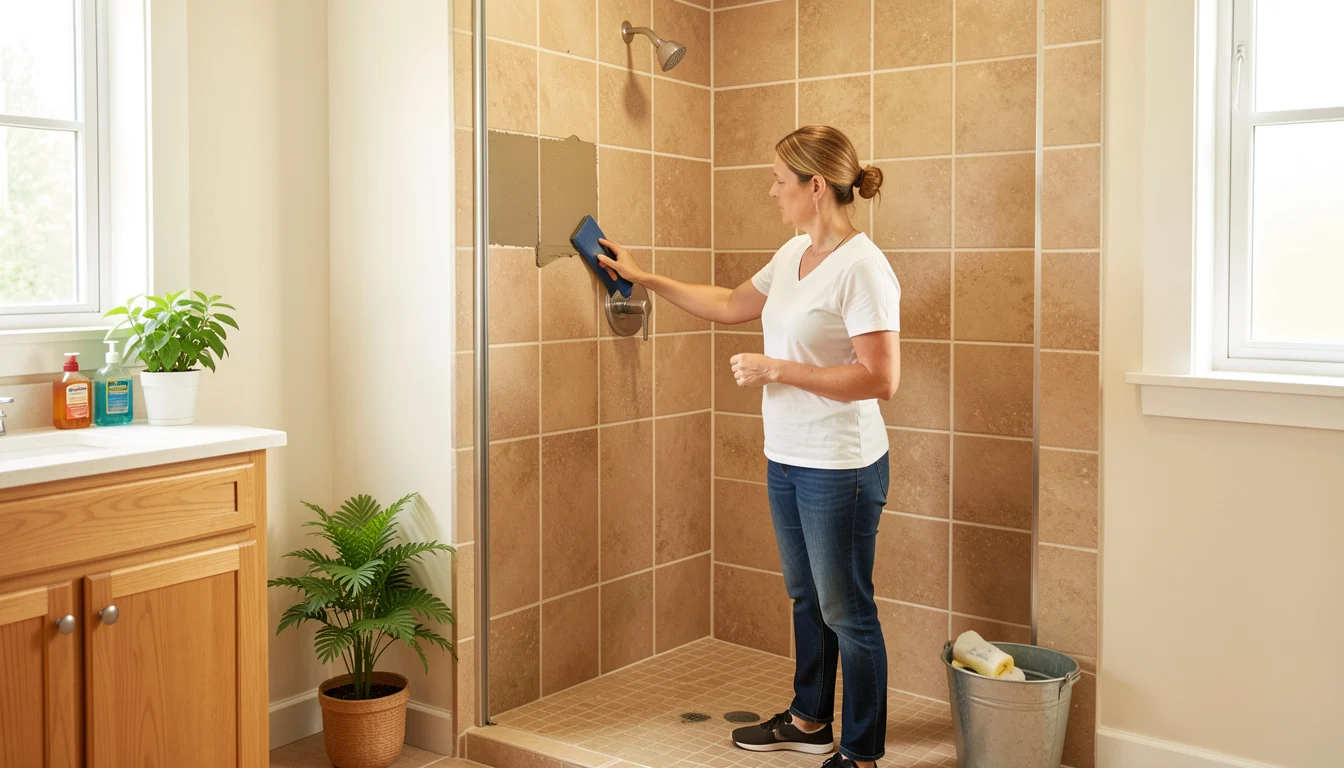
How to Regrout Bathroom Tile, Step by Step
- Remove the failed grout. Cut it out carefully, following the depth requirements for the replacement grout. Do not force the blade against tile edges.
- Clean the joints. Vacuum dust and loose fragments, then use a dry or lightly damp brush as appropriate for the product. Let the joints dry if the instructions require a dry surface.
- Mix only what you can use in time. Measure water and powder according to the package directions. Mix thoroughly, observe any stated rest period, and remix only as instructed. Changing the water ratio can weaken the finished grout or alter its color.
- Pack the joints. Hold the grout float at an angle and press grout across the joints from several directions, filling them fully. Remove excess from the tile face with the float before it hardens.
- Wash at the specified time. Use a well-wrung sponge and light passes once the grout reaches the cleanup stage described on the label. Rinse often and avoid digging into the joints. Too much water or repeated scrubbing can wash grout from the joint and leave uneven color.
- Finish the edges and protect the work. After the grout reaches the stage required by the product, remove remaining haze as directed. Keep the area dry and apply sealant at movement joints when appropriate.
A common cleanup mistake is washing too early: the sponge pulls fresh grout out of the joints, leaving low spots that become obvious after drying. If the grout begins smearing rather than holding its shape, pause and check the product’s cleanup guidance instead of adding more water.
Choose the Right Grout for Floors, Walls, and Showers
Choose grout by joint width, tile material, exposure, and the manufacturer’s specified application range. “Shower grout” is not one universal formula. Cement-based grout, including some polymer-modified products, and epoxy grout have different installation requirements, cleaning methods, and limitations.
Location Common option What to check Bathroom floor Cement-based grout or epoxy grout Joint width, floor exposure, tile surface, and whether the product is rated for the application Bathroom wall Cement-based grout or epoxy grout Tile material, joint size, ease of cleanup, and manufacturer approval Shower walls and floor A grout specifically approved for the tile and wet-area application Water exposure, joint width, cure requirements, and compatibility with the shower system Corners and wall-to-floor joints Compatible flexible sealant, often silicone Use a sealant rated for the location and compatible with the tile and grout
For example, a sanded grout may be unsuitable for a scratch-sensitive polished tile, while a grout intended for narrow joints may not fill wider ones properly. Epoxy can suit some installations, but it sets and cleans differently from cement-based grout. Check the exact product’s technical sheet, such as the manufacturer’s product instructions and specifications, rather than relying on a generic rule.
Finishing, Curing, and Common Problems
Do not assume that a grout sealer is required or suitable for every product. Some cement-based grouts may benefit from a compatible sealer after curing; other products have different care instructions. Follow the grout manufacturer’s guidance and test a sealer in an inconspicuous area if the tile or grout could be affected.
Keep corners, wall-to-floor transitions, and other changes of plane flexible with the specified sealant. Grouting those joints can cause cracks when adjoining surfaces move independently. If old caulk has failed, remove it and prepare the joint before applying new sealant; caulk should not be spread over loose grout as a patch.
The bathroom is ready for use only when the grout and any sealant have reached the cure time stated for that product and installation. Temperature, humidity, joint depth, and ventilation can affect curing. If the label gives separate times for light use and water exposure, use the longer water-exposure guidance before showering.
If a repair keeps failing in the same place, pause before repeating it. Check for loose tile, movement, or moisture behind the surface. For a large area, uncertain substrate, recurring shower damage, or a tile floor that moves underfoot, compare the repair scope with a qualified tile professional; a tile regrouting service near me is useful only if the provider also evaluates why the joints failed.
📱 See this content as a Web Story
Frequently Asked Questions
Can You Lay New Grout over Old Grout?
Only when the specific grout product permits it and the existing surface is prepared as directed. For ordinary repairs, remove failed grout and provide the depth and clean joint surfaces the replacement requires.
What Grout Should You Use to Regrout a Shower?
Use a grout approved for the joint width, tile type, and wet-area application. Cement-based and epoxy grouts both have products used in showers, but their installation and cleanup requirements differ; verify the exact product instructions.
How Long After Regrouting Can You Shower?
Wait until the grout manufacturer’s stated cure time for water exposure has passed. The timing varies by product and conditions, so the package or technical data sheet is the right authority.
How Can You Make Shower Grout Look New Again?
Clean sound grout with a cleaner approved for that grout and tile, then rinse and let it dry. If discoloration remains, a compatible grout colorant may refresh the appearance; crumbling, recurring cracks, or persistent dampness call for diagnosis rather than cosmetic treatment.