
How to Start a Worm Composting Bin for Garden Soil
How a worm composting bin manages moisture, air, and feeding to turn kitchen scraps into nutrient-rich castings, and whether it fits your indoor or outdoor s…
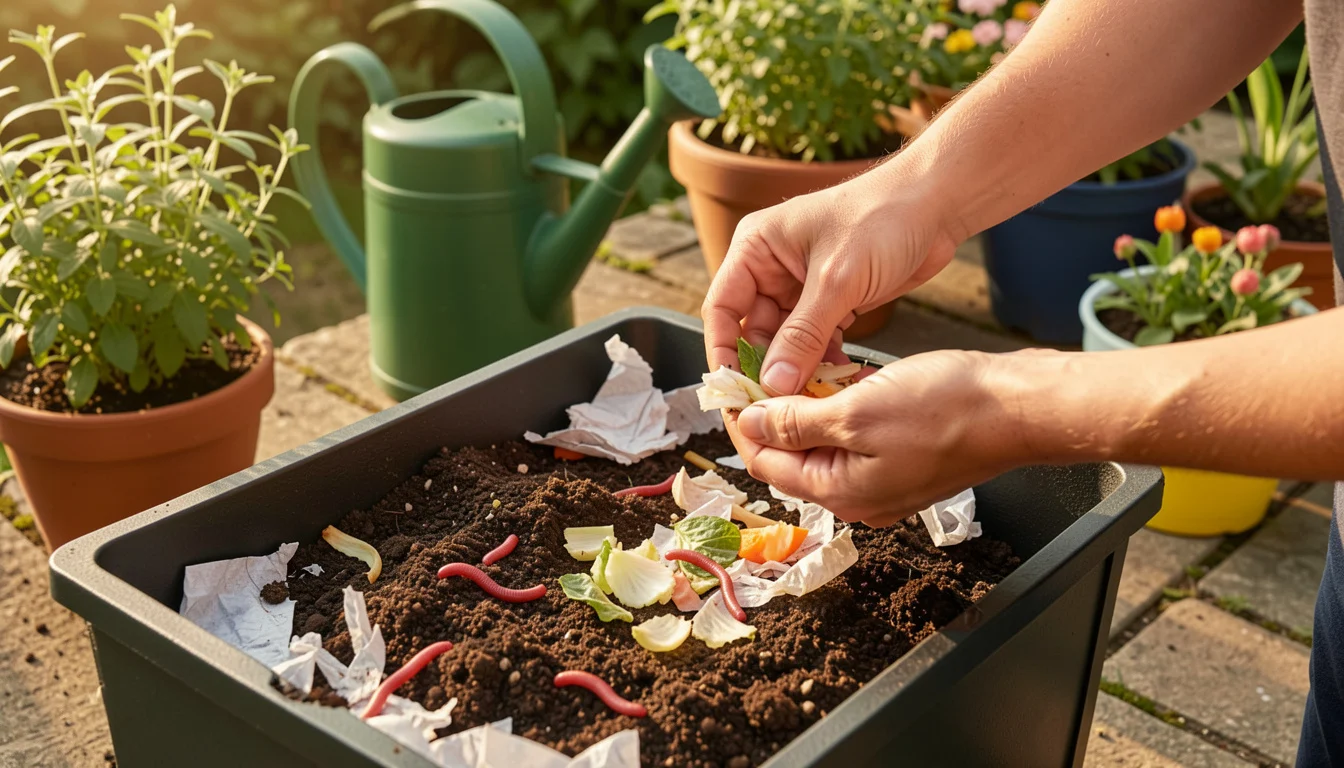 Red worms turning kitchen scraps into compost
A bucket of kitchen scraps can turn sour long before it becomes compost if it lacks air, drainage, or the right decomposers. A worm composting bin manages those conditions in a small space, using composting worms to turn food scraps and bedding into castings. Choose a system that fits your space, prepare moist bedding, and feed lightly until the worms settle in.
A worm composter can work indoors or outdoors, but it needs regular checks and protection from temperature extremes. It also produces castings at a pace set by the worms, bin conditions, and the amount of food they can process.
What Does a Worm Composting Bin Do, and Will It Suit Your Space?
A worm composting bin is a managed vermicomposting system: worms and microorganisms break down suitable organic matter in a moist, aerated container, producing worm castings and partly decomposed material. For a home gardener, it offers a contained way to process some kitchen scraps and make a soil amendment without needing a large compost pile.
It suits people who can keep the bin shaded or indoors, check moisture and temperature, and avoid overfeeding. It may be a poor fit if you want a hands-off system, have nowhere to protect worms from heat or freezing, or need to process large volumes of yard waste. A worm bin handles food scraps better than bulky branches and leaves.
Castings can contribute organic matter and nutrients to garden soil, but they are not a complete substitute for a balanced soil plan. The U.S. Environmental Protection Agency’s home composting guidance explains the broader principles of managing organic materials. For beds where you plan to use the finished amendment, these low-maintenance methods for sustainable vegetable beds offer related planning ideas.
A worm bin works best when its daily conditions stay steady: damp bedding, airflow, moderate temperatures, and modest feedings.
How Should You Choose a Worm Composter: DIY Bin or Ready-Made System?
Choose a DIY tote if you want a low-cost, easy-to-modify setup; choose a ready-made worm composter if you value designed trays, a built-in collection system, or easier access to the working bed. The right choice depends more on your space and maintenance habits than on a product’s advertised capacity.
System type Best fit and trade-off DIY indoor tote Low-cost and compact; you must drill suitable ventilation and drainage holes and manage any liquid safely. Outdoor worm farm bin Convenient for a protected patio or sheltered yard; exposure to direct sun, heavy rain, and freezing weather can make conditions harder to control. Stacking tray system, such as Worm Factory 360 Provides separate working levels; requires assembly and enough space to access the trays. Continuous-flow system, such as Hungry Bin Designed for ongoing feeding and bottom harvesting; its size, price, and setup may not suit every household.
These named products are examples, not endorsements, and models or specifications can change. For the best outdoor compost bin, consider whether it can be shaded, protected from downpours, and kept within a suitable temperature range before comparing capacity claims.
A useful decision rule: if you have a sheltered indoor spot and want to learn the basics, start with a ventilated tote. If you expect frequent use and prefer a purpose-built design, compare commercial systems by access, footprint, drainage, and how castings are harvested.
How Do You Make Your Own Vermicompost Bin?
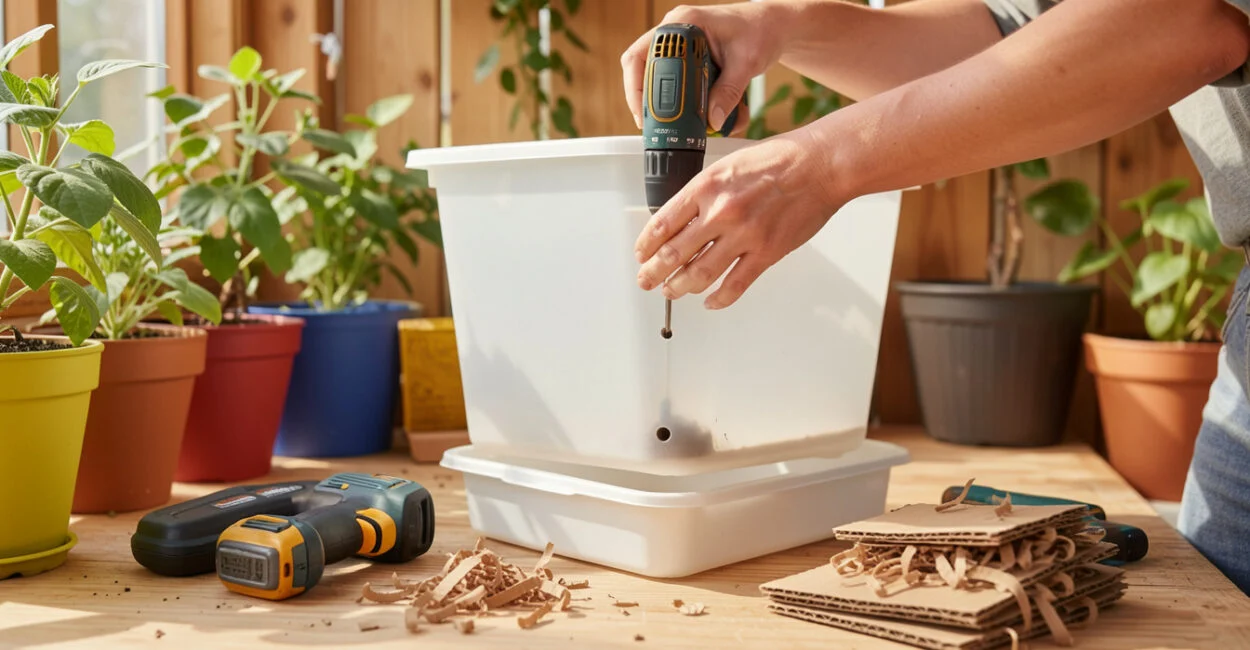
To make your own vermicompost bin, use an opaque, food-safe plastic tote with a secure lid, drill small air holes near the upper sides and drainage holes in the bottom, and place it over a catch tray. The tray should catch excess liquid without leaving the bin sitting in it.
For a basic worm composting bin DIY project, gather:
- An opaque tote with lid and a tray to catch drainage
- A drill with a small bit for ventilation and drainage holes
- Shredded, uncoated cardboard or damp newspaper for bedding
- A small amount of finished compost or garden soil only as an optional additive, not as the bedding base
- A cover layer such as damp cardboard to reduce light and discourage flies
Drill several small holes near the upper sides for airflow and more in the bottom for drainage; use a drill bit small enough to limit escapes. Set the tote on the tray, then add damp bedding before introducing worms. Avoid a sealed container: worms need oxygen, and a waterlogged bin can turn anaerobic and develop a sour odor.
There is no single hole pattern that suits every tote. Keep the holes clear, use a tray, and check that the bedding stays moist without water pooling at the bottom. A sturdy plastic tote is usually easier to manage than a deep, narrow container because worms and scraps are easier to reach.
How Should You Set Up Bedding, Moisture, and Location?
Prepare bedding to feel like a wrung-out sponge: damp throughout, but not dripping when squeezed. Shredded cardboard, paper, and dry leaves provide both a habitat and carbon-rich material that balances food scraps.
Fluff the bedding rather than packing it down. Add a small handful of finished compost if available, then let the bedding sit for a short period while you check that it drains and stays aerated. Garden soil is not a replacement for bedding; a large amount can compact and reduce airflow.
Place the bin where temperatures remain moderate and stable, away from direct sun, heaters, and freezing conditions. A basement, utility area, or shaded sheltered spot may work, depending on local conditions. Oregon State University Extension’s vermicomposting guidance also emphasizes managing moisture, food, and the bin environment; exact tolerances depend on the species and system.
Indoor bins can still attract fruit flies if scraps remain exposed. Bury each feeding under bedding, keep a damp cover layer in place, and do not leave fruit peels on the surface.
Do You Put Worms in Your Compost Bin, and What Should You Feed Them?
Yes, add composting worms to a vermicomposting bin; ordinary earthworms from the garden are not a reliable substitute. Red wigglers (often sold as Eisenia fetida) are commonly used because they thrive in the organic-rich surface layers that a contained bin provides.
Where Can You Buy Compost Worms for Your Worm Farm?
Buy live composting worms from a reputable worm farm, a garden center that sells them for vermicomposting, or a local composting program that can identify the species and explain its care. Ask how the worms are shipped or stored and whether the seller can confirm they are suitable composting worms. Do not dig random earthworms from the yard or release purchased compost worms outdoors.
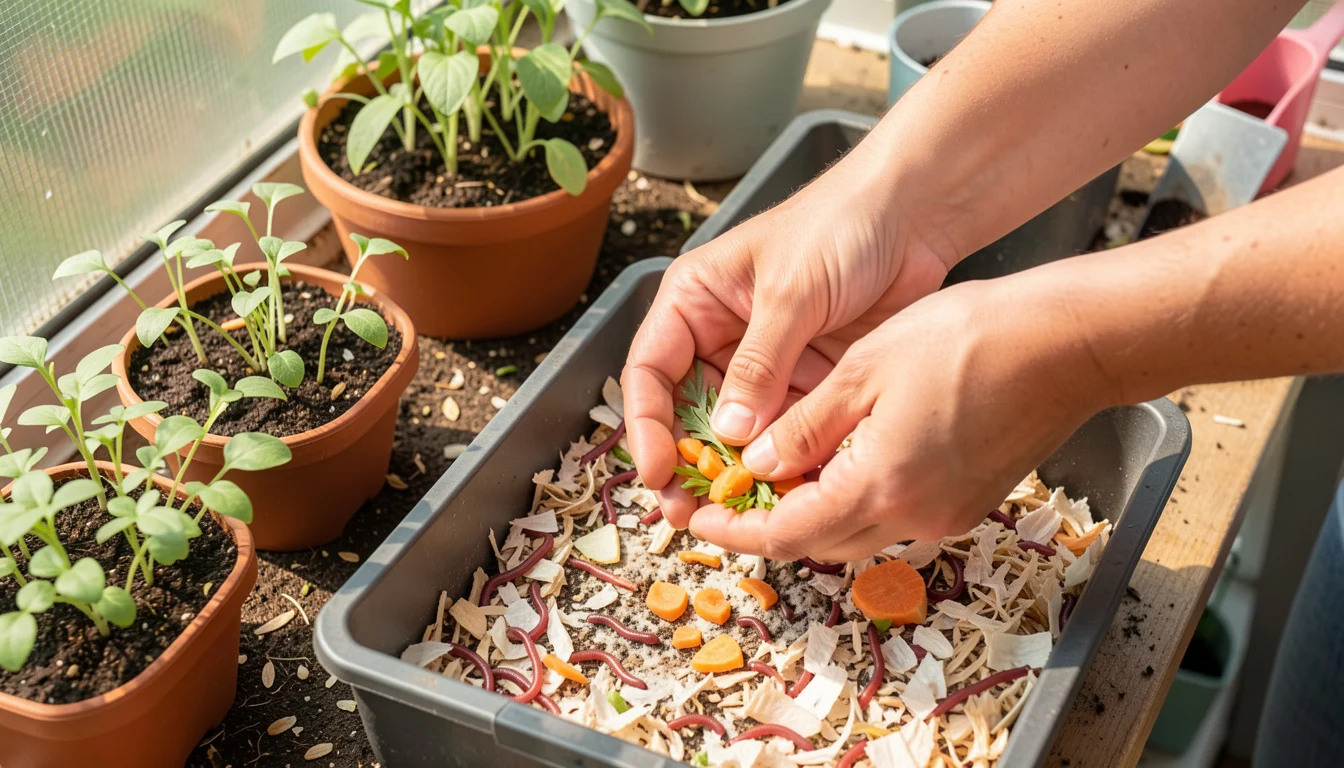
Begin with a modest feeding and wait until much of it has been consumed before adding more. Suitable foods include vegetable and fruit scraps, coffee grounds, tea leaves, and crushed eggshell in small amounts. Bury food in different spots so one area does not become wet and compacted.
Limit meat, dairy, oily foods, and large amounts of citrus or salty scraps; they can create odors or attract pests. The Cornell Waste Management Institute’s worm composting resources provide additional guidance on food choices and bin care. If the previous feeding is still recognizable, pause before adding another.
How Do You Maintain a Worm Bin and Fix Common Problems?
Maintain the bin by checking bedding moisture, removing uneaten food when it turns foul, and adjusting feedings to match what the worms are processing. A healthy system has an earthy smell; a sharp, rotten odor often points to excess food, poor airflow, or saturated bedding.
When the bin smells bad, stop feeding and inspect the lower bedding. Remove spoiled scraps, loosen compacted material, and add dry shredded cardboard if the bedding is too wet. If it feels dry and worms are retreating, mist it lightly and recheck rather than pouring in water.
Fruit flies usually indicate exposed food or overripe scraps. Bury scraps deeper, cover them with bedding, and reduce feeding until the population settles. Ants may appear when the bedding is dry, while excess moisture can bring other nuisance insects; fix the underlying conditions rather than relying on sprays near the worms.
A common beginner mistake is to feed by the calendar instead of checking the bin. Worms do not process every meal at a fixed rate: temperature, food size, bedding, and worm population all affect the pace. Keep a simple note of what you added and what remains, then adjust the next feeding accordingly.
Uneaten food is a useful signal: slow feeding before scraps create odors, pests, or a soggy bedding layer.
When Are Worm Castings Ready, and How Should You Use Them?
Harvest castings when much of the original bedding and food has become dark, crumbly material, while a small amount of identifiable bedding or scraps may still remain. There is no dependable fixed harvest date because bin size, worm population, temperature, and feeding habits vary.
In a single-bin system, move finished material to one side and add fresh bedding and food to the other. Over time, many worms migrate toward the new food, making it easier to collect castings from the finished side. For a tray system, follow the manufacturer’s harvesting method and check that the lower tray is ready before removing it.
Mix castings into garden soil or use a modest amount around plants; avoid treating them as a concentrated fertilizer that should be applied heavily. For vegetable beds, work them into the planting area and keep the soil plan suited to the crop. Advice on spacing vegetables in raised beds can help you plan where soil amendments will go, while succession planting in raised beds offers ideas for managing repeated plantings.
Harvesting checklist:
- Confirm the material is dark and crumbly, not mostly fresh scraps.
- Separate worms and unfinished bedding where practical.
- Use the castings in the garden, and return any unfinished material to the bin.
- Refresh the bin with damp bedding before restarting regular feedings.
Question Short answer Which bin should I choose? Use a DIY tote for a sheltered, low-cost start; compare commercial systems for access and harvesting features. What bedding works? Damp, fluffy shredded cardboard or paper, with airflow and drainage. Which worms belong in it? Use identified composting worms such as red wigglers, not random garden earthworms. How much should I feed? Start small and wait until most of the previous food is consumed. When can I harvest? When the material is mostly dark and crumbly; timing varies by conditions.
Start by choosing a sheltered location and a bin you can easily inspect. Prepare damp bedding first, then source identified composting worms and begin with a small feeding; that sequence makes it easier to spot and correct problems before they spread through the bin.
📱 See this content as a Web Story
Frequently Asked Questions
Where Can I Buy Earthworm Eggs?
Beginners generally start with live composting worms, not eggs. Eggs are harder to handle and identify, so look for a reputable worm farm or garden supplier that sells live worms suitable for vermicomposting.
Can a Worm Composter Go in a Garage?
It can if the garage stays within a moderate temperature range and the bin is protected from direct sun, freezing conditions, and chemical fumes. Check temperatures where the container sits, since an uninsulated garage can heat up or chill more than expected.
Can I Add Pet Waste to a Home Worm Bin?
A typical household worm bin should not receive pet waste. It can carry pathogens and create handling risks, so keep the system limited to appropriate plant-based kitchen scraps and bedding.
Should I Drain Liquid from the Bottom of the Bin?
Drainage liquid is a warning to check moisture, not a reliable measure of finished compost. Correct the excess water and improve airflow; do not assume the liquid is a safe, balanced plant fertilizer.
Do Worms Need Grit or Garden Soil?
Worms do not need a layer of garden soil in place of bedding. Small amounts of mineral grit may enter with food or soil, but the bin’s main structure should come from moist, airy bedding.
Can I Leave the Bin Unattended While Traveling?
A short absence may be manageable if the bedding is properly moist and the bin is not exposed to temperature swings, but avoid adding a large “make-up” feeding before leaving. For a longer trip, arrange for someone to check moisture and conditions rather than overloading the bin.