
How to Install a Bathroom Exhaust Fan in an Existing Home
How to install a bathroom exhaust fan: choose the right size, plan a duct route outdoors, verify electrical setup, and know when to hire a professional for s…
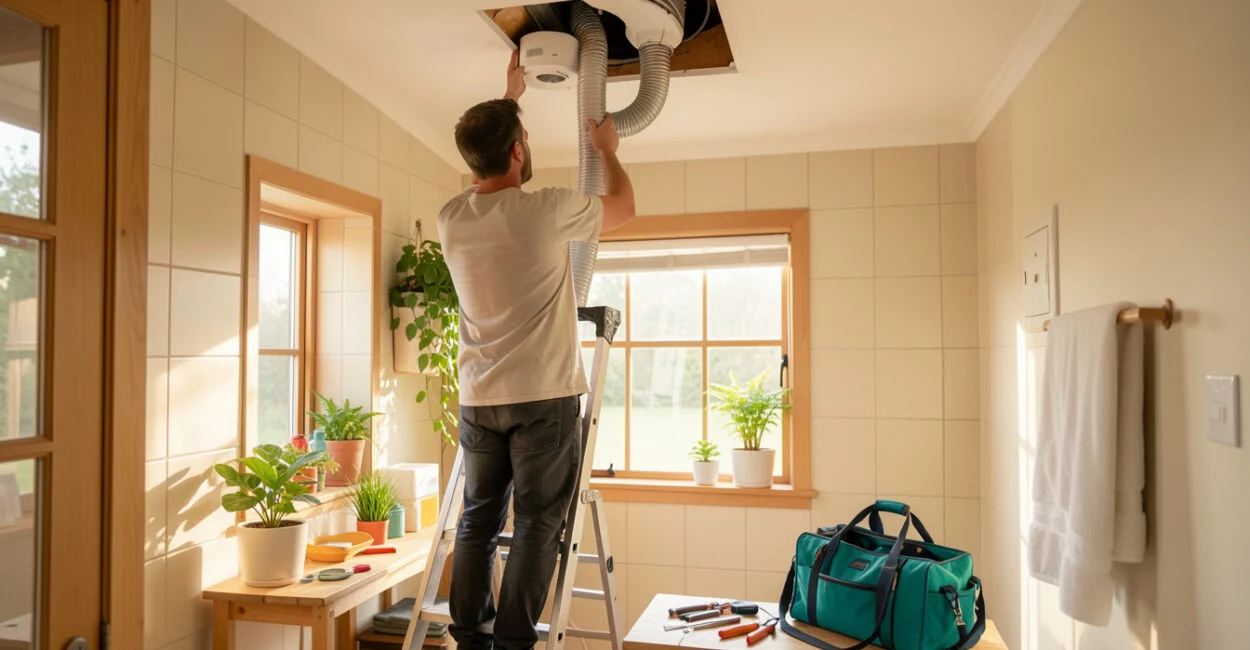 Fitting a new bathroom exhaust fan
A fogged mirror that stays wet long after a shower often points to a ventilation problem, not just a cleaning issue. To install a bathroom exhaust fan in an existing home, choose a fan sized for the room, plan a duct route that ends outdoors, and confirm the electrical setup and local permit rules before cutting. The safest method depends on your ceiling, roof or wall access, and wiring.
A ceiling fan with a short, direct duct is often the most practical retrofit, but it is not the only option. If the project needs new wiring, a difficult roof opening, or work near unknown electrical or plumbing lines, bring in the right professional.
Key Takeaways
- Bathroom exhaust fans must discharge outdoors; venting into an attic or wall cavity can trap moisture where it causes damage.
- Choose a fan by room size, noise rating, and duct requirements, then use the manufacturer’s instructions for installation details.
- A like-for-like replacement may suit a capable DIYer, while new wiring or a challenging exterior penetration may call for a licensed professional.
- After installation, check that the fan moves air through the duct and that the exterior damper opens freely.
How to Install a Bathroom Exhaust Fan: Choose the Right Fan First
To install a bathroom exhaust fan in an existing home, first match its airflow rating to the room and its duct outlet to a route that can terminate outdoors. Then check whether the existing wiring, housing, and framing can support that model. A replacement that fits an existing opening can be straightforward; a new location or duct route may require ceiling work, electrical changes, and permits.
A bathroom exhaust fan is a mechanical ventilation device that removes moisture-laden indoor air through a duct and releases it outdoors. In everyday terms, it pulls steamy air out of the bathroom instead of leaving humidity to settle on mirrors, paint, and framing.
For general sizing, the Home Ventilating Institute (HVI) recommends a minimum of 1 cubic foot per minute (CFM) per square foot for bathrooms up to 100 square feet, with additional sizing guidance for larger rooms and fixtures. Treat that as a starting point, then check the fan’s installation manual and local requirements. A long duct run, several bends, or a restrictive outlet can reduce airflow, so a fan’s label rating does not guarantee the same performance after installation. See the HVI ventilation guidance for more on fan selection.
Compare sones, a measure of perceived sound level, if noise might affect whether the fan gets used. For a fan with a light, verify that the product is rated for the bathroom location and that its electrical requirements match the existing circuit. ENERGY STAR lists certified ventilation fans and product information at ENERGY STAR’s ventilation fan page.
Plan the Location, Duct Route, Venting Option, and Tools
Locate the fan near the shower or tub area, but follow the product’s wet-location and clearance instructions. Before cutting, check the attic or ceiling cavity for joists, pipes, wiring, and obstructions. A fan placed where a duct cannot reach an exterior termination is a poor choice, even if it fits neatly between joists.
Choose the shortest practical duct route with as few bends as possible. Use duct material and dimensions approved by the fan manufacturer and local code; an undersized or sharply bent duct can restrict airflow and increase noise. Insulate ducts that pass through cold spaces when required or recommended, to reduce condensation inside the duct.
Venting option When it may fit Key trade-off Roof cap The fan is near the roof and the duct can rise to an exterior roof termination. Requires a roof penetration and careful flashing to keep water out. Wall cap A short horizontal route reaches an exterior wall. May be difficult if the fan is far from an outside wall or the wall contains obstacles. Window exhaust fan A purpose-built unit is designed to fit the window and suit the opening. It may block the window, and it must still exhaust outdoors without creating a water-entry or electrical hazard.
A window exhaust fan is a separate product choice, not a reason to vent a ceiling fan into the window cavity or an enclosed wall. Check the product’s instructions and local rules for a bathroom window installation; local requirements and the bathroom layout can limit whether this approach is suitable. For a ceiling retrofit, gather a fan, compatible duct and exterior cap, fasteners, approved electrical connectors, a drill, a drywall saw, a tape measure, and appropriate safety gear. A bathroom refresh may also involve other planning decisions, as outlined in these bathroom renovation tips for efficient upgrades.
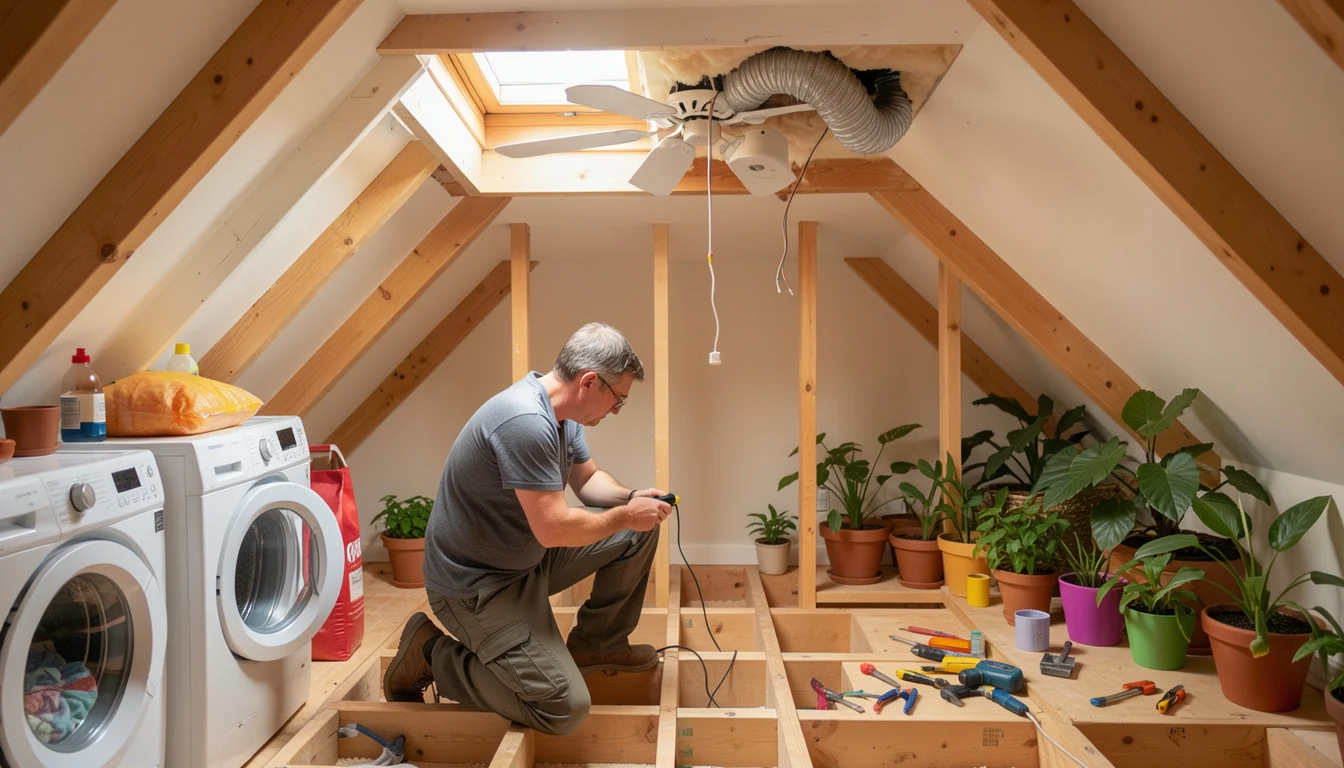
Install the Fan Step by Step
Installation steps vary by fan model, ceiling construction, and whether wiring and ductwork already exist. Use the product manual as the authority for mounting, clearances, wiring, and duct connections; the sequence below describes a typical ceiling retrofit, not a universal method.
- Turn off power and verify it is off. Switch off the relevant breaker and use a suitable tester to check the conductors before touching them. A wall switch alone is not sufficient isolation.
- Inspect the cavity and mark the opening. From the attic or access space, identify framing and services. Use the fan’s template, and do not cut until you know the housing will fit and the duct can reach its planned termination.
- Cut the opening and mount the housing. Follow the specified opening dimensions and secure the housing to framing or the approved support bracket. Some retrofit models install from below; others require attic access.
- Connect the duct and exterior cap. Route the duct to the roof or wall termination, seal joints as directed, and secure the cap. Keep the duct from sagging, which can collect condensation and obstruct airflow.
- Connect the wiring and controls. Match connections to the wiring diagram and applicable electrical rules. A fan with a light or separate controls may need different wiring from a single-speed fan.
- Install the grille, restore power, and test. Check that the grille sits flat, the fan runs without rubbing, and the exterior damper opens when the fan operates.
One easy-to-miss detail is the exterior damper: if it sticks shut, the fan may sound normal while moving little air. Check the outlet while the fan runs, and make sure siding, roofing material, or a screen has not blocked the opening. A screen can also collect lint, so follow the cap and fan instructions for the correct outlet design.
Electrical, Permits, and When to Hire an Electrician
You do not always need an electrician to replace a bathroom fan, but you should hire one when the job requires new wiring, a new circuit, uncertain connections, or work outside your skill level. Whether a permit or inspection is required depends on local rules and the scope of work. Confirm requirements with the authority having jurisdiction before starting.
A like-for-like swap may be manageable for someone who can safely isolate the circuit, verify power is off, understand the wiring diagram, and make code-compliant connections. A new fan with a light, timer, humidity sensor, or separate switches can require additional conductors or control changes. Never assume existing wiring is suitable just because the old fan worked.
The International Residential Code (IRC) includes requirements for bathroom exhaust systems, but the version adopted and amended by a local jurisdiction controls the project. Its provisions address matters such as where exhaust air may discharge; the code text and local amendments should be checked with the building department. Start with the IRC exhaust-systems provisions, then verify the rules that apply where you live.
Pause and call a qualified professional if you find damaged wiring, aluminum conductors, a crowded electrical box, uncertain circuit protection, or a route that would require cutting structural framing. Roof work also carries fall and water-intrusion risks. The right choice can vary with the home’s construction and local code, so a general online installation sequence cannot replace an on-site assessment.
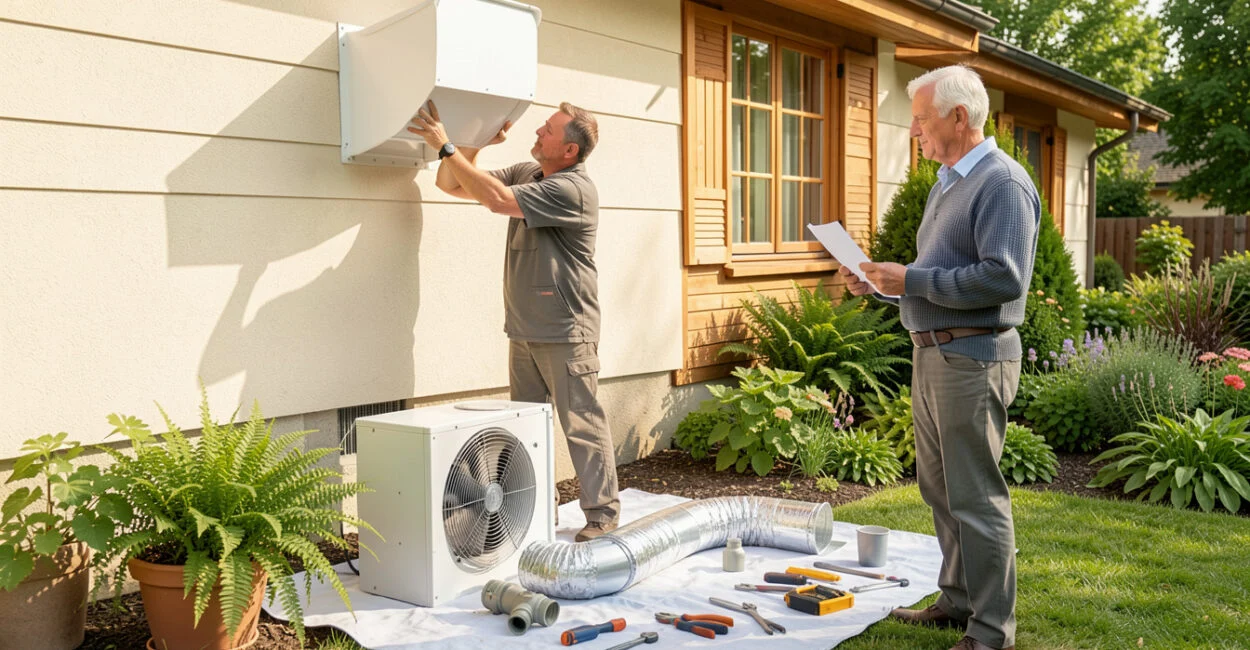
Bathroom Exhaust Fan Installation Cost: DIY, Replacement, and Professional Work
The cost to install a bathroom exhaust fan depends on the fan, local labor rates, access, wiring, and how far the duct must travel to reach an exterior outlet. A straightforward replacement using an existing housing and duct usually costs less than adding a new ceiling opening, wiring, and roof or wall cap. Ask for an itemized estimate that separates the fan, electrical work, ducting, exterior termination, repairs, and permit fees.
DIY costs may include the fan and compatible ducting, cap, connectors, fasteners, and any ceiling or roof repairs. A bathroom exhaust fan replacement kit can reduce work when it is explicitly compatible with the existing housing and electrical setup; check the exact model and instructions rather than assuming a kit fits because the grille looks similar. If the existing duct is damaged, undersized, or ends inside the attic, replacing only the fan will not solve the underlying problem.
Professional installation costs vary too widely by region and project conditions for one price to serve as a reliable estimate. Request a site-specific quote, especially if the job involves new wiring, difficult attic access, a roof penetration, or drywall repair. If the estimate includes a roof vent kit, confirm that it is designed for the roof type and fan duct size.
Test Airflow and Prevent Common Installation Problems
Run the fan and check for steady airflow at the exterior termination, where the damper should open. Inside, a light piece of tissue held near the grille should be drawn toward it; this is a quick screening check, not a substitute for measuring airflow with proper equipment.
Weak airflow often comes from a blocked damper, crushed or kinked duct, an overly long route, or too many bends. A fan can also underperform if the bathroom has no easy path for replacement air. If the door seals tightly, a gap beneath it or another code-compliant transfer-air path may be needed; check the fan instructions and local requirements before altering the door.
Moist air must not discharge into an attic, wall cavity, or other enclosed space. That mistake can move the moisture problem out of sight, where condensation may damage insulation or building materials. If airflow remains poor after checking the duct and outlet, have the installation assessed rather than choosing a higher-rated fan without finding the restriction.
Clean and Replace a Bathroom Exhaust Fan
To clean a bathroom extractor fan, turn off power at the breaker, confirm the unit is off, remove the grille as the manufacturer directs, and clean dust from the grille and accessible fan components with a vacuum or soft brush. Do not wet the motor or electrical parts, and do not remove components the manual says should remain in place. Refit the grille securely before restoring power.
Bathroom fans do not have one dependable lifespan that applies to every home and model. Noise, vibration, weak airflow, repeated motor trouble, or visible damage can indicate that cleaning or replacement is due; performance and condition matter more than a fixed age. If the housing and duct are sound, a compatible replacement motor or bathroom fan replacement kit may be an option, but confirm model compatibility first.
Keep the duct and exterior cap in view during maintenance. A clean grille cannot compensate for a stuck damper or a duct that has come loose, and dust buildup can return quickly in a frequently used bathroom. Follow the manufacturer’s schedule and instructions for any additional checks.
📱 See this content as a Web Story
Frequently Asked Questions
Can I Install a Bathroom Fan Without Attic Access?
Some retrofit fans are designed to mount from below, but they still need a viable duct route and access for electrical connections. Check the model’s instructions and confirm what is behind the ceiling before cutting.
Can a Bathroom Exhaust Fan Share a Duct with Another Fan?
Do not assume it can. Shared ducts can cause backflow or interfere with performance, and the fan instructions and local code determine what configurations are allowed.
Should the Fan Run During a Shower?
Yes, operating it during bathing helps remove moisture as it is produced. A timer or humidity control can help it continue running afterward, if the model and wiring support that control.
What Should I Do If the Fan Runs but the Mirror Still Fogs?
Check that the exterior damper opens and the duct is connected, unobstructed, and routed outdoors. The room may also need a correctly sized fan or a path for replacement air; persistent fogging alone does not identify which issue is responsible.
Before buying a fan, inspect the existing housing, wiring, and duct route, then decide whether the job is a direct replacement or a new installation. Confirm the fan’s instructions and local permit requirements; if the route involves roof work or the wiring is uncertain, get a qualified professional to assess those parts before any cutting begins.