
Bathroom Tile: 5 Risks Hidden in Popular Choices
How to prevent bathroom tile problems by matching tile type, grout, waterproofing, and floor slope to the space, plus key signs of installation issues to wat…
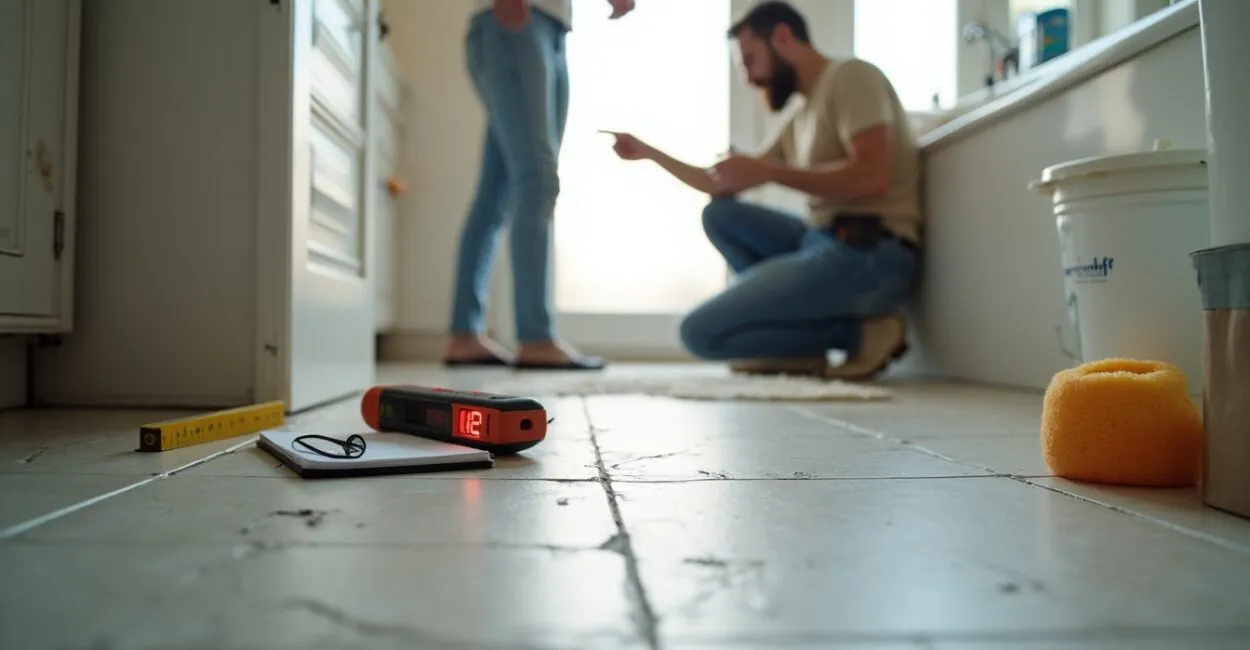 Contractor investigates damp damage beneath lifted bathroom tile
📅 Updated on 10/21/2026
Bathroom tile problems often begin with choices and installation details that are easy to overlook: surface finish, grout, waterproofing, and floor slope. A tile may look beautiful in a showroom yet perform poorly in a wet room if it is unsuitable for the location or installed over an unprepared surface.
Start by matching the tile to its location, then check the materials and installation plan before work begins. The guidance below covers materials, warning signs, and practical questions to ask before the final invoice. These checks can help you catch problems while they are still accessible.
Why Bathroom Tile Often Betrays You After a Month
Tile failures usually point to a mismatch between the tile, setting materials, substrate, or installation. Cracks, loose tiles, and recurring dampness deserve investigation rather than a quick cosmetic cover-up.
- Grout that cracks, crumbles, or discolors soon after installation.
- Tiles that move underfoot or sound hollow when tapped.
- Water that remains in puddles or appears beyond the tiled area.
- A persistent musty smell, swollen trim, or soft spots near the floor.
One hollow sound by itself does not prove a tile has failed, and grout color can change for several reasons. Look for patterns: several loose tiles, spreading cracks, dampness on the other side of a wall, or an odor that persists after the room dries. Photograph the area and note when the problem appears, such as after a shower or after cleaning.
Those small signs can help a qualified installer distinguish surface wear from poor bonding, movement, or moisture intrusion. If you suspect ongoing moisture, stop using the affected area if practical and arrange an inspection before covering it. Avoid applying new grout or caulk until the cause is understood; a surface patch can conceal evidence without correcting the source.
The Grout Failure Scandal Nobody Warned You About
Grout can fail when the joint width, grout type, mixing, or curing conditions do not match the product instructions. Choosing grout based only on color or price can lead to cracking, staining, or difficult maintenance.
- Unsanded grout in joints wider than the product allows, or sanded grout where the tile surface may be scratched.
- Incorrect water ratios, rushed cleanup, or inadequate curing time.
- Using epoxy grout without accounting for its installation requirements and cost.
- Applying sealer to a grout product that does not require it, or sealing before it has cured.
Before installation, confirm the joint width and grout type using the tile and grout manufacturers’ instructions. The tile’s material and surface can affect the choice: abrasive sand in some grout formulations may scratch delicate finishes, while a grout intended for narrow joints may not suit a wider gap. Ask the installer to confirm compatibility in writing if the tile is polished, glass, or otherwise sensitive.
After installation, follow the stated curing period before exposing the area to water. Sealing is not a universal 30-day rule: some cement-based grouts benefit from a compatible sealer, while other products have different care requirements. A sealer also does not replace waterproofing behind tile. Follow the grout manufacturer’s directions for cleaning and maintenance, and do not use an aggressive cleaner unless it is approved for both the grout and tile.
Keep product names, batch information, installation instructions, and dated photos. For technical guidance, consult the National Tile Contractors Association (NTCA) and the manufacturers’ documentation. If a joint cracks repeatedly, ask the installer to check for movement or substrate problems before simply filling it again.
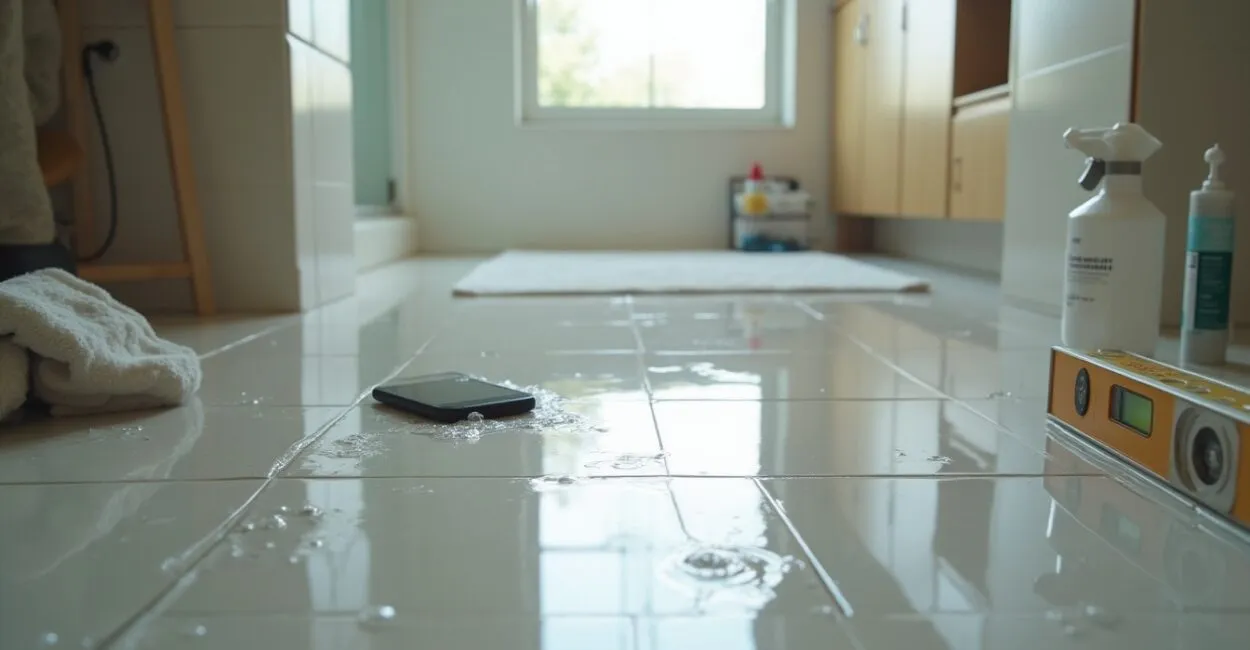
How Slippery Bathroom Tile Turns Bathrooms Into Hazards
A tile’s finish and the conditions underfoot affect traction, especially when soap and water are present. Polished tile may suit some bathroom walls, but it can be a poor choice for a shower floor where users need dependable footing.
- Glossy or polished surfaces in areas regularly covered with water.
- Large tiles on a shower floor that make it difficult to form an even slope to the drain.
- Textured surfaces that are hard to clean or become slick with soap residue.
Ask the retailer or manufacturer for the tile’s slip-resistance information and whether it is recommended for the intended location. Request the test method and rating, if provided, rather than relying on a vague description such as “slip resistant.” Ratings are useful for comparison, but they do not guarantee that a surface will feel safe for every person or under every condition.
Test a sample with wet feet only in a controlled, safe setting; a dry showroom sample cannot tell you how it will feel in a shower. Smaller mosaics can make it easier to follow a shower floor’s slope because they provide more grout joints, but the finished installation still needs to drain properly. Textured tile may improve grip, though deep texture can collect soap and require more frequent scrubbing.
Install a tile that is rated or recommended for the specific wet area, and keep the surface clean of soap buildup. Anti-slip treatments vary in compatibility and durability, so check the product instructions and tile warranty before applying one. The U.S. Access Board provides accessibility guidance; its recommendations do not replace local building requirements or product-specific advice.
Moisture Claims: What to Inspect Before You Pay the Final Invoice
Before paying the final invoice, check that the waterproofing system, drain area, and floor slope were completed as specified. Tile and grout are visible finishes; the waterproofing layer beneath them helps protect the structure from water intrusion.
| Check | Why it matters | Practical check |
|---|---|---|
| Waterproofing system | Helps protect the substrate and adjacent areas from moisture | Request the product name, installation records, and photos taken before tiling covered it |
| Slope to drain | Directs water toward the drain and limits persistent pooling | Run a controlled amount of water and observe whether it drains; do not flood a new installation |
| Grout and sealant joints | Finish joints need to be complete and compatible with the system | Inspect for gaps, cracks, and missing sealant; confirm cure times before use |
| Transitions and edges | Exposed edges and changes of plane can be vulnerable points | Check corners, thresholds, and plumbing penetrations for the specified finish and sealant |
A casual water test cannot prove that concealed waterproofing is sound. Ask for documentation of the system and any testing required before the tile was installed. If the system calls for a flood test, request the installer’s records and confirmation that it was completed before the membrane was covered. Avoid pulling up tile or puncturing a membrane to perform a DIY test.
During a visual check, look for incomplete sealant at changes of plane, gaps around plumbing penetrations, and water that consistently collects away from the drain. Some water may remain briefly on a textured surface, so judge the result against the product and installation specifications rather than assuming every bead of water signals a defect.
If water continues to pool, appears outside the shower, or causes a musty smell, document the issue and ask the installer for a written assessment and repair plan. Persistent dampness can contribute to mold growth; the CDC’s mold guidance recommends addressing moisture problems rather than treating visible mold alone. The U.S. Environmental Protection Agency also advises correcting water problems promptly in its mold guidance.
Which Brands to Watch—and Sometimes Avoid
Brand reputation alone cannot establish whether a tile will suit a particular bathroom. Compare the exact product line, its technical data, recommended uses, and the support available if a batch or installation issue arises.
- Ask for the product’s technical sheet and confirm its intended use, finish, dimensions, and care instructions.
- Inspect several tiles from the same batch for noticeable variation, chipped edges, warping, or inconsistent sizing.
- Confirm that enough material from a consistent dye lot is available for the project, including a reasonable amount for cuts and future repairs.
- Ask who handles product questions and what documentation is needed for a warranty claim.
Rectified edges can support tighter, more uniform joints, but they do not guarantee that every tile is perfectly flat or identical. Large-format and natural-material products may have variation limits that differ by product. Review samples in the lighting where they will be installed, and ask the seller to explain any stated shade or size variation.
Before ordering, compare the sample with the technical sheet and confirm that the listed application includes your intended location. A product suitable for a bathroom wall may not be approved for a floor, and a floor tile may not be suitable for a shower floor. Check the number of boxes, dye-lot details, and return conditions before opening packages.
Do not rely on a catalog image or a broad “premium” label. If the seller cannot provide product details, intended-use guidance, or a clear process for addressing defects, compare another line before ordering.
Installation Mistakes That Cause Most Callbacks
Substrate preparation, mortar selection, coverage, and movement joints all affect how a tiled surface performs. A neat-looking finish cannot compensate for a floor that moves or a wet-area system installed contrary to its instructions.
- Check that the substrate is suitable, stable, and prepared according to the installation system.
- Confirm that the mortar is compatible with the tile material, size, and setting surface.
- Ask how the installer will verify coverage and manage lippage, especially with large-format tile.
- Confirm that movement joints are planned at required perimeters and transitions rather than filling every change of plane with rigid grout.
- Request documentation of waterproofing and any required testing before the membrane is covered.
Ask your contractor to explain the sequence of work and identify which steps will be photographed before they are concealed. You can also request product labels or records for the membrane, mortar, grout, and sealant. A qualified installer should be able to explain how the chosen materials work together and what curing periods apply.
If a floor is uneven, do not assume the tile will correct it. Large-format tile generally needs a flatter setting surface than smaller tile, and acceptable tolerances depend on the materials and installation standard. Raise concerns before the mortar is spread, when corrections are simpler.
Agree on a simple project record before work starts: product names, lot numbers, installation photos, and the person responsible for approving changes. This is especially useful if a substitute product becomes necessary after an order is placed. A change in tile, mortar, or waterproofing may affect compatibility, so have the installer confirm the revised system before installation continues.
Quick Fixes That Prevent Costly Rework
Respond to a small defect by identifying its cause before applying a patch. A new layer of grout or sealer may hide a symptom temporarily while leaving movement or moisture problems untouched.
- Photograph cracks, stains, loose tiles, and standing water, including a wider view that shows their location.
- Check the product instructions before cleaning, sealing, or applying an anti-slip treatment.
- Ask the installer to inspect repeated cracks, movement, or hollow areas and explain the proposed repair in writing.
- Keep receipts, packaging, batch details, and messages in one place in case you need to contact the seller or manufacturer.
For a single damaged tile, a professional may be able to replace it without disturbing a larger area, depending on the installation and the availability of a matching tile. Avoid prying at loose pieces or drilling into a tiled shower wall; concealed plumbing and waterproofing can be damaged.
Use replacement materials that match the original product and system wherever possible. If the defect returns after a repair, request an assessment of the underlying cause rather than repeating the same patch. Keep the replacement tile’s packaging or label so its product line and lot information remain available.
Bathroom Tile Ideas for Floors, Walls, and Showers
Choose Bathroom Tile by location first, then coordinate color, size, and finish across the room. A practical combination might use a slip-conscious mosaic on the shower floor, a larger porcelain tile on the main floor, and a complementary wall tile that is easy to clean.
Area What to prioritize Common mistake Bathroom floor Suitability for floors, manageable maintenance, and traction when wet Choosing a polished finish based only on its dry showroom appearance Shower floor Wet-area suitability, drainage, and a surface that feels secure underfoot Using large pieces that make it harder to form the required slope Shower wall Water-resistant tile and a compatible waterproofing assembly behind it Assuming tile and grout alone make the wall waterproof Bathroom wall or backsplash Ease of cleaning and a finish that works with nearby fixtures Buying wall-only tile for a floor because the colors match
For a small bathroom, larger tiles can create a quieter pattern, while smaller formats may be useful where the floor needs several changes in slope. The grout color affects the visual result: a close match softens the grid, while contrast makes each joint more prominent. View samples together under the room’s lighting before placing the full order.
Modern bathroom tile ideas often combine a restrained field tile with one deliberate accent, such as a niche, vanity wall, or shower feature. Check that the accent tile is suitable for its location and that its thickness works with the surrounding tile at edges and transitions. For a cohesive result, choose a shared undertone or repeat one color in the floor, wall, and fixtures.
Peel-and-stick products can refresh a dry, smooth surface in some settings, but they should not be treated as a universal substitute for tile in a shower or other constantly wet area. Read the manufacturer’s location and surface restrictions carefully. For a shower, use a system specifically approved for that environment, including the required waterproofing behind the finish.
Can Peel-And-Stick Tile Be Used in a Bathroom?
It depends on the product and location. Some peel-and-stick tiles are intended for dry interior walls or backsplashes, while others may permit limited bathroom use. Check the manufacturer’s instructions for moisture exposure, surface preparation, and cleaning, and keep the product out of a shower unless it is explicitly approved for that application.
Choosing Tile by Material and Maintenance
Compare tile materials by where they will be installed, how much maintenance they need, and whether the manufacturer approves them for the intended use. Ceramic and porcelain are common choices, while natural stone may require more care and product-specific guidance.
- Porcelain: Often selected for floors and wet areas, but the specific finish and product instructions still matter.
- Ceramic: Available in many styles; check whether the exact tile is rated for the floor or wet-area application you have in mind.
- Natural stone: Can vary in porosity and care requirements. Confirm cleaning and sealing instructions with the supplier.
- Glass: Often used as an accent or wall finish; verify that the product and setting materials suit the location.
Ask for written care instructions before purchase. The wrong cleaner or an incompatible sealer can affect some finishes, and natural stone products may need a different maintenance routine from ceramic or porcelain. Save a spare tile and its product details for future repairs.
Also compare the grout joints and cleaning routine you are willing to maintain. A highly textured surface or intricate mosaic creates more edges where residue can collect. A simpler layout may be easier to wipe down, while a more detailed pattern can add visual interest; decide based on both the room’s use and your upkeep preferences.
How Do I Know If My Bathroom Tile Grout is Failing?
Look for cracking, crumbling, missing sections, or stains that return after cleaning. These signs can result from grout deterioration, movement, or moisture, so they do not identify the cause on their own. Avoid scraping the joint with a sharp tool or relying on a water-drop test to diagnose waterproofing. Photograph the area and ask the installer to recommend a repair based on the grout product and the condition beneath it.
Can I Make Bathroom Tile Less Slippery Without Replacing It?
Possibly. First check whether the tile manufacturer approves a treatment for that finish; some products can change appearance or affect a warranty. A compatible professional treatment may help, but results and durability vary. Keep the floor clean, use a stable bath mat where appropriate, and consider replacing a shower floor that remains unsafe after professional assessment.
When Should I Involve the Manufacturer or File a Claim?
Contact the seller or manufacturer promptly if tiles arrive chipped, show a repeated production defect, or differ materially from the product documentation. Keep receipts, packaging, batch numbers, photos, and installation records, and avoid discarding affected pieces until the claim process is clear. If the installer believes the tile is defective, ask for a written explanation that identifies the product and the observed problem.
Are Large-Format Bathroom Tile Harder to Install Correctly?
They can require more careful handling and a flatter substrate than smaller tiles. Ask the installer how they will check the surface, select compatible mortar, manage lippage, and plan cuts around drains and edges. Large tiles may also be impractical on shower floors with multiple slopes, where smaller pieces can follow the surface more readily.
What Quick Tests Can I Run Right After Installation?
Inspect grout joints, transitions, and visible edges, then run a modest amount of water in the shower and observe whether it moves toward the drain. Check for persistent pooling, loose or moving tile, and gaps in sealant. Do not flood the floor, tap aggressively, or treat a simple water check as proof of concealed waterproofing. Follow the installer’s curing schedule before using the room, and document any concerns in writing.
How to Choose Bathroom Floor Tile
For bathroom floor tile, confirm that the exact product is intended for floors, then compare its wet-area guidance, finish, size, and care requirements. A tile’s color or material name alone does not establish whether it is a suitable floor choice.
Use this selection sequence before ordering:
- Confirm the location. Separate the main bathroom floor from the shower floor; each has different drainage and traction considerations.
- Check the product documentation. Look for the manufacturer’s recommended applications, care instructions, and available slip-resistance information.
- Consider the floor layout. Check whether the tile size works around drains, thresholds, and tight spaces without awkward cuts.
- Review a sample in the room. View it with the bathroom’s lighting and adjacent finishes, and consider how grout color changes the overall pattern.
- Confirm the installation system. Ask the installer to verify substrate preparation, mortar compatibility, and the planned grout joint before materials are purchased.
Common mistakes include choosing a polished finish based on a dry sample, using wall-only tile on the floor, and selecting a shower-floor format that cannot follow the required slope. If a product’s use or traction information is unclear, ask the manufacturer for written guidance rather than relying on a retailer’s general description.
Before signing off, take photos, collect the product and installation records, and ask about any unfinished items in writing. Careful documentation makes it easier to resolve a defect and helps you maintain the Bathroom Tile you chose.