
How to Install a Peel-And-Stick Kitchen Backsplash
How peel-and-stick backsplashes bond to walls, differences in materials, and key factors to check before installation for a smooth kitchen update.
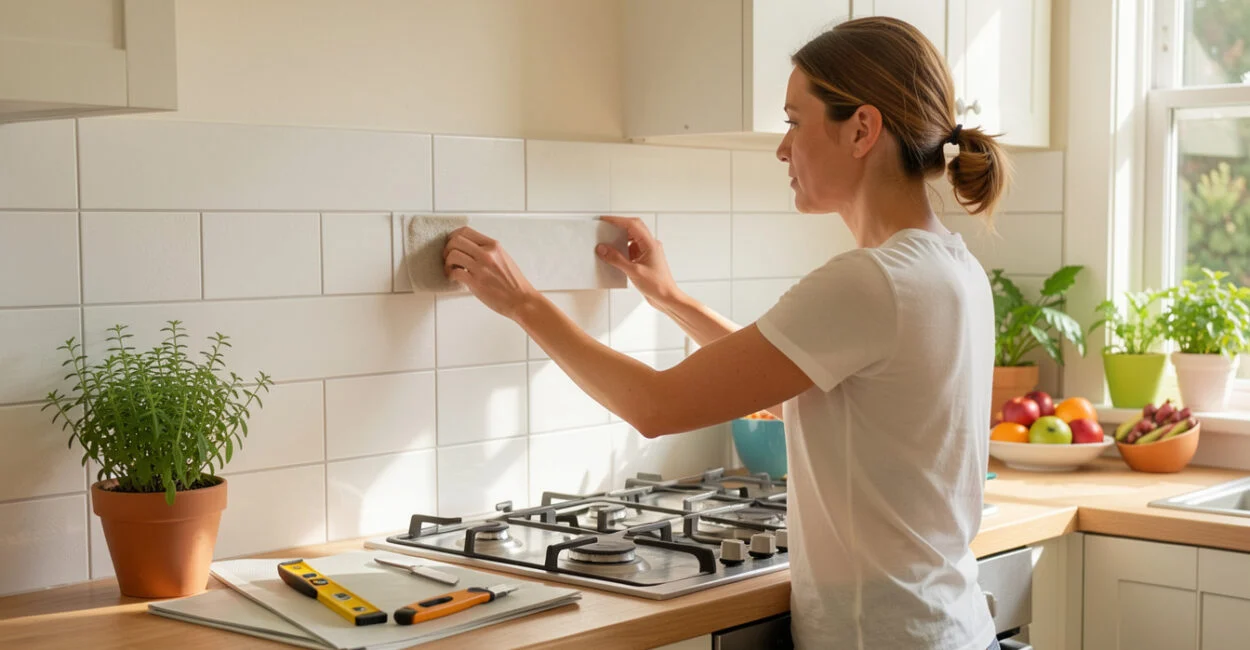 Aligning peel-and-stick tiles above the counter
A loose corner near the stove or a tile that keeps sliding out of line can turn a quick kitchen update into a frustrating one. A peel-and-stick backsplash can work well when the wall is smooth, clean, and dry, and the product is rated for the conditions where it will go. The key is choosing a suitable tile and following its instructions rather than assuming every adhesive-backed sheet installs the same way.
Before you buy, check the wall and the area around the cooktop. Those two details often determine whether this is a manageable weekend project or a job better suited to conventional tile or professional installation.
What a Peel-And-Stick Backsplash is and How It Works
A peel-and-stick backsplash is a wall covering with an adhesive backing that bonds to a prepared surface without a separate layer of mortar. In everyday terms, you remove the release liner and press the tile or panel onto the wall. Products vary: some use thin vinyl, while others have thicker composite layers or a raised, tile-like surface.
That difference matters. A thin sheet may conform slightly to a surface, but it can also reveal bumps and wall imperfections. A thicker panel may feel more substantial, yet still rely on the same basic requirement: good contact between adhesive and a clean, smooth wall.
Traditional ceramic tile uses a setting material and grout as part of a tile assembly. The Tile Council of North America’s Handbook for Ceramic, Glass, and Stone Tile Installation addresses those systems; an adhesive-backed product has different installation requirements and should not be treated as a shortcut version of the same assembly.
Choose Peel-And-Stick Tiles for a Kitchen
Start with the manufacturer’s stated use, not the appearance of the sample. Confirm that the specific product is intended for kitchen walls, and check its requirements for heat, moisture, cleaning, and installation near a range. A product described as water-resistant, for example, should not automatically be assumed to be waterproof or suitable for every spot behind a cooktop.
Look at thickness, finish, and sheet dimensions, too. Glossy finishes can make seams and uneven walls more noticeable, while textured patterns may hide minor visual variation but cannot correct a poorly bonded edge. Compare the sample against your wall and countertop under the kitchen’s usual lighting.
For broader layout planning, these kitchen remodel ideas for balancing space and style can help you consider how the backsplash will relate to cabinetry and other finishes.
The right backsplash tile is the one whose installation and exposure requirements match the exact wall and cooking area.
Check and Prepare the Wall Before Installation
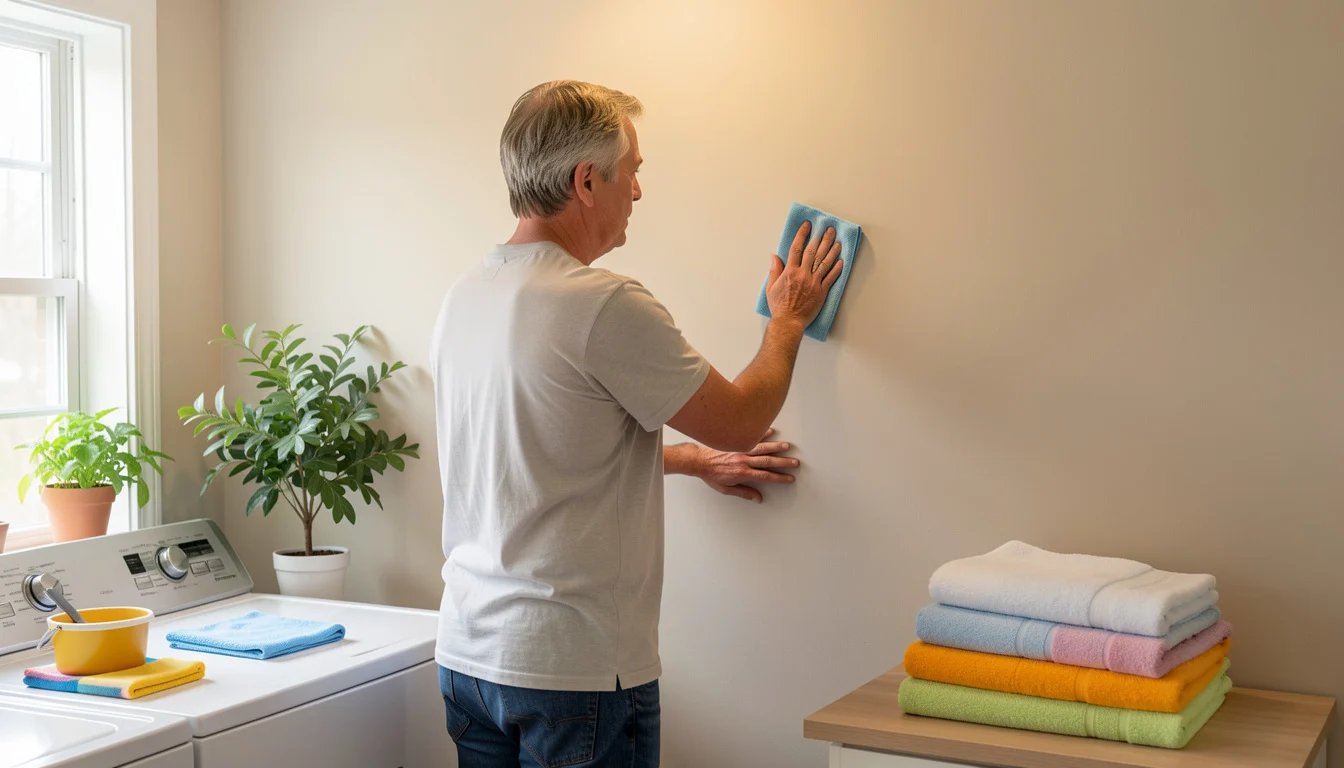
Peel-and-stick tiles need broad, reliable contact with the wall. Smooth, sound surfaces are generally the best candidates, provided the product’s instructions allow them. Remove grease, dust, and soap residue using a cleaner compatible with the surface, then let the wall dry completely.
Repair loose paint, holes, and peeling drywall before starting. Do not cover damp, damaged, or flaking areas; the adhesive can only hold as well as the layer beneath it. If the wall has fresh paint, follow the paint and tile manufacturers’ cure-time guidance instead of relying on a generic waiting period.
Can You Install Them on Textured Walls?
Often, textured walls prevent dependable adhesion because the tile touches only the raised points instead of making full contact. A slight texture may be allowed by some product instructions, but pronounced orange-peel texture, ridges, or uneven plaster can leave edges unsupported and prone to lifting.
Check the manufacturer’s surface requirements and test a small piece in an inconspicuous spot if the instructions permit it. If the sample does not lie flat or its edges begin to release, stop and prepare a smoother surface rather than pressing harder. A more aggressive adhesive is not a reliable fix for a wall that is unsuitable.
When planning other small home projects, a methodical approach such as this guide to fitting shelves in a small closet can be useful for measuring and checking clearances, though wall tile has different surface requirements.
Tools and Materials to Have Ready
Gather the materials before removing any release liner. The exact tools depend on the tile and wall, so treat the product instructions as the final word.
- Tape measure, pencil, and a level or straightedge
- Manufacturer-approved cleaner and clean cloths
- Utility knife or cutting tool suitable for the tile material
- Cutting mat or other protected cutting surface
- Straightedge and a roller or smoothing tool, if recommended
- Safety glasses and any other protective equipment specified by the tool or product manufacturer
How to Install a Peel-And-Stick Kitchen Backsplash
- Measure the area. Measure each wall section separately, including outlets and switches. Check the tile package for coverage, and allow for cuts and pattern matching when calculating how many sheets to purchase.
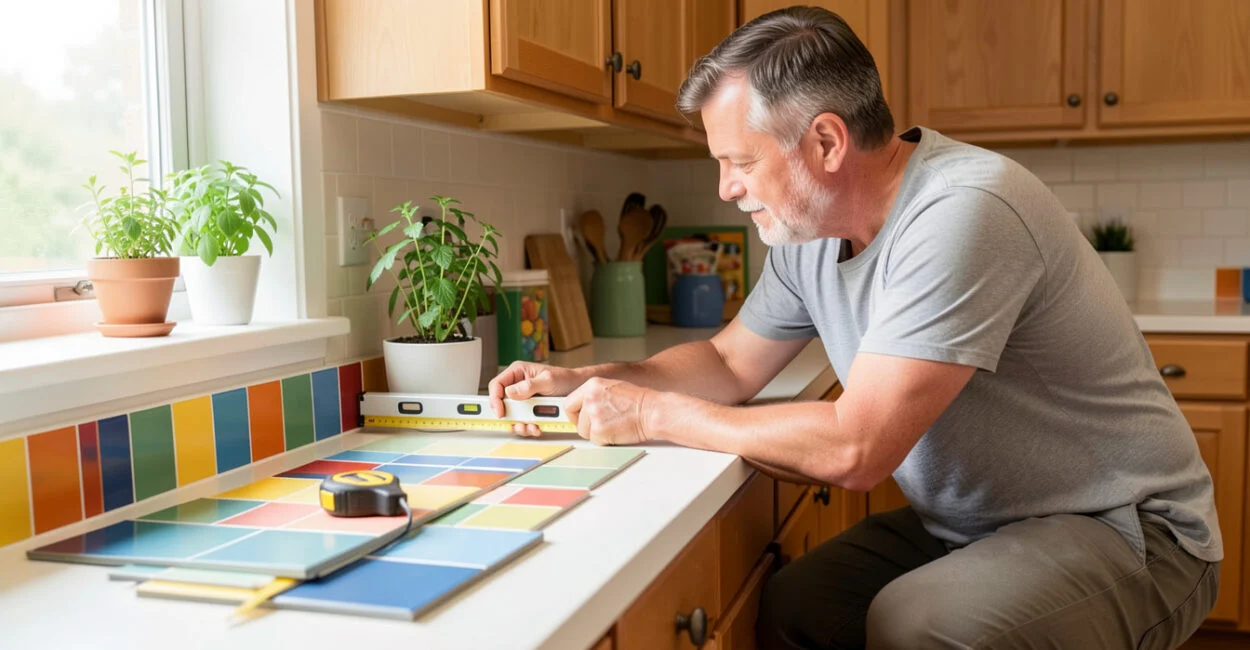
- Plan the starting point. Use a level to mark a guide line. Choose a position that keeps visible cuts balanced and avoids ending with a narrow strip at a prominent edge.
- Dry-fit the layout. Arrange sheets or individual tiles without removing the backing. Confirm the pattern, seam placement, and positions around outlets. A dry fit is easier to adjust than an adhesive-backed sheet already on the wall.
- Cut carefully. Follow the product’s cutting directions. Measure each outlet or edge cut, mark the tile, and cut on a protected surface. For outlet openings, switch off the circuit at the breaker and verify the power is off before removing a cover plate or working near the box. If you are unsure how to do this safely, consult a qualified electrician.
- Peel and place in small sections. Remove only as much release liner as needed to position the tile. Align it with the guide line and nearby seams before pressing it into place; once adhesive bonds, repositioning may be difficult or may reduce its hold.
- Press the surface and edges. Smooth the tile from the center outward, using the roller or tool recommended by the manufacturer. Pay close attention to seams and corners. A common installation slip is to stretch or tug a flexible sheet while aligning it; that can distort the pattern and leave a seam that is hard to hide.
- Finish edges and observe the stated cure or use guidance. Use only compatible trim or sealant if the product instructions call for it. Keep the area within the manufacturer’s recommended conditions before cleaning or exposing it to heat or moisture.
For a larger kitchen project, coordinating the backsplash with storage plans can help avoid awkward stops behind appliances or cabinets. This overview of ways to plan a kitchen remodel offers ideas for considering those decisions together.
Benefits, Limitations, and Best Uses
These tiles can make sense for a low-disruption update on a compatible wall, particularly when avoiding mortar and grout is a priority. They are less suitable when the wall is textured or damaged, the area receives exposure beyond the product’s rating, or the installation needs a long-term tile assembly with grout.
Consideration Peel-and-stick backsplash Conventional tile Installation method Pressure-sensitive adhesive; follow the product’s surface and placement instructions Setting material and grout, installed as a tile assembly Wall condition Usually needs a smooth, sound, clean, dry surface Requires a suitable substrate and installation system Heat and moisture Depends on the specific product and location Depends on the tile, grout, substrate, and installation details Removal May leave residue or damage paint or drywall Removal commonly involves more extensive demolition
Do not substitute peel-and-stick floor tiles for a kitchen wall product: flooring products are designed for different use conditions. Likewise, peel-and-stick wall tiles for a bathroom are not automatically suitable behind a range. Check each product’s stated application and exposure limits.
The National Kitchen & Bath Association’s kitchen-planning resources provide broader context for coordinating a kitchen’s work areas and finishes. For a backsplash near a cooking surface, the tile manufacturer’s instructions and any applicable appliance requirements still control the product choice.
Care, Removal, and Common Installation Problems
Clean the finished surface only with methods and products permitted by its manufacturer. Avoid assuming that a tile can tolerate abrasive pads, harsh cleaners, standing water, or direct heat just because its face looks like ceramic or stone.
If an edge lifts, check for grease, dust, texture, or a cut that left too little contact area. Pressing a loose edge back down may not solve the cause, and adding an unapproved adhesive or sealant can create a different problem. Follow the product’s repair guidance or replace the affected piece if the instructions allow it.
Removal is not guaranteed to be residue-free. Adhesive may pull paint or the paper face of drywall, especially if the wall was not sealed or the tile has been in place for a long time. Before installing over a surface you cannot afford to damage, test a sample where permitted and consider a more removable finish.
A peel-and-stick backsplash can be a good choice when the wall is smooth and the product suits the location. It is a poor match for a compromised wall or an exposure its manufacturer does not approve.
Before purchasing, measure the backsplash area, inspect the wall in side lighting for texture and defects, then compare those conditions with the selected product’s installation instructions. That check will tell you whether to proceed, prepare the wall first, or choose another finish.
📱 See this content as a Web Story
Frequently Asked Questions
How Long Should I Wait Before Cleaning a Newly Installed Backsplash?
Follow the specific product instructions. Some products may require a period before cleaning or exposure to moisture, and the timing is not the same for every adhesive.
Can I Put a Peel-And-Stick Backsplash over Existing Ceramic Tile?
Only if the product manufacturer permits it and the existing tile is clean, stable, and sufficiently smooth. Deep grout lines or uneven tile faces can prevent full contact, so test a small area where allowed before covering the entire wall.
Can I Use These Tiles Behind a Gas Range?
Check the product’s heat limitations and the range manufacturer’s clearance requirements before installing anything behind the appliance. If the tile is not specifically suitable for that location, choose another material or ask a qualified installer to assess the setup.