
Repairing Drywall Nail Pops: Causes and a Lasting Fix
Causes of drywall nail pops explained, with steps to secure loose panels, reset or remove fasteners, and properly repair surface damage for lasting paint res…
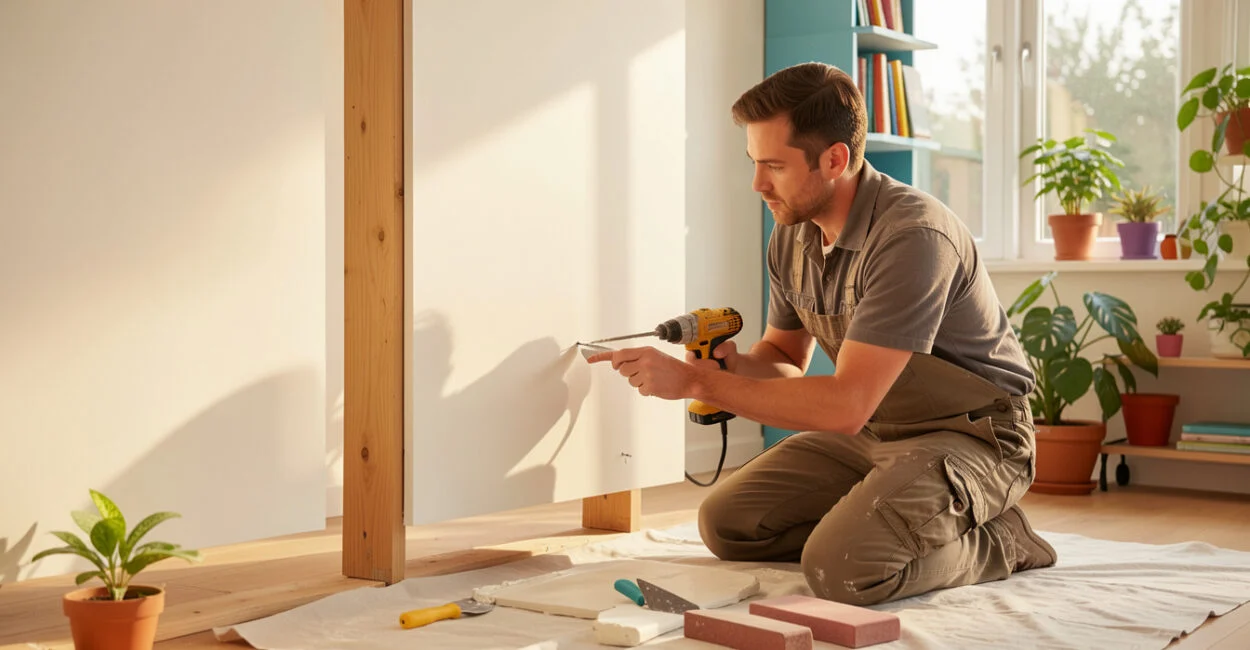 Securing drywall before patching a nail pop
A fresh coat of paint can make a small drywall bump stand out more than it did before. To repair drywall nail pops so the fix holds, first fasten the loose drywall to the framing, then reset or remove the raised fastener, fill the damage, and finish the surface for paint. Compound alone can hide the bump briefly, but it cannot secure a moving panel.
A nail pop is a raised spot in drywall where a fastener has shifted or the panel has moved away from the framing. The bump may appear around a nail or screw, and the visible damage can include a small ring of cracked paint or compound.
One isolated pop is usually a straightforward repair. Several popping fasteners in one area, repeated movement, or signs of moisture deserve a closer look before you patch and paint.
Before You Start
- Check whether the pop is isolated or part of a larger pattern.
- Gather drywall screws, a drill or screwdriver, a putty knife, joint compound, and sanding supplies.
- Wear eye protection and control dust while sanding.
- If the work may disturb old painted surfaces, check the EPA’s lead-safe renovation guidance before disturbing the paint.
What Causes Drywall Nail Pops?
Drywall nail pops form when a fastener or the surrounding panel moves enough to push the surface finish outward. Common causes include framing shrinkage as lumber dries, a fastener that did not hold securely, and movement between the drywall and framing. In plain terms, the panel shifts or the fastener works loose, and the finish above it bulges.
A pop may show as a round bump, a cracked spot, or a small circle where the fastener head has broken through the compound. Seasonal changes in temperature and humidity can contribute to movement, but a single bump does not identify the cause on its own. USG’s The Gypsum Construction Handbook and the Gypsum Association’s GA-216: Application and Finishing of Gypsum Panel Products describe installation and finishing practices that help panels stay properly attached and finished.
A useful clue is the pattern: one pop can reflect a local fastening issue; a row of pops along the same framing member may point to broader movement or installation problems.
How to Tell Whether a Pop Needs More Than a Patch
An isolated bump on a dry, firm wall can usually be repaired without replacing the drywall. Before you start, press gently around the spot. If the panel moves, fasten it to the framing before filling; if the wall feels soft, damp, or unstable, investigate the underlying condition first.
Look for clusters, repeated pops in the same area, long cracks, sagging, or staining. A recurring bump can mean the panel is still moving, the framing is shifting, or moisture has weakened the material. If the cause is not apparent, or the damage is widespread, a drywall professional or qualified building inspector can assess whether the framing or moisture source needs attention.
Do not treat a ceiling with multiple pops as a cosmetic-only problem if it also sags or feels loose. Avoid pressing hard on a damaged area, which can make a weak panel worse.
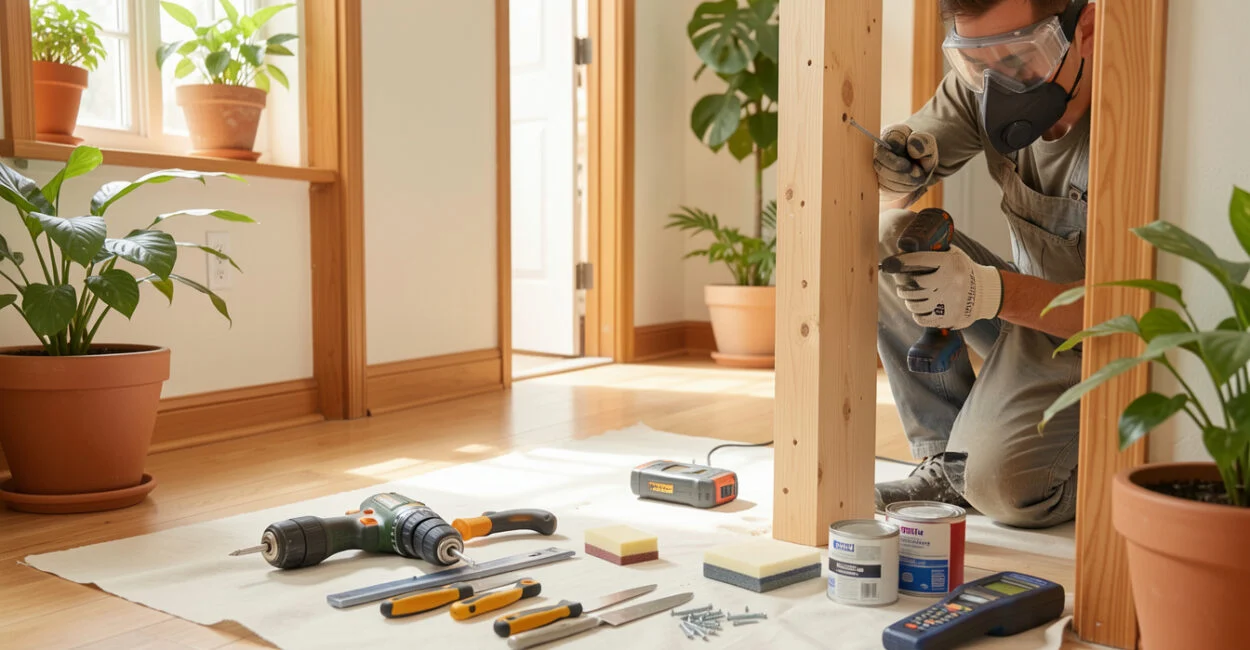
Tools and Materials for Drywall Nail Pop Repair
For a small repair, use the following:
- Drywall screws, a drill or screwdriver, and a utility knife
- Putty knife and drywall joint compound
- Fine-grit sanding sponge or sandpaper, dust mask, and eye protection
- Primer and matching paint, plus a drop cloth or other dust protection
Choose screws long enough to pass through the drywall and bite into the framing, without selecting a length that risks contacting wiring or plumbing behind the wall. The right choice depends on drywall thickness and what lies behind it. When the location of a stud or hidden utilities is uncertain, do not drive a screw blindly.
Secure the Panel and Reset or Remove the Fastener
Use drywall screws to pull loose drywall snug against the framing, then remove or reset the popped nail or screw. This is the step that distinguishes a durable drywall repair from a surface patch: the panel must feel firm before you apply compound.
- Expose the fastener. Scrape away loose compound and paint around the bump. Remove any ragged paper without enlarging the damaged area more than necessary.
- Secure the drywall. Drive one or two drywall screws into the framing near the pop, positioned so they hold the panel flat. Stop when the screw head sits just below the surface and the paper face remains intact. A torn paper face weakens the hold.
- Deal with the raised fastener. Remove a loose nail if you can do so without damaging the panel. If it is firmly held, set it slightly below the surface with a nail set. For a popped screw, back it out or drive it below the surface after securing the panel nearby.
Check the repair by pressing around the area. The drywall should not flex, and the screw heads should sit below the surface without breaking the paper. A common mistake is to countersink screws too deeply: a crushed paper face can leave the screw with less grip, making another pop more likely.
Apply Joint Compound and Shape the Patch
Spread a thin coat of joint compound over the fastener heads and damaged area with a putty knife. Let it dry according to the product label, then apply another thin coat if the patch still dips or shows edges. Thin coats are easier to sand and less likely to leave a noticeable mound.
Feather the compound beyond the original bump so the transition disappears into the wall. A useful on-the-job check is to view the patch from the side with light angled across it; this reveals a ridge or shallow depression that may be hard to see straight on. Do not keep adding compound to cover a raised fastener that still moves.
Sand, Prime, and Paint the Repair
Wait until the compound is fully dry before sanding or painting. Drying time varies with the compound type, coat thickness, temperature, and humidity; follow the label rather than relying on a fixed number of hours. If the patch feels cool, looks darker, or clogs the sandpaper, it may still be damp.
Sand lightly until the patch blends with the surrounding surface. Wear eye protection and a dust mask, and use a damp cloth or suitable vacuum to control and remove dust before priming. Avoid sanding through the drywall’s paper face; if that happens, seal the damaged paper with a product intended for that purpose before finishing.
Prime the patched area before painting so the repair absorbs paint more evenly. A small spot may still show through as a sheen or color difference, so painting the full wall from corner to corner can give a more consistent result. For the next stage, see these interior painting techniques for a refreshed finish.
Prevent Repeat Pops and Choose the Right Next Step
Good fastening and a stable wall reduce the chance of another pop, but no patch can guarantee that an actively moving panel will stay flat. Follow drywall installation guidance such as the Gypsum Association’s GA-216, and investigate persistent movement or moisture instead of repeatedly covering the same spot.
What you see
Likely issue
Recommended action
One raised nail with firm drywall around it
Loose or poorly set nail
Secure the panel, then remove or reset the nail and finish the surface.
A raised screw head
Drywall screw pop, often from panel or framing movement
Add a nearby screw into the framing, then reset or remove the popped screw.
Several pops, recurring bumps, sagging, or staining
Ongoing movement, a framing concern, or moisture damage
Find and address the underlying cause before cosmetic repair.
Start with the simplest decision: if the wall is dry and firm and the defect is isolated, make the repair; if the area is soft, damp, sagging, or repeatedly failing, pause and investigate. The EPA’s lead-safe guidance applies when repair work may disturb older painted surfaces, so check it before scraping or sanding paint whose age or lead content is uncertain.
📱 See this content as a Web Story
Frequently Asked Questions
Can I Use Spackle Instead of Joint Compound?
Spackle can work for a small surface ding, but it does not secure loose drywall. Fasten the panel first, then choose a patching product suited to the repair and follow its directions.
Should the Patched Spot Be Primed If the Paint is Flat?
Yes. Primer helps the patched area absorb finish paint more evenly and reduces the chance of a visible dull or shiny spot.
Will the Repair Show Through After Painting?
It can if the patch is raised, dipped, unprimed, or painted with a mismatched sheen. Check the surface under angled light before priming, and consider painting the entire wall when an exact match is difficult.
Can I Sand Joint Compound Indoors Without a Mask?
That is not advisable. Fine dust can become airborne, so wear a properly fitted dust mask and eye protection, limit dust spread, and clean the area before priming.