
How to Build a Rain Garden to Manage Roof Runoff
How to build a rain garden for roof runoff: choosing location, sizing the basin, selecting plants, and ensuring proper infiltration and safe overflow managem…
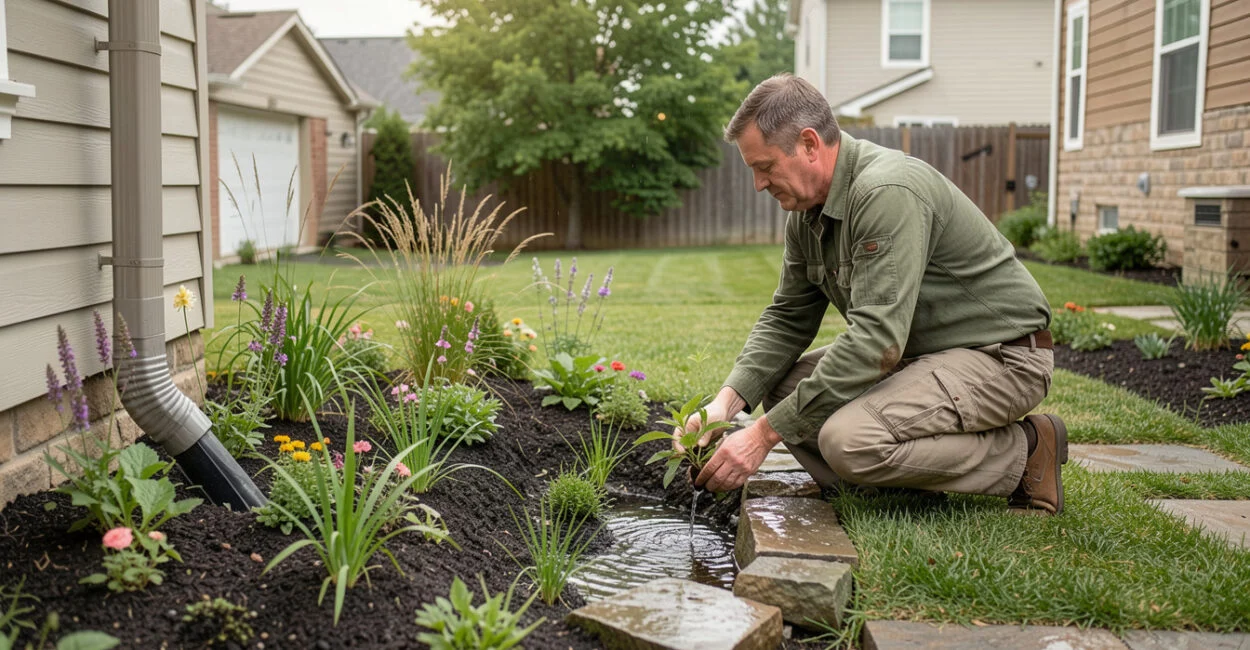 Roof runoff flowing into a rain garden
A downspout can send a surprising amount of water across a yard during a storm, even when the roof itself stays dry. To build a rain garden for roof runoff, direct that water into a shallow, planted basin where it can pond briefly, soak into suitable soil, and overflow safely when the basin fills. The right location and size depend on your roof area, soil infiltration, and local rules.
A rain garden is a shallow landscaped depression designed to collect stormwater and let it infiltrate into the ground. It is a useful tool for managing runoff, but it cannot fix a high water table, a failing foundation drain, or a drainage problem that sends water onto a neighbor’s property.
Before You Start
- Find out which roof area and downspout will feed the garden.
- Check local rules for setbacks, utilities, wells, and stormwater design.
- Locate underground utilities before digging.
- Choose plants suited to your region and the basin’s wet and dry zones.
How to Build a Rain Garden for Roof Runoff
Build a rain garden by routing a downspout to a shallow basin that can hold runoff temporarily, infiltrate it into the soil, and release excess water through a stable overflow route. First check setbacks and soil drainage; then size the basin for the connected roof area, excavate a level-bottomed depression, protect the inlet from erosion, and plant for both wet and dry conditions.
A rain garden works only when its inlet, basin, soil, and overflow route work as one drainage system.
Choose a Safe Rain Garden Location
Place the basin where roof water can reach it by gravity, while keeping it far enough from buildings and other sensitive features to avoid creating a new problem. Many guides use a setback of about 10 feet from a house foundation as a starting point, but local requirements and site conditions control. Check with your local stormwater office or Cooperative Extension before settling on a distance.
Away from the foundation, look for relatively level ground with a clear route from the downspout. Avoid steep slopes, areas with frequent standing water, septic system components, and places where overflow would cross a property line. Keep the basin clear of buried utilities and follow local guidance around wells and water-supply features.
- Foundation: Confirm the required setback and make sure the overflow cannot run back toward the house.
- Utilities: Have underground lines marked before excavation.
- Wells and septic systems: Check local health department or permitting rules for required separation.
- Slope and neighbors: Reject a site if water would accelerate downhill or drain onto adjacent land.
For a sloped yard, groundcovers can help stabilize soil around the garden, but they do not replace a properly shaped basin or protected overflow. These native groundcovers for slopes may be useful for nearby areas that need planting.
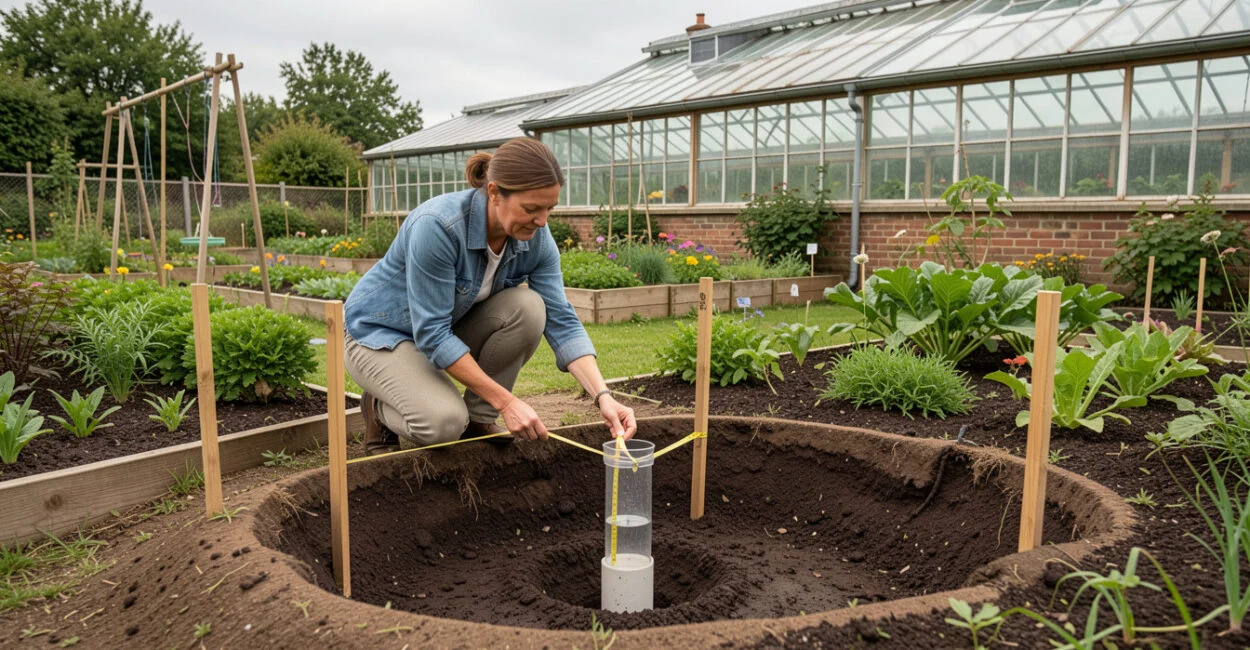
Calculate Rain Garden Sizing for Your Roof
Size the basin using the roof area connected to the downspout, the design storm required locally, the soil’s infiltration rate, and the basin’s planned ponding depth. There is no single footprint that suits every roof: a small garden may work in fast-draining soil, while slow-draining soil may require a different site or a professionally designed system.
Measure the roof section that drains to the chosen downspout, not the entire roof unless all of it feeds that outlet. Local rain-garden guides may offer sizing charts or design-storm criteria. Use those first; a simple volume calculation can help you understand the scale, but it does not replace local requirements.
Illustrative calculation: If 600 square feet of roof receives 1 inch of rain, the roof sheds about 50 cubic feet of water before accounting for losses: 600 × 1/12 = 50. A basin with 100 square feet of level surface and 6 inches of ponding depth also holds about 50 cubic feet: 100 × 6/12 = 50. This simplified comparison assumes the full inch reaches the basin and does not account for infiltration during the storm, side slopes, or required freeboard. Use your local design method to determine the final size.
Design consideration
What to check
How it affects the plan
Connected roof area
Which roof surfaces drain to the selected downspout?
A larger contributing area sends more water to the basin.
Soil infiltration
How quickly does water soak into undisturbed soil?
Slow infiltration may call for another site or expert review.
Ponding depth
What depth does local guidance allow for your site?
Depth affects storage, plant choice, and overflow elevation.
Overflow route
Where will excess water go when the basin fills?
The route must be stable and direct water away from buildings and neighbors.
The U.S. Environmental Protection Agency’s rain garden guidance explains the basic approach to capturing runoff. For a roof-fed basin, pair that guidance with your local stormwater design criteria rather than copying a size from another property.
Test the Soil and Plan Drainage
A rain garden soil infiltration test helps determine whether water can soak into the proposed site at a suitable rate. Dig a small hole in the basin area, fill it with water to pre-wet the soil, then refill it and observe how the water level drops. Follow your municipality’s or Extension office’s test dimensions and acceptance criteria, since test methods and minimum rates can differ.
Test more than one spot if the soil varies across the proposed basin. Compacted fill near a house can drain very differently from undisturbed soil a few feet away. A hole that drains slowly after pre-wetting may indicate clay, compaction, a high seasonal water table, or another limiting condition.
If the water drains too slowly, do not assume that adding gravel or mixing in compost will solve the problem. Those changes can alter storage and soil behavior without fixing the underlying drainage limitation. Test another suitable location, reduce the contributing roof area only if local design guidance supports it, or ask a stormwater professional or local Extension educator to assess the site.
The University of Minnesota Extension rain garden guidance offers region-specific planning information. Conditions vary by climate and soil, so its recommendations should be treated as a guide rather than a substitute for local rules.
Mark, Excavate, and Shape the Basin
Mark the basin outline and the inlet and overflow elevations before digging. The finished basin needs a level bottom so water spreads across the planting area instead of collecting in one corner. Shape the sides with a gentle slope that is stable in your soil and easy to plant; steep walls can slump and concentrate flow.
- Mark the garden footprint, inlet, and overflow route with flags or marking paint.
- Remove sod and excavate to the planned depth, keeping the basin floor level.
- Loosen compacted soil at the bottom without mixing in unapproved amendments.
- Shape gentle side slopes and form a stable inlet, using stone or another locally approved material where flowing water could scour the soil.
- Set the overflow at the intended ponding elevation and direct it to a safe, stable area away from buildings and neighboring properties.
Before planting, run water from the downspout through the route and into the basin. Watch for water bypassing the inlet, cutting channels, or flowing toward a foundation. Correct those issues before adding plants; they are harder to fix once roots and mulch are in place.
Choose Rain Garden Plants and Finish the Garden
Choose regionally appropriate plants that tolerate both temporary wet soil and dry periods between storms. The basin center stays wettest, the side slopes cycle between wet and dry, and the outer edge usually drains fastest. Native plants suited to your local rainfall and soil often make a practical starting point, but “native” alone does not guarantee that a plant will tolerate ponding.
Check mature height, spread, sun exposure, and local planting recommendations before buying. A mix of sedges, rushes, grasses, and flowering perennials can provide varied root forms and seasonal interest. Use plants known to handle the moisture conditions in each zone; avoid species that spread aggressively or are restricted locally.
- Planting list: Select plants by basin zone, sunlight, mature size, and local suitability; group plants with similar moisture needs.
- Mulch: Apply a stable, clean mulch layer suited to local guidance. Keep it away from plant crowns and the inlet, where floating material can clog the flow path.
- Plant spacing: Allow for mature spread so plants can fill in without crowding the inlet or overflow.
For a small yard, this guide to spacing native plants can help you plan plant groupings around the basin. A rain garden should still have visible, unobstructed water-entry and overflow areas.
Maintain the Garden and Troubleshoot Runoff
Water new plants during establishment as needed, especially during dry weather, and keep weeds from taking over while the planting fills in. After storms, check the inlet, basin floor, and overflow for sediment, bare soil, or signs of erosion. Remove sediment before it buries plants or blocks the flow path.
Temporary ponding is part of the design. If water remains much longer than local guidance allows, first check for a clogged inlet, compacted soil, or a blocked overflow. Persistent standing water can also signal a high water table or poor site drainage; do not keep deepening the basin or adding amendments without finding the cause.
When a basin drains slowly, diagnose the soil and flow path before changing the garden’s depth or soil mix.
A common failure starts at the downspout: the water enters as a concentrated stream, cuts a channel through mulch, and carries soil toward the overflow. A stable inlet and a clear, protected route reduce that risk. If runoff still threatens a foundation or crosses a property line, stop treating the garden as the only solution and seek site-specific drainage advice.
For more planting options around sloped ground, see these evergreen ground covers that hold soil year-round. They can support nearby slope planting, but keep the rain garden’s inlet and overflow open.
📱 See this content as a Web Story
Frequently Asked Questions
Can a Rain Garden Be Placed Where Water Already Pools?
Usually, that is a warning sign rather than an ideal location. The area may have compacted soil, a high seasonal water table, or poor drainage; test it and check local siting guidance before directing more runoff there.
Can I Connect More Than One Downspout?
Possibly, if the basin is sized for the combined roof area and has a safe overflow route. Include every connected roof surface in the design calculation, and avoid adding another downspout to a garden that already struggles to drain.
Should I Use a Rain Barrel Instead?
A rain barrel stores runoff for later use, while a rain garden manages water by spreading it across a planted basin and allowing infiltration. Some sites can use both, but the garden and overflow still need a plan for storms that exceed available storage.
Will a Rain Garden Attract Mosquitoes?
A properly functioning rain garden should drain between storms rather than hold permanent standing water. If water remains for an extended period, check the inlet, soil, and overflow instead of assuming the basin is working as intended.
Can I Use the Excavated Soil to Build Up the Garden’s Edges?
Use excavated soil only if local design guidance permits it and the material can form stable, compacted edges without blocking the overflow. Loose or poorly placed berm soil can erode or send water in the wrong direction.
Do I Need a Permit to Build One?
Permit requirements depend on local rules, site location, and whether the work changes drainage or involves a protected area. Check with your local stormwater or permitting office before excavation, especially near utilities, wetlands, wells, or septic systems.