
How to Safely Replace a Light Switch: Tools and Steps
How to identify the type of light switch, confirm power is off safely, and match wiring before replacement to avoid hazards or calling an electrician.
 Electrician checks switch wiring safely
A switch that clicks but no longer controls the light may be a straightforward replacement—or a sign of a wiring problem. You can replace a light switch safely only after identifying the circuit, confirming power is off with a properly rated tester, and matching the new switch to the existing wiring. If the wires or terminals don’t make sense, stop and call an electrician.
The instructions below cover common single-pole and 3-way switches in U.S. homes. They are not a universal wiring diagram: older homes, switch loops, and previous repairs can produce different wire arrangements.
Before You Start
- Identify whether the switch controls a light from one location or two.
- Get a replacement switch with the correct type, voltage, and amperage rating, plus a listed voltage tester.
- Know which breaker controls the circuit, and make sure you can keep it off while you work.
- Plan to stop if you find damaged insulation, unfamiliar wiring, or more conductors than you can identify.
1. Identify the Switch Before You Replace a Light Switch
A single-pole switch controls a light from one location and usually has two switching terminals plus a ground connection. A 3-way switch lets either of two switches control the same light; each 3-way switch has a common terminal and two traveler terminals. Match the switch type before buying a replacement, because the terminal layout determines where the conductors belong.
In U.S. terminology, “3-way” means control from two locations. In some other regions, a similar arrangement is called “2-way,” so a search for a 2 way switch wiring diagram may show a different naming convention. Check the diagram and terminal labels, not just the wording.
With power off, the number and type of terminals can help identify a switch. A 3-way switch typically has one dark-colored common screw and two lighter-colored traveler screws. A single-pole switch typically has two switching screws, often brass-colored. Ground terminals may be green. Terminal colors are clues, not proof; inspect the switch markings and document the existing connections.
2. Shut Off Power and Check the Work Area
Turn off the correct circuit breaker, then verify the switch box is de-energized with a tester before touching any conductor. A wall switch in the off position is not a substitute for shutting off the breaker.
Use a properly rated tester and follow its instructions. Check it on a known live source before and after testing the box, so a failed tester does not create false confidence. Keep the breaker off throughout the work, and prevent someone else from switching it back on.
Stop and call an electrician if the box is wet, scorched, unusually warm, or crowded with wiring you cannot confidently identify. Also stop if the tester indicates voltage after you turn off the expected breaker. The circuit may be mislabeled or the box may contain conductors from more than one circuit.
Electrical Safety Foundation International (ESFI) provides home electrical safety guidance. Follow its safety advice and the instructions supplied with your switch and tester.
3. Identify the Wires and Terminals
The line is the incoming power conductor; the load carries switched power toward the light. On a 3-way circuit, travelers connect the two switches and carry current along alternate paths. The common terminal connects to the line on one switch and the load on the other, depending on the circuit layout. Ground is the equipment grounding path. Neutral completes the circuit back to the source and is not usually connected to a basic mechanical switch.
Wire color alone cannot reliably identify a conductor’s function. White is commonly used for neutral, but in some switch loops it may be reidentified and used as a hot conductor. Older installations and previous repairs may also depart from current conventions. Never move a wire based only on color.
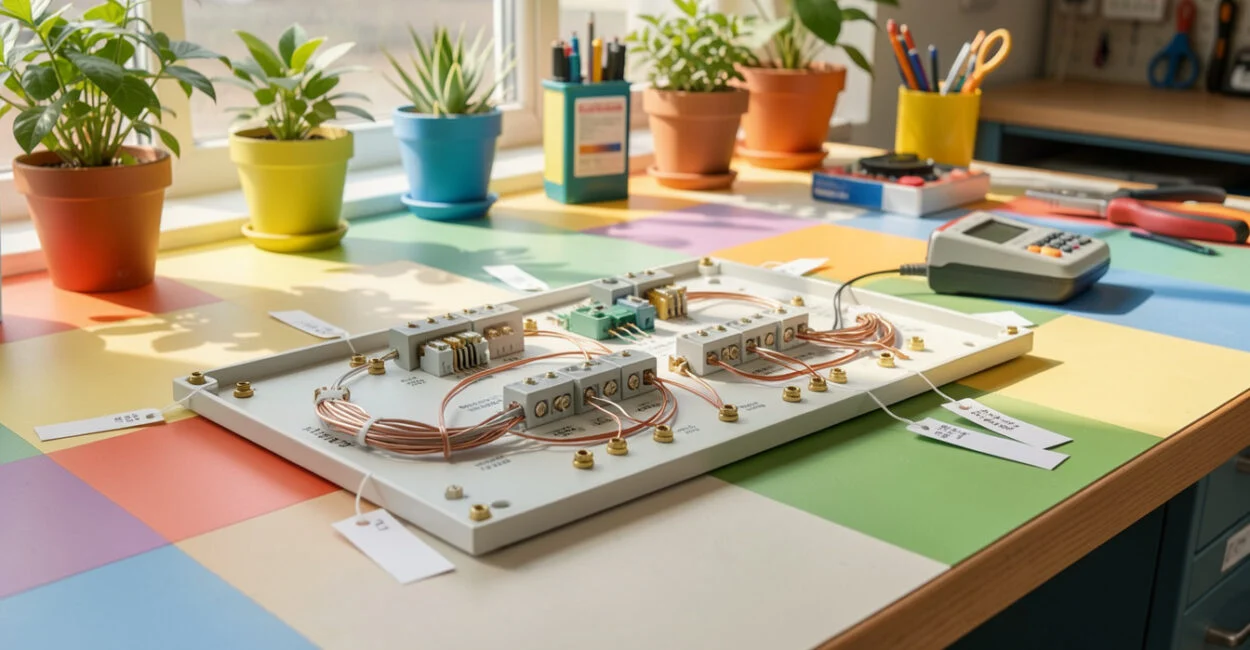
Before disconnecting anything, take a clear photo and label each conductor by the terminal it was attached to. On a 3-way switch, label the wire on the dark common screw separately from the two travelers. A wire’s position on the old switch is often more useful than its color, but it does not verify the circuit is safe or wired correctly.
For code questions, the applicable edition of NFPA 70, the National Electrical Code, and local amendments matter. The National Electrical Code is a model code adopted and enforced through local authorities; requirements can differ by jurisdiction.
4. Replace a Single-Pole Switch
A single-pole switch has two switching connections: one for the incoming hot conductor and one for the switched conductor going to the light. For a typical replacement, transfer those conductors to the corresponding terminals on a matching switch, connect ground, and keep any neutral splice intact.
Read also: How to Replace a Toilet Fill Valve Without a Plumber
Parts and tools: matching single-pole switch, screwdriver, listed voltage tester, and labels or tape. Use a switch with ratings suitable for the circuit and the type of load.
- Switch off the breaker and verify the box is de-energized.
- Remove the wall plate and mounting screws. Pull the switch out far enough to inspect its terminals without straining the wires.
- Label the two conductors connected to the switch, then disconnect them. Do not disturb unrelated splices.
- Connect the two switching conductors to the new switch’s designated terminals, and connect the equipment ground to the green grounding screw. Follow the manufacturer’s instructions; some switches allow either conductor on either switching terminal.
- Seat the switch without pinching wires, secure it to the box, and replace the wall plate.
Simplified 1-way light switch wiring diagram:
Line (hot) ── [single-pole switch] ── Load to light
Ground ─────────────── Ground terminal
Neutral ────────────── Light; usually not connected to the switch
This diagram shows the basic function, not every wiring method. For example, a switch loop may bring the line and switched conductor into the box without a neutral there. If the wires in your box do not match the arrangement you documented, stop rather than adapting the diagram.
5. Replace a 3-Way Switch Using Its Common Terminal
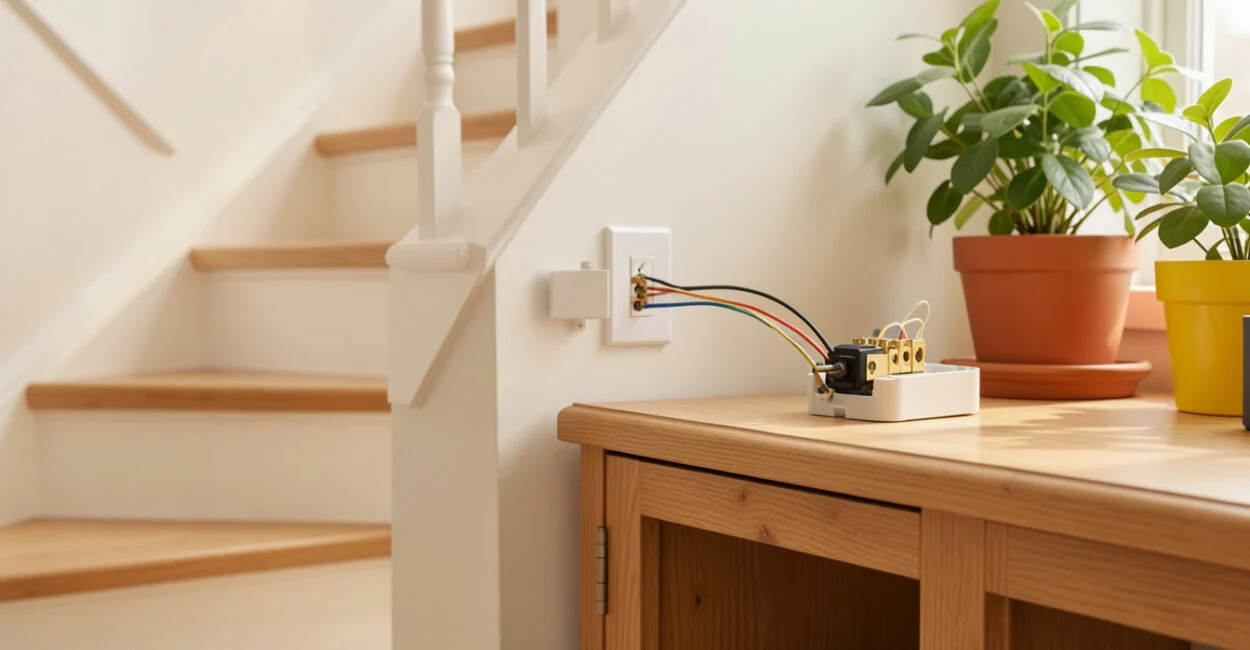
On a 3-way switch, the common conductor belongs on the terminal marked “common,” often the dark screw; the traveler conductors go on the two traveler terminals. Identify the common wire from its connection on the old switch, not from its insulation color.
A simplified 3-way switch wiring diagram shows the two traveler paths between switches:
Switch A common ── Line or load, depending on circuit
Switch A traveler 1 ───────── Switch B traveler 1
Switch A traveler 2 ───────── Switch B traveler 2
Switch B common ── Load or line, depending on circuit
Ground ─────────── Ground terminals at both switches
This layout explains terminal roles, but it is not a complete diagram for every home. The line and load can enter at different points, and switch boxes may contain additional conductors or splices. A 3-way switch wiring diagram PDF is useful only if it matches your actual circuit and the manufacturer’s switch instructions.
- Turn off the breaker and verify the box is de-energized.
- Photograph the old switch. Mark the conductor on the dark common terminal and mark each traveler separately.
- Move the identified common wire to the new switch’s common terminal. Connect the two travelers to its traveler terminals. Connect ground to the green screw.
- Mount the switch, replace the wall plate, and leave the breaker off until the box is closed.
If the old switch has no clearly identifiable common connection, if a conductor was already loose, or if the old and new terminal layouts differ, do not guess. A wiring diagram cannot resolve an undocumented or altered circuit by itself.
6. Restore Power and Check the Switch
Once the switch is secured and the cover plate is on, restore power at the breaker and test the light from every switch location. A 3-way circuit should work from either switch regardless of the position of the other one.
If the breaker trips, the switch sparks, you smell burning, or the plate or switch gets hot, turn the breaker off and leave it off. Do not keep resetting a tripped breaker or open the box while the circuit is energized. These symptoms may point to a short, a loose connection, a damaged device, or a wiring error.
If a 3-way light works only when the other switch is in a particular position, the travelers or common may be misidentified, or the circuit may have a different configuration than the simplified diagram. Turn off the breaker and recheck the labels against the original connections. If that does not explain the problem, call an electrician.
7. Compare Replacement Costs and Know When to Hire an Electrician
The cost to replace a light switch depends on the switch type, local labor rates, access, and whether the existing wiring needs repair. DIY materials may be limited to the device and small supplies, while professional service includes labor and may include a service-call charge. Ask for a quote that separates the switch, labor, and any diagnosis or repair work.
Option Typical cost components Best fit DIY, standard replacement Replacement switch and any needed small supplies; prices vary by type and location A clearly identified, undamaged switch and wiring arrangement that matches the device instructions Electrician Labor, possible service-call fee, materials, and any additional troubleshooting Unclear wiring, a 3-way configuration you cannot identify, damaged conductors, or suspected circuit faults
The labor cost to replace light switches and outlets is not a single national price. A straightforward device swap may be billed differently from diagnosing a failed circuit or correcting older wiring. Get a local estimate before work starts, especially if several devices need replacement.
Permit rules also vary. A like-for-like switch replacement may not require a permit in some jurisdictions, but local codes and the Authority Having Jurisdiction (AHJ) decide what applies. Check with your local building department before starting if the work involves new wiring, a circuit change, or uncertainty about the rules.
Hire an electrician if you find aluminum branch-circuit wiring, signs of overheating, multiple circuits in the box, no reliable way to verify power is off, or wiring that does not match a known diagram. Those conditions require evaluation beyond a basic device swap.
📱 See this content as a Web Story
Frequently Asked Questions
How Do I Wire a Light Switch with Three Wires?
First identify the switch type and the function of each conductor; “three wires” can describe different arrangements. On a 3-way switch, one conductor connects to common and two connect to travelers, but a ground wire may also be present. Do not decide by wire count or color alone.
Can I Use Any Replacement Switch with the Same Number of Wires?
No. The replacement must match the switch function and have appropriate electrical ratings. A single-pole, 3-way, dimmer, and smart switch can have different terminals and wiring requirements even when the box contains a similar number of conductors.
Do Smart Switches Always Need a Neutral Wire?
No. Some models require a neutral at the switch box, while others are designed for circuits without one. Check the specific product’s wiring instructions and confirm the circuit before purchase.
Can I Replace a Switch If the Breaker Label is Unclear?
Only if you can positively identify the correct circuit and verify the box is de-energized with a suitable tester. If other circuits may feed the box or the tester indicates voltage, stop and have the wiring assessed.
What Should I Do with the Old Switch and Packaging?
Keep the old switch and its packaging until the new one has passed its operational check. The model and wiring notes can help if the replacement does not behave as expected; recycle or dispose of the device according to local rules once the installation is confirmed.