
How to Replace a Toilet Fill Valve Without a Plumber
How to determine if your toilet’s fill valve needs replacement by checking water flow, testing flush components, and steps to swap the valve without removing…
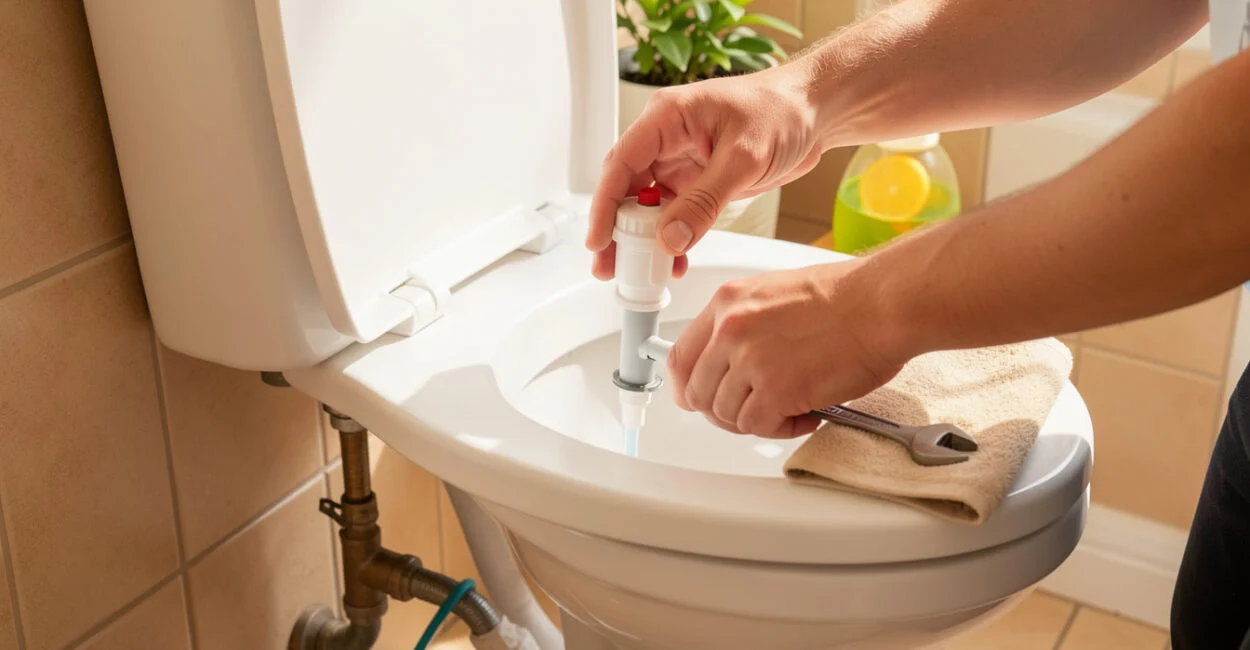 Installing a new toilet fill valve
A toilet that refills by itself every few minutes may have a worn fill valve, but a flapper that leaks can cause the same annoyance. To replace a toilet fill valve, first confirm the valve is the problem, then match a replacement to the toilet and follow its manufacturer’s instructions. Most installations can be done without removing the tank.
The repair involves shutting off the water, draining the tank, swapping the valve, and setting the refill height. The tricky parts are often loosening an old supply connection and getting the new valve’s shank washer seated without overtightening it.
How Do You Know Whether to Replace a Toilet Fill Valve?
Replace the fill valve when it fails to shut off, refills erratically, or leaks from the valve assembly after you have checked the water level and flush components. Shut off the supply and inspect the tank: if water continues entering, the valve may be at fault; if the tank loses water while the supply is off, check the flapper or flush-valve seal.
A toilet fill valve is the tank’s inlet control: it admits water after a flush and closes when the tank reaches its set level. In everyday terms, it refills the tank and stops the flow. A hiss or trickle by itself does not prove the valve is bad. A high water level can send water down the overflow tube, while a faulty flapper can let tank water leak into the bowl and trigger repeated refills.
For a simple check, mark the tank’s water level, turn off the shutoff valve, and wait. If the level drops, the flapper or flush-valve seal is a more likely leak path. If it holds but the valve still will not shut off when the supply is on, inspect or replace the fill valve. This test narrows the problem; it cannot identify every internal failure.
A running toilet is a symptom, not a diagnosis: check whether water is entering the tank or escaping through the flush valve before buying parts.
Which Replacement Fill Valve Will Fit Your Toilet?
Choose a replacement by checking the toilet’s make and model, the valve’s connection type, and the space inside the tank; “universal” on the package does not guarantee a fit for every toilet. The toilet manufacturer’s parts list and the new valve’s installation instructions are the best compatibility checks.
Valve type Compatibility check Trade-off Adjustable float-cup valve Confirm the tank has room for the cup to move and the shank suits the tank opening. Common and height-adjustable; the float must not rub against the tank wall or flush mechanism. Float-ball valve Check clearance for the arm and ball, plus the fitting and tank design. Familiar older design; the arm can interfere with other tank parts. Model-specific or proprietary valve Match the toilet model or the part number listed by its manufacturer. May be necessary for concealed, compact, or unusual tank designs; fewer generic substitutes may fit.
Look at the underside of the tank before purchasing. Note whether the water supply connects beneath the tank, whether the valve has a threaded shank, and whether the flush tower or other parts leave enough clearance. Some toilets use a proprietary valve or a specific refill-tube arrangement, so the general steps below do not override the toilet’s repair manual.
The Fluidmaster 400A Installation Instructions illustrate why valve-specific directions matter: adjustment details and refill-tube placement can vary. Check the instructions supplied with your chosen valve even if the old valve looks similar.
What Tools and Preparation Do You Need?
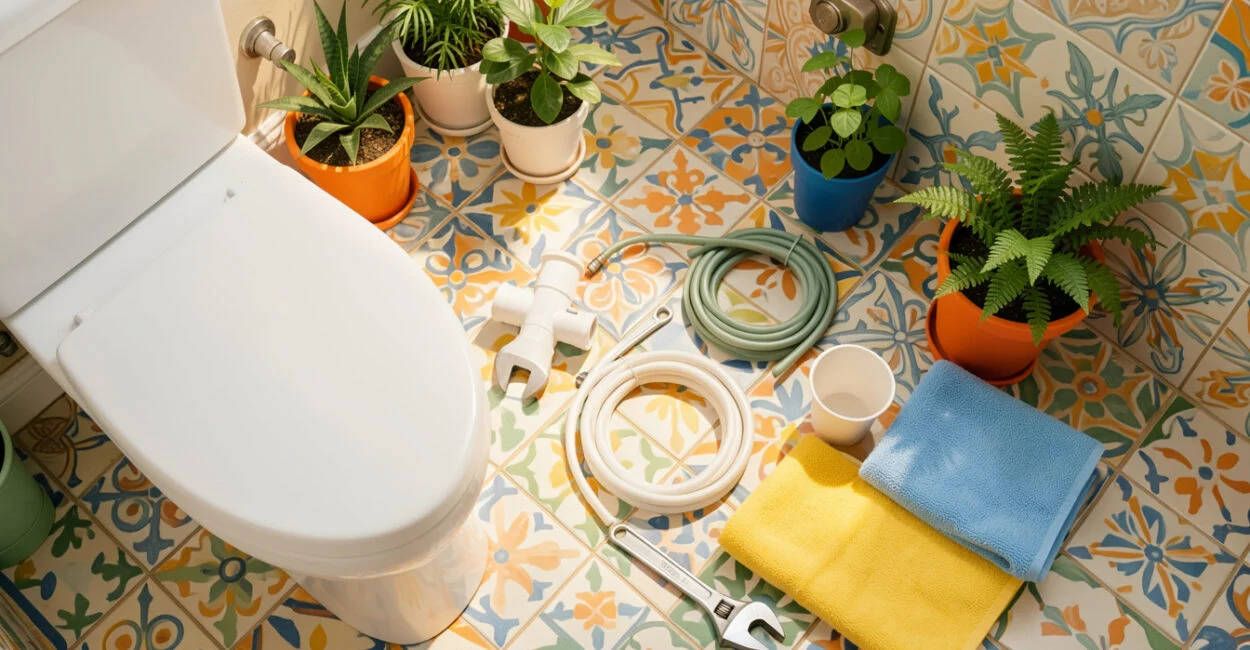
Gather an adjustable wrench, a sponge or small cup, a towel, and the replacement valve; have a new supply line ready if the existing one is damaged or its connector does not match. A bucket is useful for catching water left in the line.
- Turn the toilet’s shutoff valve clockwise by hand. Do not force a valve that feels stuck or starts leaking.
- Flush once, then sponge or scoop the remaining tank water into a bucket.
- Put a towel under the supply connection and check that the replacement’s parts and instructions are on hand.
How long does the job take? A straightforward replacement often takes about 30 to 60 minutes, but corrosion, a stubborn connection, or a model-specific valve can add time. You can usually replace the fill valve without removing the toilet tank; if the design requires tank removal or access is obstructed, follow the toilet maker’s procedure rather than improvising.
Read also: How to Patch a Small Hole in Plaster Without Repainting
How Do You Remove the Old Valve and Install the New One?
With the supply shut off and the tank emptied, disconnect the water line, remove the old valve, and install the replacement according to its instructions. Most standard tank-mounted valves can be changed from inside the tank without lifting the tank off the bowl.
- Disconnect the supply line. Place a towel or bucket underneath, then loosen the connector at the valve shank. If the shutoff valve will not turn, stop; forcing it can damage the valve or the pipe. A plumber can replace a failed shutoff safely.
- Remove the old fill valve. Hold the valve inside the tank so it does not spin, then loosen the mounting nut beneath the tank. Lift the valve out and remove its old washer.
- Prepare the new valve. Set its height and float range as directed in the product instructions. Confirm the shank washer sits in the specified position; washer orientation varies by design.
- Fit and secure the valve. Insert the shank through the tank opening, align the valve so the float moves freely, and tighten the mounting nut by hand. Use a wrench only as the instructions direct. Overtightening can crack a plastic shank or damage the tank.
- Reconnect the supply line. Check the connector and washer for wear, then attach the line without cross-threading. Replace a kinked, corroded, or incompatible supply line rather than trying to make it seal by force.
- Attach the refill tube. Secure it to the valve’s outlet clip and position it over the overflow tube as the valve instructions specify. Do not push the tube down into the overflow tube.
For example, a replacement may appear to fit while its float cup catches on a flush tower. If the cup cannot rise and fall freely by hand, rotate or reposition the valve before filling the tank. A float that rubs can keep the inlet open even when every connection is tight.
Read also: How to Safely Replace a Light Switch: Tools and Steps
How Should You Adjust the Water Level and Refill Tube?
Set the tank water level to the mark inside the tank or to the toilet manufacturer’s specified level, keeping it below the top of the overflow tube. The correct level lets the toilet flush as designed without sending excess water into the bowl through the overflow.
Turn the adjustment screw or move the float according to the valve’s instructions; different designs adjust in different ways. Refill the tank and watch the level rise. If water reaches the overflow before the valve closes, lower the float setting and check that the valve is not obstructed.
The refill tube sends a portion of incoming water into the overflow tube to refill the bowl after a flush. Clip it above the overflow opening with an air gap, following the valve maker’s diagram. A tube pushed down inside the overflow can create a siphon, waste water, and contribute to a toilet that keeps refilling.
The U.S. Environmental Protection Agency’s WaterSense guidance on residential toilets explains the role of toilet performance and water use. For the repair itself, the toilet’s own level mark and manufacturer instructions control when they differ from a generic adjustment.
How Do You Test for Leaks and Fix Common Problems?
Turn the supply back on slowly, let the tank fill, and inspect the valve shank, supply connection, and tank floor for leaks. Flush several times and listen for the valve to stop; then check the water level again after the tank refills.
Symptom Likely cause What to check Water drips beneath the tank Loose, misaligned, or damaged shank washer; loose supply connection Shut off the water, dry the area, identify which connection is wet, and reseat or replace the affected washer or line. Tighten only as the product instructions allow. Tank keeps filling or water runs into the overflow Float set too high, float obstructed, or valve not closing Lower the setting, check free float movement, and confirm the valve is installed at the specified height. Toilet keeps running after replacing the fill valve Leaking flapper or flush-valve seal, chain held taut, refill tube installed incorrectly, or water level too high Check that the flapper closes, the chain has a little slack, the tube is clipped above the overflow opening, and the float stops at the correct level. Valve makes noise or fills slowly Partially closed shutoff, debris, kinked supply line, or a valve issue Check the supply line and shutoff position. Follow the valve maker’s cleaning instructions; do not disassemble parts the instructions say to leave intact.
If the shutoff valve starts leaking around its handle or connection after you touch it, stop using it and shut off water upstream only if you can do so safely. A new fill valve will not repair a leaking flapper, damaged flush-valve seal, cracked tank, or failing shutoff. Avoid using caulk at the toilet base to conceal a leak; the site’s advice on smoothing a bathroom caulk bead is for finish work, not a substitute for finding the source of water.
When Should You Stop and Call a Plumber?
Stop if the shutoff valve will not turn without force, a tank connection is cracked, or water continues leaking from a fitting you cannot safely isolate. These conditions can turn a small repair into water damage, and the right fix may require replacing a shutoff valve or repairing a tank connection.
Call a plumber if the toilet still runs after you have checked the flapper, chain, refill tube, and water level, or if the tank’s design requires removal and you are unsure how to reseal it. Local plumbing requirements can vary; the International Plumbing Code (IPC) is a model code adopted and amended by jurisdictions, not a guarantee that one rule applies everywhere.
For a small leak around the toilet base, identify the source before attempting any finish work. A guide to preparing bathroom surfaces before caulking can help with surface preparation once a plumbing leak has been repaired, but caulk should not cover an unresolved leak.
Quick Answers Before You Start
Question Short answer How do I confirm the valve is faulty? Check whether the valve keeps admitting water after the tank reaches its proper level; rule out a flapper leak first. How do I choose a replacement? Match the toilet model, tank clearance, and connection, then follow the replacement valve’s instructions. Can I leave the tank in place? Usually, yes; most standard fill valves are removed through the tank opening. What if the shutoff is stuck? Do not force it. Stop and have the shutoff assessed or replaced. Why does the toilet still run? Check the flapper, chain slack, float setting, and refill-tube placement.
Before buying a part, read the toilet model label or parts list and compare it with the new valve’s fit requirements. If the shutoff works and the valve is compatible, follow the manufacturer’s installation steps, then test every connection and the final water level before putting tools away.
Frequently Asked Questions
Can Hard Water Shorten a Fill Valve’s Service Life?
Mineral deposits can interfere with moving parts or the valve’s sealing surfaces. If deposits return after cleaning, use the replacement valve maker’s maintenance guidance and check whether your toilet model calls for a specific valve.
Should Plumber’s Tape Go on the Fill-Valve Shank?
Usually, no. The tank-to-valve seal is made by a washer, not by tape on the threads. Use tape only if the specific manufacturer instructs you to do so for a particular threaded connection.
Can a New Fill Valve Make a Toilet Flush More Strongly?
The fill valve controls tank refill, not the flush itself. If the bowl flush is weak, check the water level, flapper lift, and flush-valve openings; a different fill valve may not solve the cause.