
How to Choose the Right Drill Bit for Common DIY Materials
How to select the right drill bit by matching material, hole purpose, and diameter: wood, metal, masonry, or tile bits with tips on speed, pressure, and comp…
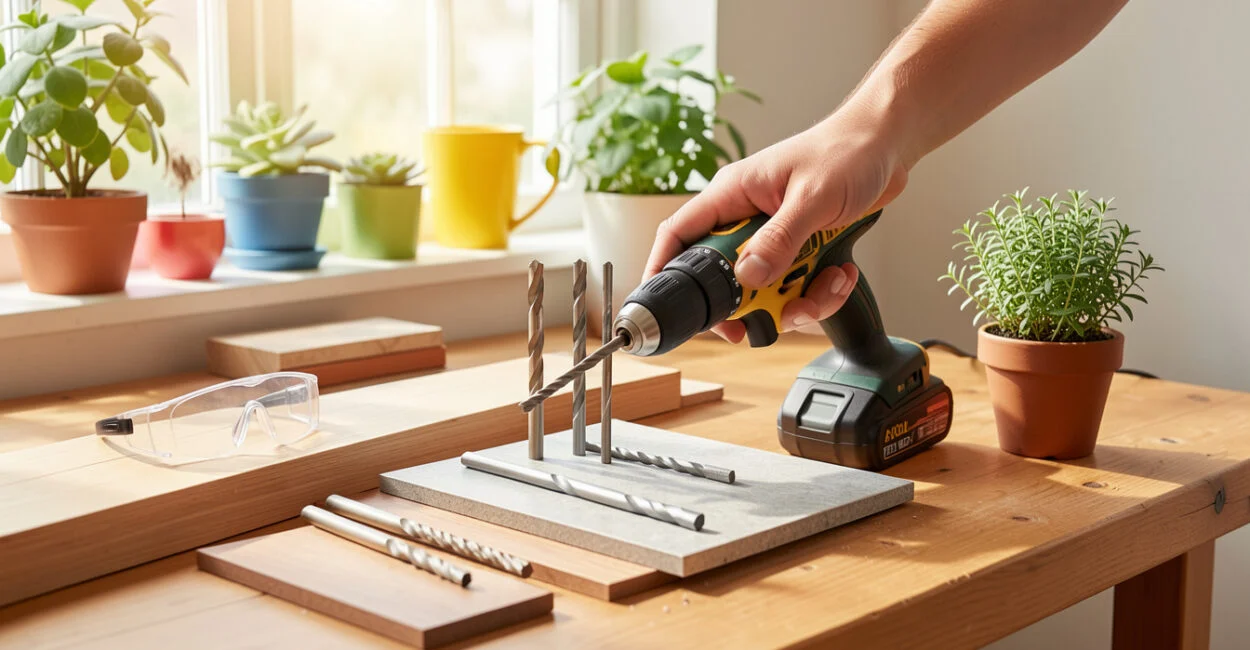 Matching drill bits to common materials
The right drill bit depends on the material, the hole’s purpose, and its required diameter. Use a wood bit for wood, a metal-rated bit for metal, and a masonry bit for brick or concrete; for tile, choose a bit designed for the tile type. Then check the fastener or wall-plug instructions and make sure your drill and bit shank are compatible.
Choose the Right Drill Bit: Which Type Fits Your Job?
Choose a bit by matching the material first, then the hole type and diameter. For most household projects, a sharp twist bit suits metal, a brad-point bit makes a more controlled hole in wood, and a carbide-tipped masonry bit handles brick or concrete. Tile calls for a tile-rated bit and careful drilling without hammer action.
How Drill Bit Types Differ by Material
Material Suitable bit Key caution Wood Brad-point bit for accuracy; standard twist bit for general holes Back the workpiece to reduce tear-out as the bit exits Metal HSS twist bit; use a metal-rated bit for the specific metal Use controlled pressure and suitable speed; lubricate when the bit or material calls for it Brick or concrete Carbide-tipped masonry bit Hammer action is suitable for many masonry tasks, but not for every material or surface Tile Tile-rated carbide or diamond bit, as specified for the tile Start slowly and do not use hammer action on the tile Plastic Sharp twist bit suited to the plastic and hole size Low speed and light pressure help limit melting and cracking
Bosch Professional’s drill-bit selection materials distinguish bits by both material and application. That distinction matters: a masonry bit can chip a tile, while a general-purpose bit may wander across a smooth surface. For tile, check the bit maker’s instructions and the tile manufacturer’s guidance, since brittle ceramic and hard porcelain may call for different bits.
For wood, the brad-point tip helps keep the bit centered. When drilling through a finished board, a common source of splintering is letting the bit break through without support; clamp a scrap backing board behind the work or ease off as the tip exits.
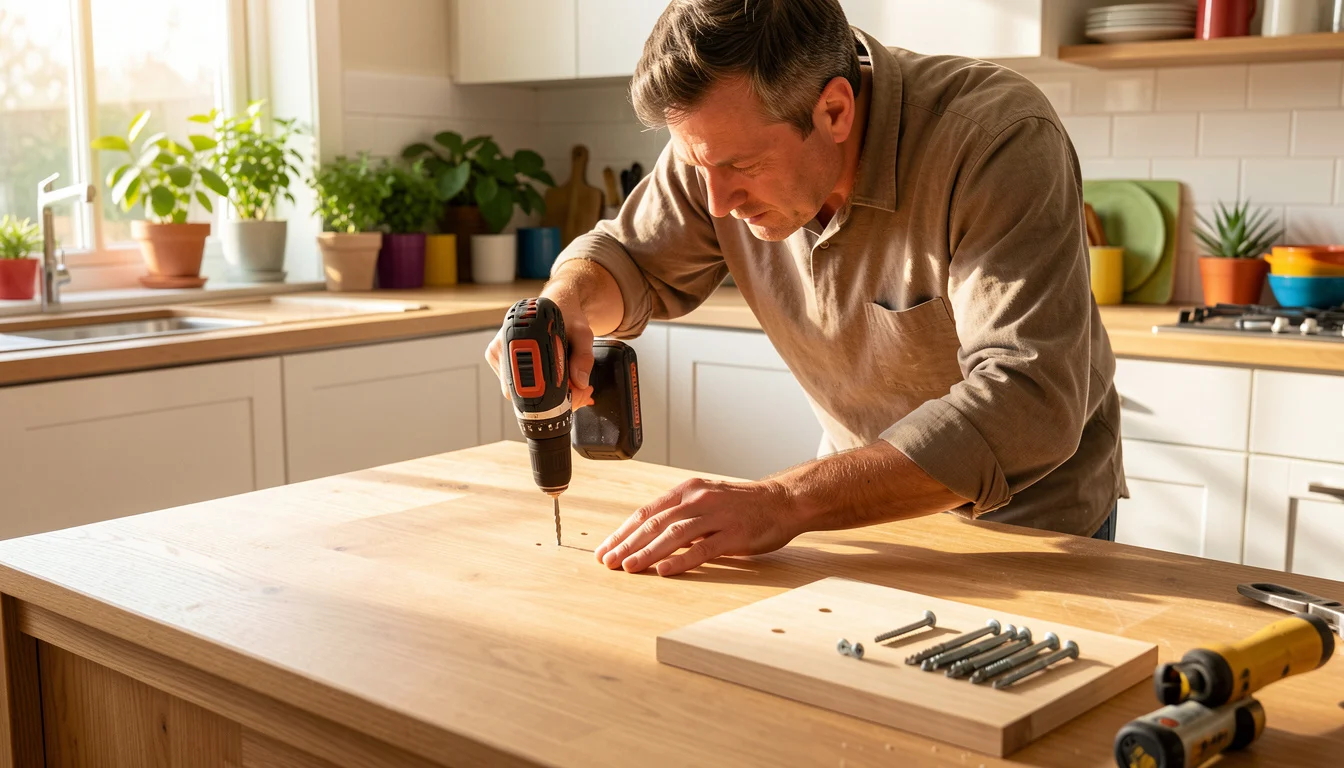
Choose a Bit for the Hole You Need
A pilot hole is a smaller hole drilled before a screw to guide it and reduce splitting. A clearance hole gives the screw’s shank room to pass through one piece so its threads can grip the piece behind it. A countersink creates a tapered recess for a flat-head screw. For an ordinary drilled hole, choose the bit to match the specified diameter and material.
For screw pilot holes, size depends on screw design and the material. A tapered wood screw, a self-drilling screw, and a screw driven into hardwood do not share one universal pilot-bit size. Follow the fastener maker’s instructions; if none are provided, use the screw’s thread and core dimensions as a guide and test on scrap of the same material.
When installing a wall plug, use the hole diameter specified for that exact plug, not a guess based only on the screw. Rawlplug’s technical guidance gives installation details by plug type and substrate; check the product instructions for the required drill diameter, hole depth, and compatible screw. The same brand’s plugs can have different requirements.
Choose the Right Drill and Settings
Use a standard drill/driver for most holes in wood, metal, and plastic, and for driving screws. Use a hammer drill when drilling suitable masonry; its hammer action adds impacts to rotation. If the drill has a mode selector, switch hammer action off for wood, metal, plastic, and tile unless the tool or bit maker specifically directs otherwise.
For wood and plastic, start at a low or moderate speed and increase only if the bit cuts cleanly. Metal drilling often benefits from controlled, lower speed and steady pressure; the correct setting depends on bit diameter, metal type, and the drill. For masonry, follow the bit and drill instructions rather than forcing the tool. Use the clutch for screwdriving, not for drilling holes.
To know which drill to use, check the material and task, then match the drill’s mode and chuck to the job. A drill/driver covers common indoor tasks; a hammer drill is useful for masonry holes. For an installation that requires anchoring, locate framing before drilling where appropriate. These ways to find a wall stud without a stud finder can help avoid placing a fastener in the wrong spot.
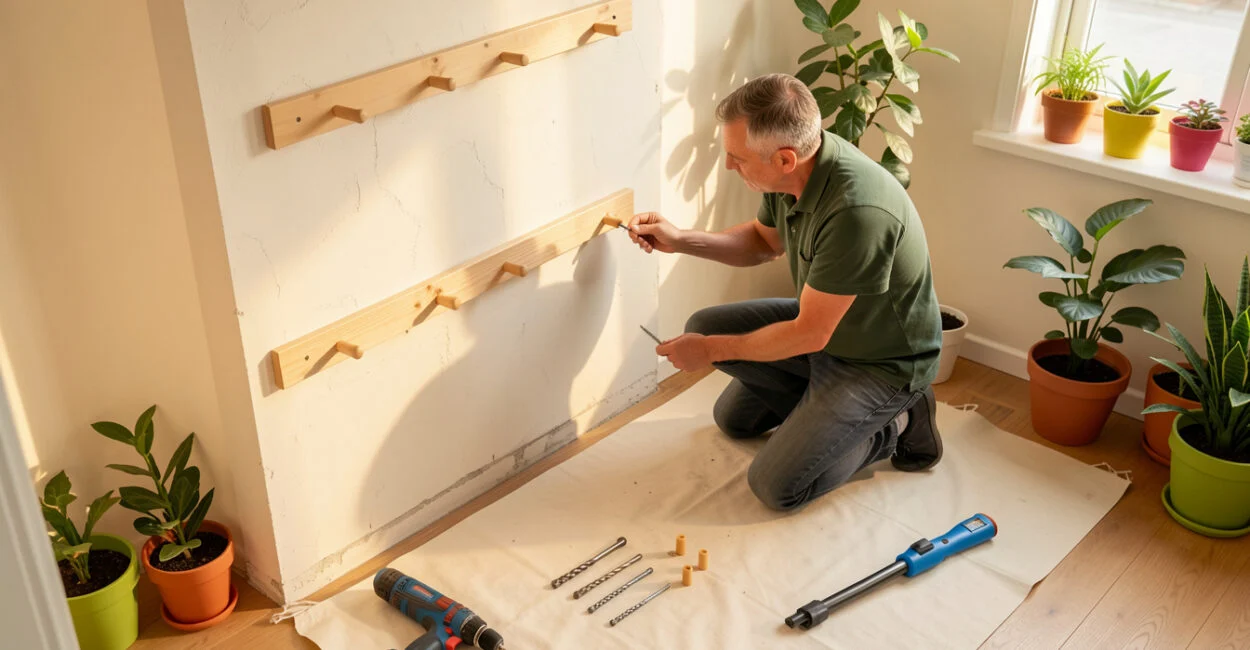
Size a Drill Bit for Screws and Wall Plugs
To choose a drill bit size for a screw, first decide whether you need a pilot hole or a clearance hole. For a pilot hole, match the bit to the screw’s core and the workpiece material, using the fastener maker’s chart when available. For a clearance hole, match the bit to the shank diameter so the screw can pass through the front piece without its threads gripping there.
For a wall plug, read the packaging or technical sheet for the exact plug model and substrate. Use its stated bit diameter and hole depth; a plug that is too loose may spin, while an undersized hole can prevent full insertion or damage the plug. Remove dust from the hole if the plug instructions call for it.
As an example, if a plug’s instructions specify a 6 mm hole, use a 6 mm masonry bit for the specified wall material and drill to the stated depth. That example does not establish a universal size: another plug, wall type, or installation may require a different diameter or method.
When planning shelves, choose the anchor for the wall and expected load before drilling. The guidance for installing floating closet shelves securely is a useful next step once the wall and fixing method are established.
Check Compatibility and Work Safely
Before starting, check that the bit’s shank fits the drill chuck and that the bit is rated for the material. A worn, bent, or chipped bit can wander, overheat, or produce a rough hole. Clamp the workpiece where possible, keep hands clear of the cutting path, and wear eye protection.
Check for concealed wiring, plumbing, or other services before drilling into a wall. If the location is uncertain, stop and investigate rather than relying on a stud location alone. HSE guidance on the safe use of work equipment supports following tool instructions and using equipment appropriate to the task.
One frequent mistake is pressing harder when a bit stops cutting. That can overheat the bit or make it slip, especially on smooth metal or tile. Reduce pressure, check the bit and speed, and use the correct cutting method; for metal, a center punch can help keep the bit from skating at the start.
For small repairs involving plaster, the right bit and a controlled hole help prevent damage around the opening. See these steps for patching a small hole in plaster without repainting.
What is a Right-Angle Drill Bit?
“Right-angle drill bit” usually refers to a right-angle drill or a right-angle drill attachment, not a distinct type of cutting bit. The attachment redirects the drill’s drive so the bit can reach a hole location where a full-size drill will not fit.
Use one for tight spaces between framing, inside cabinets, or near obstructions, while still selecting the cutting bit for the material. Check that the attachment and bit are compatible with the drill, and avoid forcing the tool where the chuck or bit cannot sit square to the work.
📱 See this content as a Web Story
Frequently Asked Questions
How Can You Avoid a Drill Bit Overheating or Slipping?
Use a sharp bit, the right speed, and steady pressure rather than forcing the cut. Clamp the workpiece; for smooth metal, mark the start point with a center punch. Pause if the bit becomes hot, and follow the bit maker’s guidance on lubrication.
Can One General-Purpose Bit Drill Every Material?
No. General-purpose bits may handle some common tasks, but tile, masonry, metal, and wood each have different cutting needs. A material-specific bit is the safer choice when the surface is brittle, hard, or likely to be damaged.
Should You Use Hammer Mode for a Brick Wall?
Hammer mode is commonly used with a suitable masonry bit for brick or concrete. Check the drill and bit instructions, and turn hammer action off when drilling tile or other materials that may crack under impact.
Why Does a Drill Bit Make a Hole Larger Than Its Marked Size?
A loose chuck, a bent or worn bit, or an angled start can make the hole wider. Secure the bit fully, hold the drill square to the surface, and replace damaged bits.