
How to Replace a Light Fixture with a Ceiling Fan
Before you install a ceiling fan at an existing light location, check the box rating, support, wiring and clearance—and when a brace or electrician is needed.
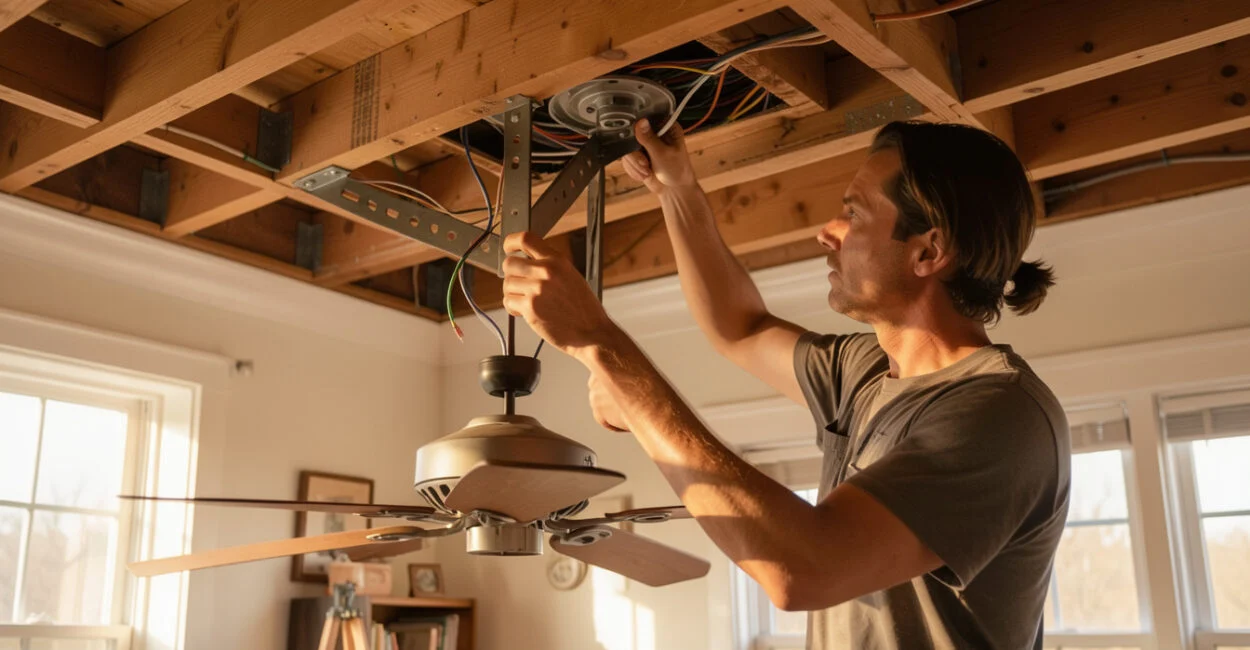 Securing the support before mounting the fan
A light fixture can come down easily; the box above it may not be able to hold a moving fan. Before you install a ceiling fan in that spot, confirm that the outlet box and its support are rated for fan use, then check the wiring, ceiling clearance, and fan instructions.
If the existing support is unsuitable, the job may require a fan-rated box or brace secured to the ceiling framing. A room with no suitable wiring is a different project and may need new wiring installed by a qualified electrician.
Can You Install a Ceiling Fan at an Existing Light Location?
You can replace a ceiling light with a fan only when the outlet box and its mounting support are rated for ceiling-fan use, and the wiring and ceiling conditions suit the fan. A standard light-fixture box is not automatically safe for a fan, whose weight and movement place different demands on its support. Turn off the circuit and verify that the power is off before inspecting the box label or mounting method. If you cannot confirm the box rating or how it attaches to the framing, treat the support as unverified. A fan-rated box or brace may solve the problem, but the correct product depends on the ceiling construction and the fan’s mounting system.
What you find What it may mean Next step Fan-rated box and secure support Existing support may be suitable Confirm compatibility with the fan instructions. Ordinary or unmarked light box Fan support is not confirmed Do not mount the fan until support is verified or upgraded. Loose, damaged, or unfamiliar box or wiring Condition or safety is uncertain Stop and consult an electrician. No suitable wiring at the location This is not a simple fixture swap Have the wiring requirements assessed.
A fan’s mounting support must be rated for the load and movement of a ceiling fan, not just the weight of a light fixture.
For electrical safety guidance, consult the Electrical Safety Foundation International’s home electrical safety resources. If you rent, get the owner’s permission before changing a fixture or opening the ceiling.
What Fan, Mounting Parts, and Safety Equipment Should You Gather?
Choose a fan with instructions that fit your ceiling conditions, and gather the specified mounting parts and safety equipment before taking down the light. A universal mounting bracket cannot make an ordinary box or weak support fan-rated.
- Fan manufacturer’s installation instructions
- Fan-rated box or support confirmed for the ceiling and fan, if needed
- Ceiling height and blade clearance checked
- Tools and voltage tester specified for the job
- Suitable wire connectors and mounting hardware
- Stable ladder and a helper to support the fan assembly
Check the fan’s approved mounting orientation and the manufacturer’s clearance guidance before you buy. A sloped ceiling, low ceiling, or nearby cabinet can rule out a model or require an approved adapter. A helper should hold the fixture during installation; the fan must never hang from its wires while you work.
If the job requires drilling for a brace, select the bit for the material and hardware rather than guessing; this guide to choosing drill bits for common materials can help with that narrow task. For ladder setup, follow the OSHA ladder safety requirements and the ladder maker’s instructions.
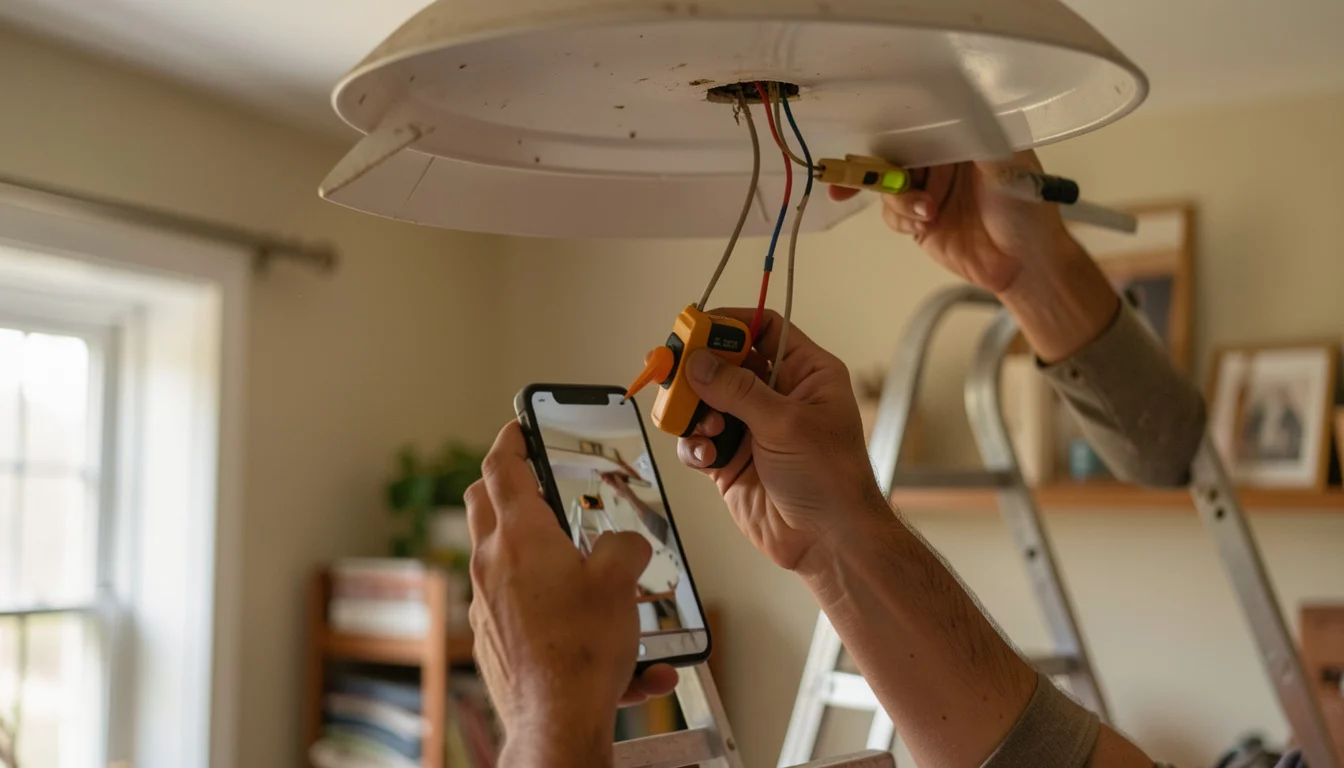
How Do You Turn Off Power and Remove the Existing Light?
Turn off the correct breaker and verify that the conductors are de-energized with an appropriate tester before touching them; a wall switch alone does not make the wiring safe to handle.
- Correct breaker switched off
- Power verified off with a tester
- Fixture supported while the canopy and fixture are removed
- Existing connections documented before disconnection
Remove the fixture canopy carefully and support the light as you disconnect it. Photograph or label the connections before separating them, but do not identify a wire’s function by color alone. Older or altered wiring may not follow the color assumptions shown in a generic diagram.
Stop-work signs: You cannot verify that power is off; the wiring is damaged, crowded, or unfamiliar; grounding required by the fan instructions is absent; or the conductors do not match the installation instructions or local requirements. For a related task involving a switch, see how to replace a light switch safely.
When Does the Existing Box or Brace Need an Upgrade?
Upgrade the support if the existing box is not fan-rated, its rating is unclear, or its attachment to the framing is unsuitable. The replacement must be designed for ceiling-fan use and installed according to the product instructions. Some fan-rated braces span between ceiling framing; other approved boxes attach directly to framing. Which arrangement works depends on the ceiling construction, the product’s rating, and the fan’s mounting bracket. A brace that fits one ceiling does not automatically fit another.
Do not improvise with a light box, a loose board, or a bracket that only matches the fan. If you cannot access the framing safely or are unsure how the support should attach, have a qualified electrician assess it. A ceiling opening that needs repair afterward may call for a different project, such as the methods in this guide to patching a small hole in plaster.
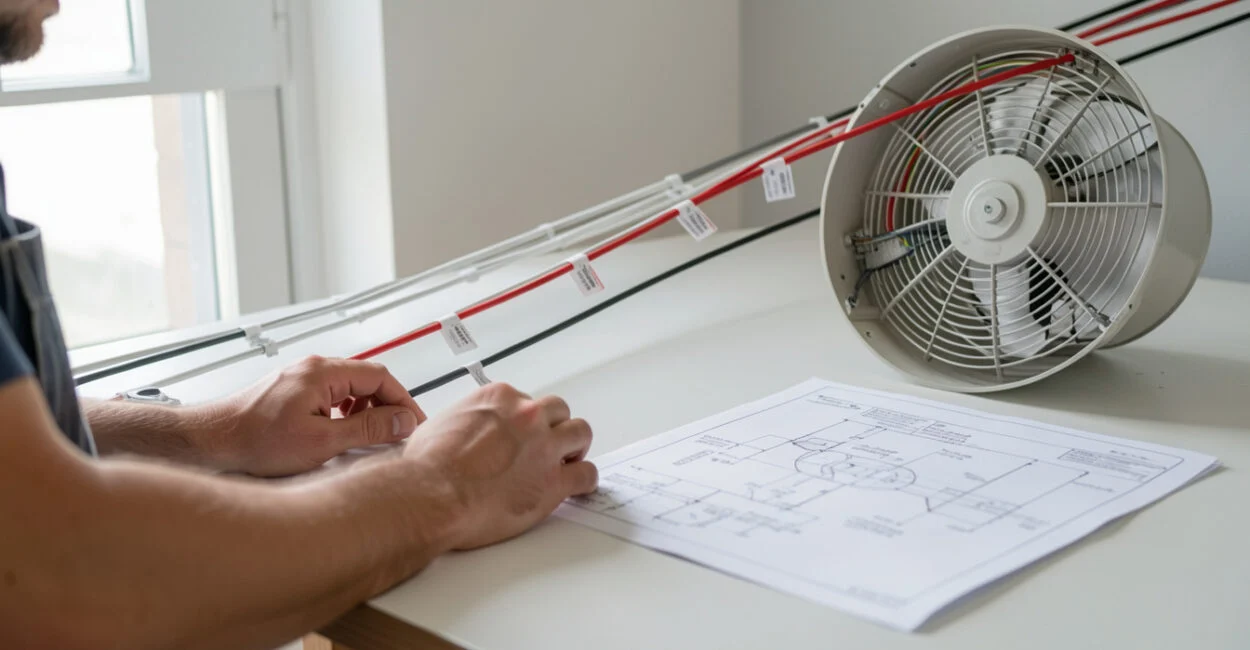
How Do You Connect the Fan to the Existing Wiring?
Follow the wiring diagram supplied with the exact fan and match it to the verified conductors at the ceiling; no single diagram safely covers every fan and circuit. The wiring depends on the fan design, the conductors present, and whether separate controls for the fan and light are available. Searches for “3-wire” or “4-wire” ceiling-fan diagrams often lead to generic drawings. Those labels do not tell you, by themselves, what each conductor does in your particular circuit. Identify conductors using appropriate methods and the fan instructions, not by counting wire colors or copying a diagram that looks similar.
Installation situation Key distinction Guidance Fan with light, one existing switch Separate control may not be available from the existing wiring Follow the exact fan instructions; assess approved control options. Fan with light, separate switched conductors Independent control may be possible Identify conductors safely; do not infer function from color alone. Wiring does not match the supplied diagram The diagram may not apply to the circuit Stop and consult an electrician.
Some fans allow a compatible remote or other control arrangement, but the available options depend on the fan, wiring, and applicable electrical rules. Keep connections secure and enclosed in the electrical box, and connect grounding as specified by the manufacturer and local requirements. If anything does not match the instructions, stop rather than adapting the diagram.
A wiring diagram is useful only when it matches both the fan model and the conductors verified at the ceiling.
How Do You Mount the Fan and Check That It Works?
Mount the fan in the sequence given by its manufacturer, and restore power only after the connections and canopy are secured. Use a helper to support the motor assembly while you attach it to the mounting system.
- Attach the bracket. Secure the supplied mounting bracket to the fan-rated support using the specified hardware.
- Connect the fan. Use the manufacturer’s wiring diagram and keep all connections enclosed as directed.
- Fit the motor and canopy. Follow the specified method to attach the assembly and close the wiring compartment.
- Install blades and light kit. Use the correct screws and sequence from the instructions.
- Restore power and test. Check the fan and light controls while keeping hands and tools clear of moving parts.
If the fan wobbles, a switch trips, a connection heats up, or you hear an unusual noise, turn off the breaker and follow the manufacturer’s troubleshooting guidance. Do not keep running a visibly unstable fan. Check that each blade is installed as directed; if needed, use the supplied balancing kit according to its instructions.
How Long Does Installation Take, and What Can a Fan Change?
Installation time depends on the support, wiring, ceiling access, fan design, and installer’s experience, so a fixed time estimate would be unreliable. Replacing a compatible fixture may be straightforward; upgrading the support or addressing unfamiliar wiring can add substantial work.
A ceiling fan moves air and can make people feel cooler, but it does not lower the room’s air temperature. Choose a fan using your room dimensions and the manufacturer’s sizing recommendations. The U.S. Department of Energy explains fan use and energy considerations in its home cooling guidance.
Adding a fan where no suitable wiring exists is a separate electrical project, not a fixture swap. Have a qualified electrician assess the route, controls, and wiring requirements before choosing a fan.
Summary at a Glance
Question Short answer Can the light box support a fan? Only if the box and its support are rated for fan use. What if the box rating is unclear? Do not mount the fan until the support is verified or upgraded. Can one switch control a fan and light separately? Not always; control options depend on wiring and approved equipment. When should power be restored? After all connections and the canopy are secured. What if there is no suitable wiring? Have an electrician assess the work as a new wiring project.
Start by switching off the circuit and confirming that the existing box and support are fan-rated. If you cannot verify that support, the wiring, or safe access, stop and arrange an assessment before buying mounting parts or opening more of the ceiling.
Frequently Asked Questions
Can a Ceiling Fan Be Installed on a Sloped Ceiling?
Some fans support sloped-ceiling mounting, sometimes with an approved adapter. Check the model’s instructions for its permitted angle and mounting parts before installation.
Can I Leave the Light Switch in Place After Installing a Fan?
That depends on the fan’s controls and the existing circuit. Follow the fan instructions, and confirm that the switch and any control device are compatible with the fan.
Should I Use a Dimmer Switch with a Fan?
Use only controls approved for the fan and its light kit. A light dimmer not designed for fan motor control can be incompatible; check the manufacturer’s instructions before reusing a control.
Why Does a New Ceiling Fan Wobble?
Common causes include blades that are not seated evenly, loose blade hardware, or an unbalanced blade set. Turn off power and follow the manufacturer’s checks and balancing-kit instructions; also confirm the mounting support is secure.
Does a Ceiling Fan Need Maintenance After Installation?
Follow the manufacturer’s care instructions. Periodically check for dust buildup, loose visible hardware, unusual noise, or a change in wobble, and switch off power before working near the fan.