
How to Replace a Bathroom Faucet: A DIY Step-By-Step Guide
Replace a bathroom faucet by checking hole spacing, matching supply connections, and knowing when faulty valves or corrosion make it safer to stop.
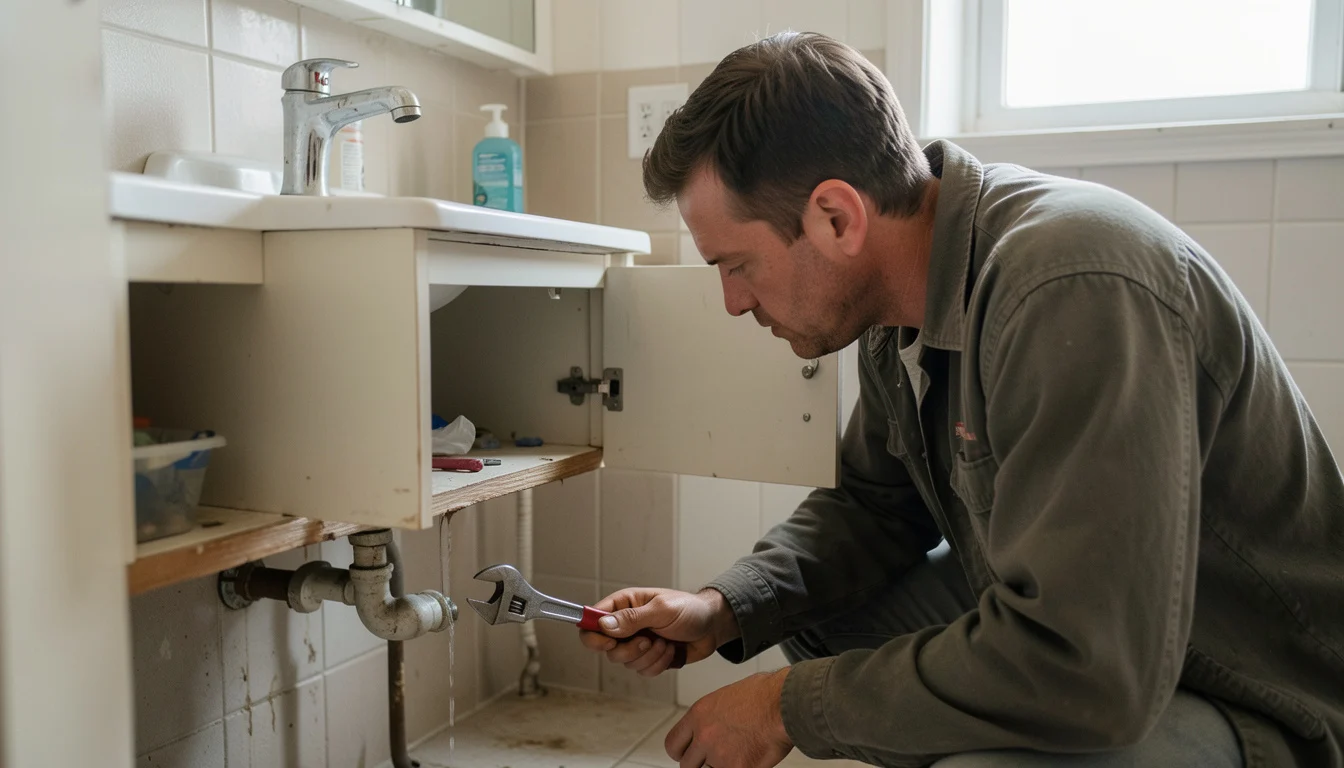 Homeowner checks a new faucet connection
A bathroom faucet can look like a straightforward swap until its mounting holes or supply connections do not match the replacement. To replace a bathroom faucet successfully, first confirm the sink’s hole layout, then shut off the water, remove the old fixture, install the compatible model, and check every connection for leaks.
The job is often manageable for a homeowner when the shutoff valves work and the hardware underneath the sink is reachable. If a valve will not close, a fitting is badly corroded, or the cabinet shows water damage, stop before forcing anything.
Key Points
- Count the sink’s mounting holes and check their spacing before buying a faucet.
- Close both supply valves and open the faucet to release pressure before disconnecting lines.
- Use the replacement faucet’s instructions for gaskets, sealant, and tightening.
- After installation, check the supply connections and any drain parts disturbed during the work.
Can You Replace a Bathroom Faucet Yourself?
Replacing a bathroom sink faucet is a plumbing fixture swap: you disconnect the existing faucet’s water supplies and mounting hardware, then secure a compatible replacement to the sink or countertop. It is a reasonable DIY job when the shutoff valves work, connections are accessible, and the new faucet fits the existing holes. Difficulty depends less on the faucet’s appearance than on what you find below the sink. Tight access, seized mounting nuts, damaged supply lines, or a shutoff valve that keeps passing water can turn a routine replacement into a repair that needs a plumber. This guide covers sink faucets; a bathtub faucet has different plumbing and may require access behind a wall.
Situation Recommended action Shutoff valves work and connections are accessible A DIY replacement may be reasonable; follow the product instructions. A valve will not shut off or a connection is damaged Stop and arrange qualified plumbing help. Mounting hardware is severely corroded or seized Avoid forcing it; consider calling a plumber. You see water damage or persistent leaks Find and address the underlying problem before installing the new fixture.
If you cannot locate the home’s main shutoff or a fixture valve fails, this guide to finding and shutting off the main water valve can help you understand the next step. A failed shutoff valve is a stop point, not a reason to keep working around live water.
A faucet swap is a sensible DIY project only when you can control the water and reach the connections safely.
Identify Your Faucet and Sink Before Buying
To tell what type of bathroom faucet you have, count the holes in the sink or countertop and note whether the handles are separate or built into one assembly. Then check the faucet’s model information, if available, and compare the replacement’s installation requirements with the actual sink layout. Three common configurations are single-hole, centerset, and widespread. Hole count alone may not settle the question: some single-hole faucets include a deck plate that covers extra openings, while widespread faucets need enough deck space for their separate components. Measure the distance between holes and check the replacement’s stated installation range.
Configuration What to check Buying implication Single-hole One mounting hole; faucet design and required opening Choose a compatible single-hole faucet, or confirm whether a deck plate covers extra holes. Centerset Compact faucet and handles on a shared base; verify hole layout and spacing Match the replacement to the sink’s hole arrangement. Widespread Separate faucet components; verify the number and spacing of holes Confirm the stated installation range fits the sink. Uncertain or unusual setup Existing model number, underside layout, and manufacturer specifications Confirm fit with the manufacturer before purchase.
Before buying: count the holes, identify the configuration, measure spacing, check whether a deck plate is needed, and verify the faucet’s instructions and supply connections. Do not assume that a similar-looking handle or spout uses the same internal valve or cartridge; those parts are often model-specific.
For a water-saving model, the U.S. Environmental Protection Agency explains its WaterSense criteria for bathroom faucets and accessories. The label can help with water-efficiency shopping, but it does not confirm that a faucet will fit your sink.
Gather Tools and Prepare the Work Area
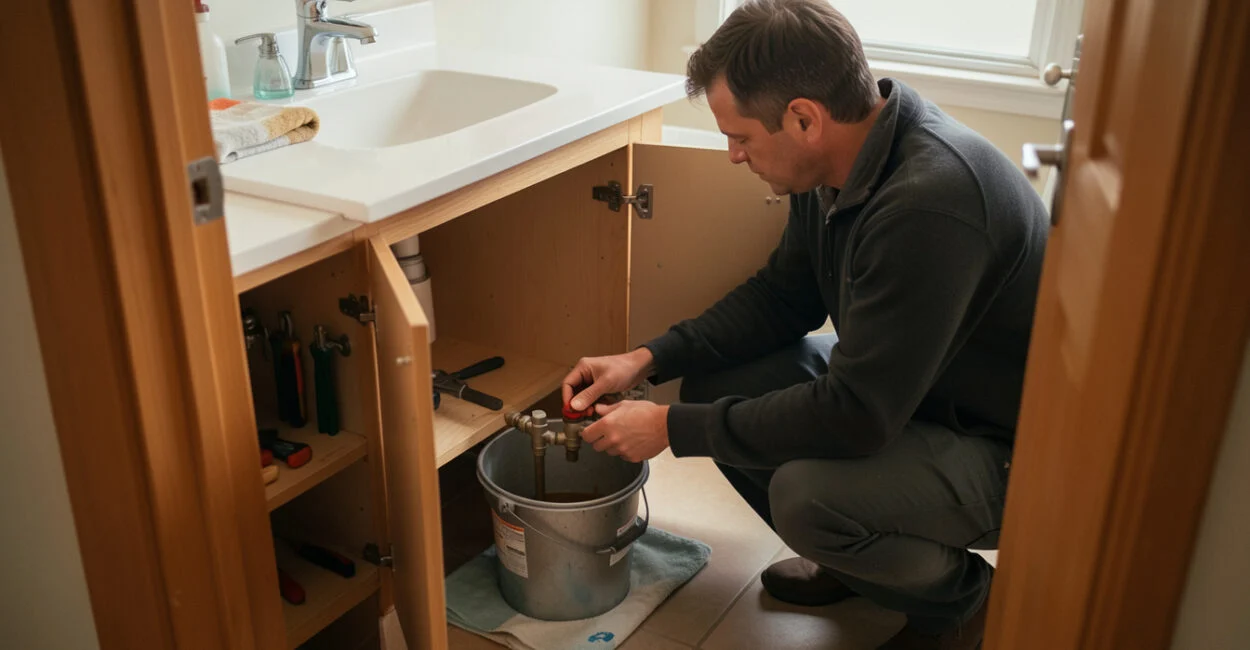
Set out the new faucet and its included hardware, an adjustable wrench, a basin wrench, a screwdriver, a bucket, a cloth or towel, and a flashlight. You may also need compatible supply lines if the existing ones are worn, damaged, or the wrong length.
Clear the cabinet, protect its floor and the sink surface, and place the bucket beneath the connections. Find the hot- and cold-water shutoff valves, close both, then open the faucet to release pressure and drain remaining water from the lines. If either valve will not shut off, stop and arrange plumbing help.
Follow the faucet manufacturer’s directions for gaskets, plumber’s putty, silicone, and fittings. Different models use different sealing methods; adding putty where a gasket is designed to seal can interfere with the installation. If the work involves unfamiliar supply piping, the U.S. Environmental Protection Agency’s guidance on protecting your household from lead in drinking water is a useful reminder to avoid disturbing older plumbing unnecessarily.
Remove the Old Bathroom Faucet
Once the water is off, disconnect the hot and cold supply lines and catch residual water in the bucket. Loosen the mounting hardware beneath the sink; a basin wrench can reach nuts tucked behind the basin where an ordinary wrench cannot turn comfortably.
Have someone steady the faucet from above if it shifts while you loosen the hardware. Lift it out, then remove old gasket material or residue without scratching the sink. A plastic scraper or cloth is safer than digging at the surface with a sharp metal tool.
Seized nuts and corroded fittings deserve patience. Forcing a wrench can twist a supply line or damage a shutoff valve, leaving a larger leak than the original faucet caused. If the hardware will not move without straining the plumbing, stop and get qualified help.
Install the Replacement Faucet
Follow the manufacturer’s sequence for placing the gasket or seal, positioning the faucet, and securing it from below. Center the fixture and align the handles before fully tightening the mounting hardware; tighten it securely, but do not overtighten plastic parts or risk cracking the sink.
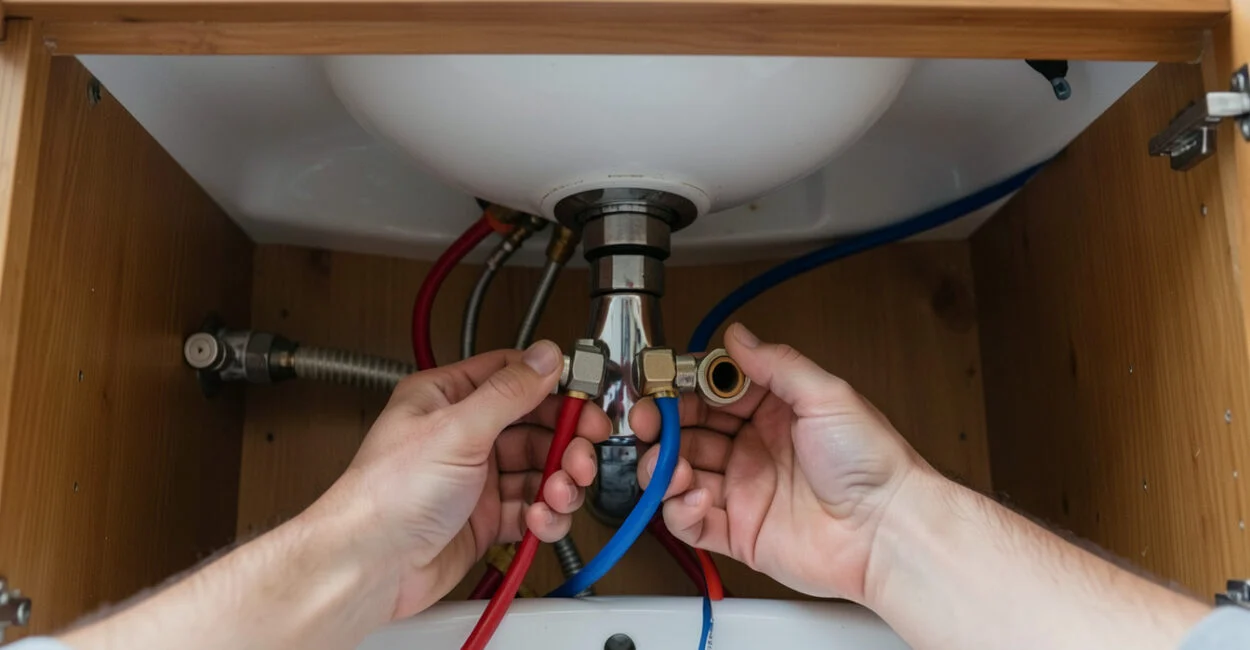
Connect the hot and cold supply lines to the correct inlets and shutoff valves. Use the faucet’s instructions and any markings on the lines rather than guessing. Check that the hoses do not kink or rub against sharp cabinet edges when the faucet is in place.
Before removal: clear the cabinet, protect the work area, locate and close both shutoff valves, open the faucet, and put a bucket and cloth under the connections.
Example: A replacement faucet may include a deck plate, but the sink has three holes and the new fixture’s instructions specify a single-hole installation. The plate may cover unused openings if the model allows that setup. Check the instructions and measure the sink before buying; the plate does not make every faucet compatible with every hole layout.
The manufacturer’s instructions determine the correct seal, mounting order, and supply connections for that faucet model.
Restore Water and Check for Leaks
Open the shutoff valves gradually, then run both hot and cold water. Dry the supply connections and the cabinet floor first so fresh drips stand out; check beneath the faucet, around the shutoff valves, and anywhere a drain connection was disturbed.
If a joint leaks, close the valves and inspect the alignment and the washer or seal required by the manufacturer. Do not keep tightening blindly: some fittings need correct positioning or a specific seal, and excess force can damage threads or components. Recheck after using the faucet.
After installation: reopen the water gradually, test hot and cold, inspect supply and drain connections, then dry and check again for leaks. If water appears inside the cabinet, a valve fails, or leaking continues, stop using the fixture and get qualified help.
Replace the Bathroom Sink Drain When Needed
Replacing the faucet does not automatically mean you need a new sink drain. Treat drain work as a separate job, and check the drain kit’s size, sink compatibility, and whether it has an overflow opening if your sink has one.
At a high level, drain replacement means identifying the drain assembly, placing a bucket underneath, disconnecting the P-trap if needed, removing the old drain, installing the compatible kit according to its instructions, and testing for leaks. If trap connections are unfamiliar or difficult to access, pause before loosening them. This guide to clearing a sink P-trap and slow drain explains the trap’s role and related under-sink connections.
For detailed drain work, use instructions specific to the drain assembly and sink. If a connection is damaged or you cannot identify what you are removing, a plumber can help prevent a leak inside the cabinet.
📱 See this content as a Web Story
Frequently Asked Questions
Can I Reuse the Old Supply Lines?
Only if they are in good condition, connect properly, and the faucet manufacturer permits their use. Replace lines that show corrosion, kinks, leaks, or damaged fittings.
Do I Need Plumber’s Putty to Install a Bathroom Faucet?
Not always. Many faucets use a supplied gasket or another specified seal, and adding putty where the instructions do not call for it can cause problems. Follow the model’s installation directions.
Why Does the Faucet Handle Move After Installation?
The mounting hardware may be loose, or the faucet may not sit squarely on the sink. Shut off the water if needed, then check the alignment and mounting instructions before tightening; avoid overtightening.
Should I Replace the Drain If It Looks Old?
Age alone does not require drain replacement if it seals and drains properly. Replace it when it leaks, is damaged, or no longer suits the sink, and choose a kit that matches the drain opening and overflow design.