
How to Unclog a Sink P-Trap and Clear a Slow Drain
How to unclog a sink’s P-trap safely: steps to remove debris, check for chemical cleaner presence, avoid damaging fittings, and test for leaks after cleaning.
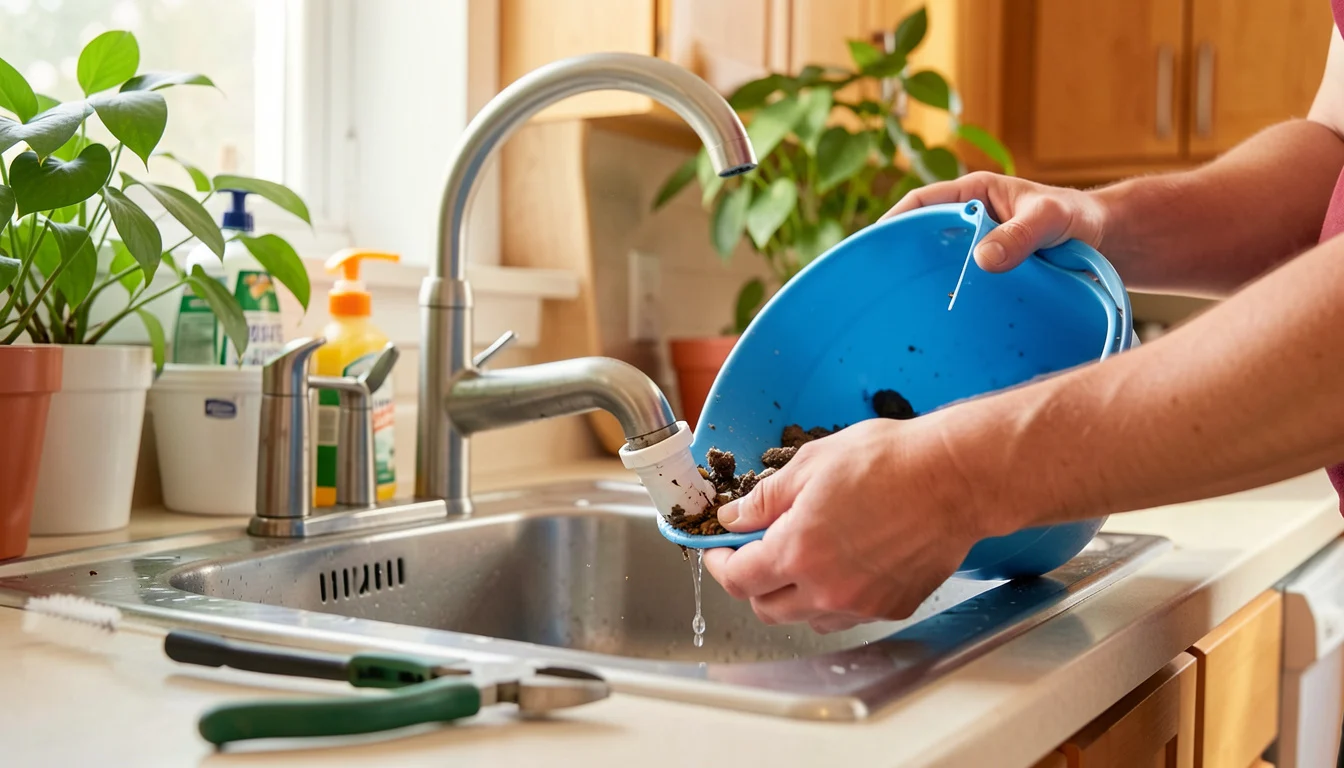 Removing and cleaning the sink P-trap
A sink full of standing water can make the P-trap seem like the obvious culprit, but the blockage may be farther down the drain. To unclog a sink P-trap, place a bucket underneath, remove the trap’s slip-joint nuts, clear debris, then reinstall the trap and check for leaks. Stop if chemical drain cleaner is still in the pipe or the fittings are damaged.
A P-trap is the curved section of drainpipe beneath a sink. It holds a small amount of water to block sewer gases, and its bend can also collect hair, grease, food particles, or other debris.
Cleaning it is a reasonable DIY step when the clog appears localized and the trap can be removed safely. A persistent slowdown after cleaning points to a blockage elsewhere, such as the drain arm or a branch drain.
Quick Facts
- Typical tools: Bucket, gloves, eye protection, and a small brush or flexible drain-cleaning tool.
- Trap parts: The curved trap connects to the sink tailpiece and the wall-side drain arm.
- Plastic fittings: Slip-joint nuts and washers can be damaged by excessive force.
- Before opening: Check whether chemical drain cleaner has been used.
- After cleaning: Run water and inspect every connection for leaks.
How to Unclog a Sink P-Trap: The Quick Answer
To unclog a sink P-trap, empty the cabinet, put a bucket beneath the trap, and loosen the slip-joint nuts by hand if possible. Remove the curved section, clear its contents into the bucket, rinse and inspect it, then reinstall it with the washers correctly seated. Run water while checking for leaks; if drainage remains slow, the blockage is likely beyond the trap.
Do not start if caustic drain cleaner may be sitting in the trap, if a fitting is cracked or badly corroded, or if the drainpipe shifts when you touch it. Those conditions raise the risk of chemical exposure, a broken connection, or a leak inside the cabinet.
A clean trap rules out one common obstruction; it does not prove the rest of the drain is clear.
How to Tell Whether the P-Trap is Clogged
A sink P-trap clogged with debris often causes slow drainage or standing water at that sink. If only one basin is affected, the trap or nearby branch pipe is a plausible place to check. If several fixtures drain slowly, gurgle, or back up together, the obstruction may be farther along the plumbing system.
Notice where the symptoms occur. A kitchen sink may collect grease and food debris in its trap; a bathroom sink P-trap often catches hair and soap residue. A clog can also sit in the sink’s pop-up assembly or the horizontal drain arm, so a slow sink does not automatically mean the trap is at fault.
One useful clue is what happens after you remove and inspect the trap. If it is clear, or cleaning it makes little difference, avoid repeatedly dismantling it. Check the drain arm only if you can do so without forcing tools into a pipe you cannot see or reach safely.
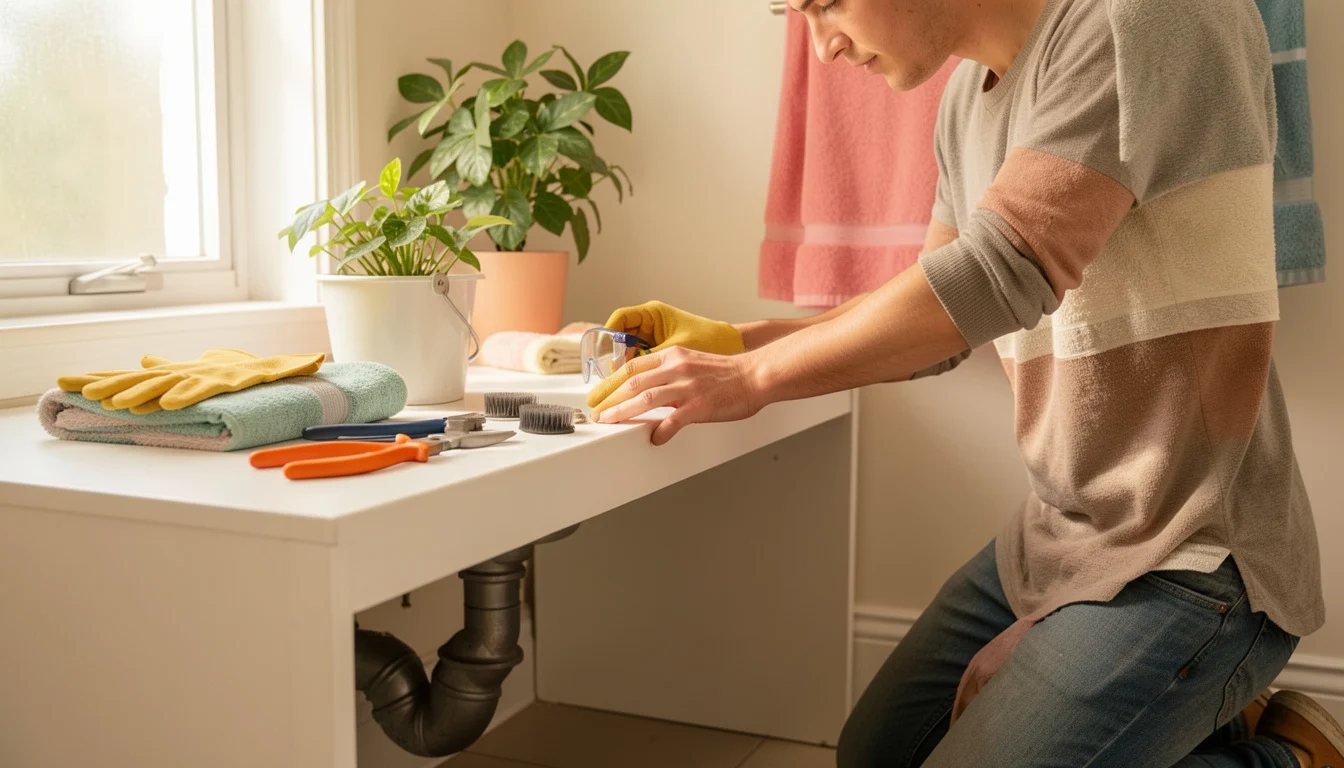
Tools and Materials to Gather
Gather what you need before opening the drain. A bucket that fits under the trap, absorbent towels, gloves, and eye protection help contain dirty water and protect you from splashes.
- Bucket and towels
- Work gloves and safety glasses
- Adjustable pliers, for stuck nuts only
- Small nylon brush or flexible drain-cleaning tool
- Replacement slip-joint washers that match the existing fittings, if needed
For routine slip-joint connections, hand pressure is usually the right starting point. Keep pliers as a last resort: plastic nuts can crack, and metal fittings can deform if you apply too much force.
How to Remove and Clean the P-Trap
- Clear the cabinet and protect the area. Remove stored items, place the bucket directly beneath the trap, and spread towels nearby. If you have a two-basin sink, avoid running the other basin while the trap is open.
- Check for drain-cleaner residue. If you used a chemical product, read its label and do not open the trap while liquid may remain. Drain cleaners can cause severe burns; follow Poison Control’s guidance on drain-cleaner exposure. If the product is still in the pipe or you are unsure, do not dismantle the trap.
- Loosen the nuts carefully. Support the curved section as you loosen the nuts at each end. Try turning them by hand first. If a nut will not move, use pliers gently while supporting the pipe; stop if the pipe twists, flexes, or begins to crack.
- Lower the trap into the bucket. Water trapped in the bend will spill out. Keep the open ends pointed into the bucket, and note how each washer sits before removing it.
- Clear and inspect the trap. Remove debris by hand with gloves or use a small brush. Rinse the trap away from the cabinet, then check for cracks, damaged threads, or a distorted shape. Do not force a rigid tool deep into the wall-side drain arm.
Plastic tubular traps are light but easy to damage with a wrench. Older metal assemblies may be corroded or seized; if the fittings crumble, deform, or will not loosen without substantial force, stop and replace the damaged assembly or call a plumber. The International Plumbing Code addresses trap requirements, including the need to preserve the water seal; see the International Plumbing Code chapter on traps.
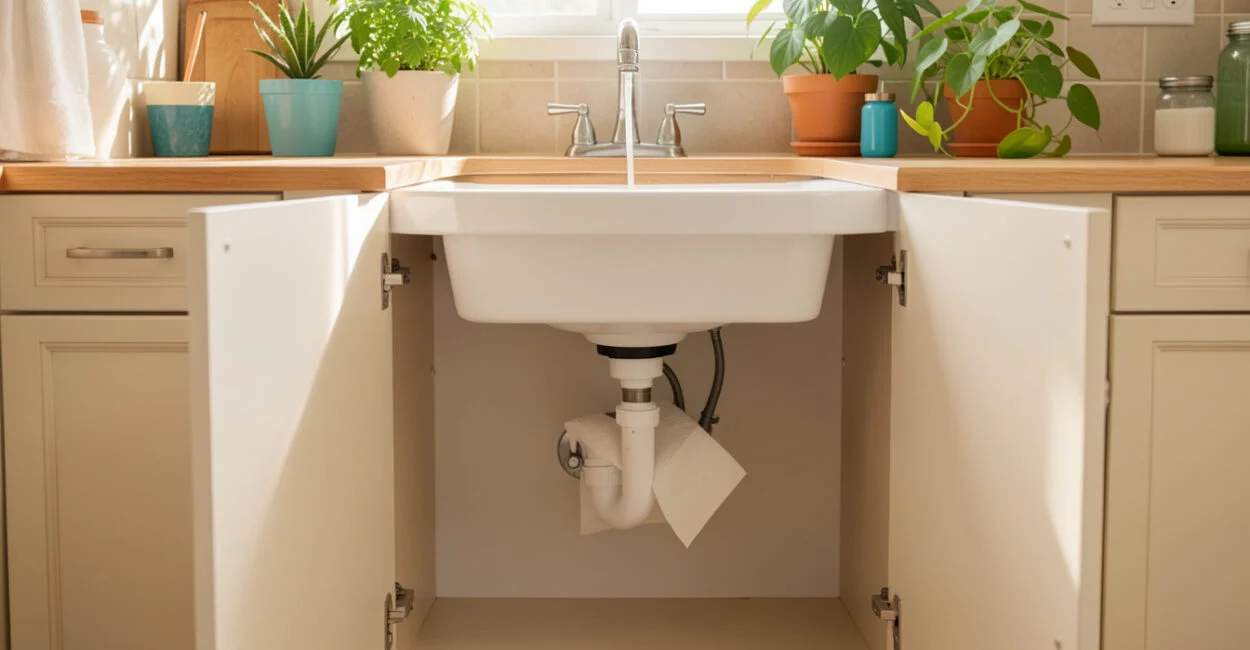
How to Reinstall the P-Trap and Check for Leaks
Reinstall the trap in its original orientation, with the curved bottom section hanging below the sink outlet and the other end aligned with the wall-side drain. Each slip-joint washer must sit squarely against its mating fitting. On common tapered washers, the narrow end points toward the fitting it seals; check the washer or trap manufacturer’s instructions because designs can vary.
Start both nuts by hand so the threads engage evenly. Tighten them until snug, then stop. Plastic slip-joint nuts generally do not need wrench-tightening; excess force can split the nut or squeeze the washer out of position. For installation details, follow the manufacturer’s instructions, such as Oatey’s P-trap installation guidance.
Dry the joints before testing. Run a small amount of water, inspect both connections, then fill the basin partway and drain it while watching the trap. A dry paper towel held beneath each joint can reveal a slow seep that is hard to see on a wet pipe. If a joint leaks, stop the water, realign the washer, and retighten by hand; continuing to tighten a misaligned joint often makes the problem worse.
Correct washer alignment and a snug hand-tight connection do more to prevent a P-trap leak after cleaning than extra wrench force.
What to Do If the Sink Still Drains Slowly
If the trap is clear and the sink remains slow, consider the location and pattern of the symptoms before taking the drain apart again.
What you notice Likely area Next step One sink remains slow after trap cleaning Pop-up assembly or drain arm Clean the stopper assembly; inspect the accessible drain arm without forcing tools. Two-basin sink backs up into the other bowl Shared sink drain or branch line Stop running water and check whether the blockage is beyond the trap. Several fixtures drain slowly or gurgle Branch drain or main drain Arrange a plumbing assessment rather than repeatedly cleaning one sink trap. Water leaks after reassembly Washer, nut, or damaged fitting Shut off the water, reseat the washer, and replace damaged parts before testing again.
The table is a guide, not a diagnosis: drain layouts differ, and symptoms can overlap. If a small, accessible stopper or drain-arm obstruction is the only remaining suspect, address that part carefully; a clog that persists beyond your reach is a sensible stopping point.
When to Call a Plumber
Call a plumber if the clog persists after the trap is clean, multiple fixtures back up, water returns through another drain, or you suspect a blockage in a concealed line. Get professional help if the trap or adjoining pipe is corroded, cracked, seized, or moving at the wall connection.
Recurring clogs also deserve attention. Repeated buildup may point to a deeper obstruction or a drainage problem that cleaning the trap cannot fix. Note which fixtures are affected and whether the issue returns after the trap is clear; that information helps narrow the location.
Before starting, check whether any drain cleaner is present and confirm that the trap and its connections look sound. If either check raises a safety concern, leave the assembly closed and choose professional service instead.
📱 See this content as a Web Story
Frequently Asked Questions
Can I Remove a P-Trap If I Already Used Chemical Drain Cleaner?
Only if the product has fully cleared and the label’s safety instructions allow it. If liquid may remain in the trap, do not open it: splashes can burn skin or eyes. Never mix drain-cleaning products.
Should I Use a Plunger Before Taking the Trap Apart?
You can try a plunger if no chemical cleaner is present. For a double-basin sink, seal the second drain opening so pressure reaches the clog rather than escaping through the other basin.
Can I Reuse an Old Slip-Joint Washer?
Reuse it only if it is flexible, undamaged, and seats correctly. Replace a washer that is split, flattened, brittle, or visibly distorted; a worn washer may leak even when the nut feels tight.
Why Does the Trap Smell After I Clean It?
Debris can leave an odor behind, but a sewer smell may also indicate that the trap’s water seal is missing or that a connection is not properly assembled. Run water to refill the trap and check that the joints are secure; if the odor persists, have the drain checked.