
How to Install Weatherstripping Around an Entry Door
How to install weatherstripping around an entry door by identifying leaks, selecting seals for jambs and thresholds, and ensuring a snug fit that blocks draf…
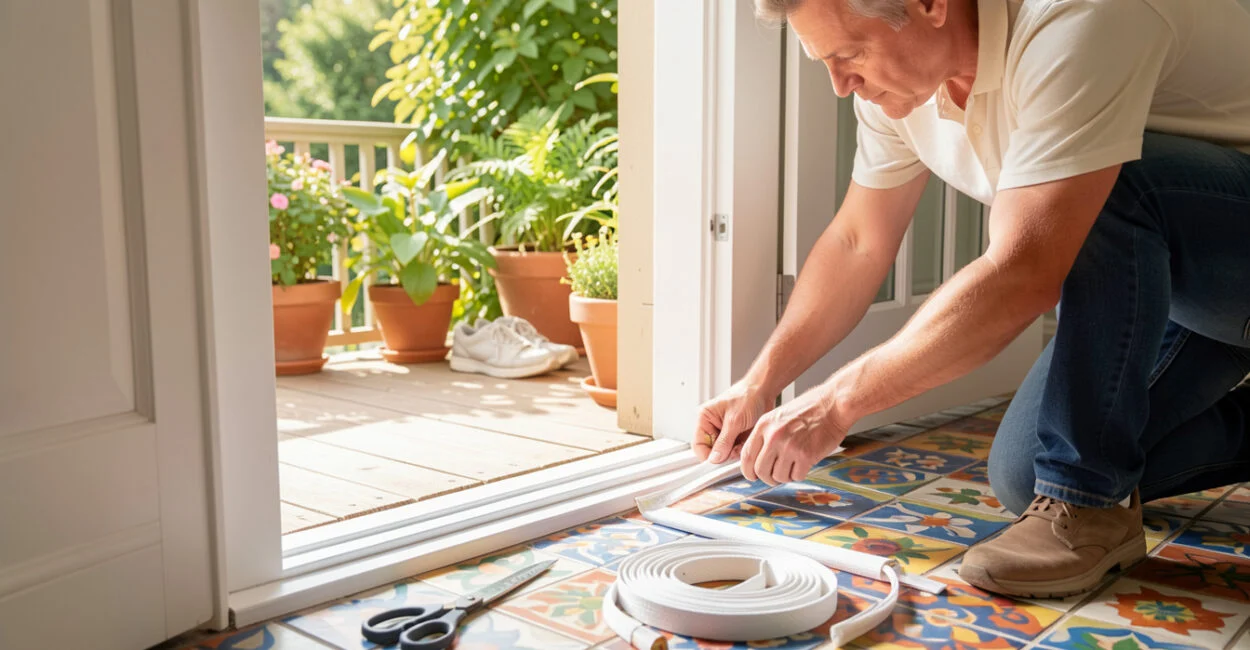 Fitting a new door seal neatly
A front door can feel shut and still leak air around its edges. To install door weatherstripping effectively, first find where the air is coming through, then match the seal to the gap and location. A close fit matters: the door should latch without force, and the seal should compress enough to block air without buckling or dragging.
The right fix depends on whether the leak is at the jamb, the head, or the threshold. The bottom edge often needs its own solution, such as a door sweep, rather than the same material used along the frame.
At a Glance
- Best starting point: Find and mark each draft before buying a seal.
- Frame edges: Use a compatible compression, foam, or other jamb weatherstrip.
- Door bottom: Choose a sweep or threshold seal that suits the floor clearance.
- Key fit check: The door should close and latch without excessive pressure.
- Product guidance: Follow the chosen manufacturer’s installation instructions.
How to Install Weatherstripping Around an Entry Door
To install weatherstripping around an entry door, identify the leaking edges, choose a seal made for each location, and fit it to a clean, dry surface or the manufacturer’s specified channel. Install the side and top pieces first, then address the bottom with a sweep or threshold seal. Test the closed door for even contact and easy latching.
Check the Door for Drafts Before Choosing a Seal
On a breezy day, move a hand slowly around the closed door, especially at the upper corners and the meeting point between the door and threshold. A strip of lightweight tissue can also reveal moving air. Check the full perimeter; a draft felt at one corner may come from a gap higher up, where air travels before reaching you.
For a more deliberate check, close the door on a thin piece of paper at several points around the frame. If the paper pulls out with almost no resistance in one spot but holds elsewhere, contact may be uneven. This test is a useful comparison, not a precise measurement of the gap.
Look for visible daylight, flattened or torn seals, loose fasteners, and gaps that change when you lift or push the door. If the door is sagging, the frame is out of square, or the threshold has shifted, weatherstripping may not correct the underlying problem. The U.S. Department of Energy’s weatherstripping guidance also recommends considering the location and use of the opening when selecting a product.

Choose Weatherstripping for the Sides, Top, and Bottom
Different parts of an exterior door need seals suited to their movement and exposure. The frame usually provides the best mounting surface for the side and top seals, while the bottom requires a product designed to meet the threshold or floor.
Door area Common option Fit consideration Side jambs Compression seal, foam tape, or a kerf-in seal Match the product to the gap and the frame’s mounting surface. Top jamb Same compatible system used on the sides Keep the seal continuous at both upper corners. Bottom edge Door sweep or adjustable threshold seal Block the gap without scraping the floor or resisting the door.
Use the table as a starting point, then check the product instructions. A kerf-in seal fits into a narrow slot cut into the jamb; it will not suit a frame without that slot unless the product provides another approved mounting method. Foam tape is easy to apply, but a thickness that is too large can make a door hard to latch.
Put the seal on the frame when the product is designed for jamb mounting; use the door itself for products such as many sweeps that attach to its bottom edge. The manufacturer’s directions take precedence, since designs vary. For background on sealing and insulation, see ENERGY STAR’s seal and insulate resources.
Prepare the Door and Frame for a Reliable Bond
Remove old weatherstripping that is loose, cracked, compressed, or no longer makes contact. Scrape away leftover adhesive without gouging painted wood or damaging the frame’s finish. If the old seal sits in a kerf, remove it carefully and check that the slot is clean before fitting the replacement.
Wash the mounting surface as the product maker recommends, then let it dry fully. Dust, grease, and dampness can undermine adhesive. If you’re also handling nearby trim or finish work, these budget-friendly interior door update ideas cover cosmetic changes, which are separate from sealing the exterior door.
Measure each side and the top separately. Frames can be slightly uneven, so do not assume one measurement applies to every edge. Cut the new pieces to the lengths specified by the manufacturer, and check whether the ends should meet, overlap, or be mitered.
If adhesive preparation is part of a broader paint or sealant project, the same attention to clean, dry surfaces matters; see these surface-preparation steps for bathroom caulking for a related example. Do not use caulk as a substitute for a door seal that must move with the door.
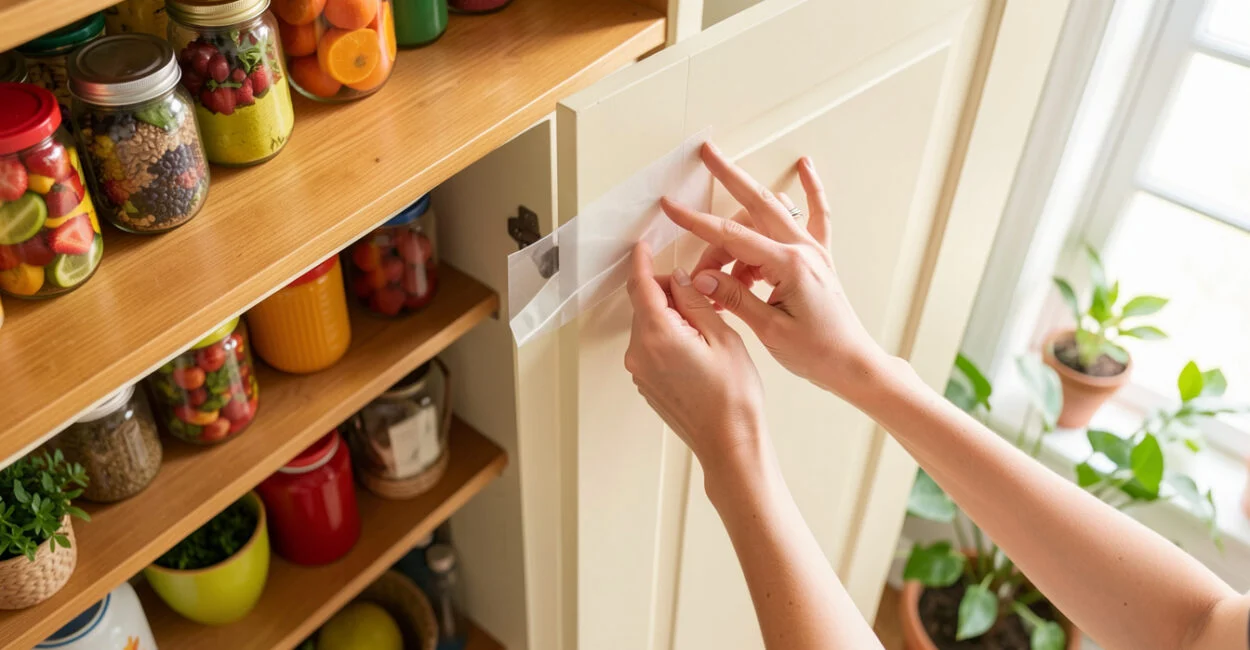
Fit Weatherstripping on the Side and Top Jambs
Work on one jamb at a time, following the selected product’s instructions for placement and fastening. Many compression seals mount on the stop or jamb so the closed door presses against them. Other systems fit into a kerf or use adhesive backing, and those mounting methods are not interchangeable.
- Mark where the door meets the frame when closed, and confirm the seal will contact the door without blocking the latch or hinges.
- Position the first side piece according to the product directions. Keep it straight and avoid stretching adhesive-backed material, which can pull back at the ends.
- Fit the opposite side, then the top. Join corners as specified rather than leaving a gap where the pieces meet.
- Close the door gently after fitting each section. If it resists, check for a misplaced or overly thick seal before adding more material.
A common installation mistake is pressing the seal too close to the door’s closing face. The door may seem well sealed but need a hard push to latch; over time, that pressure can distort the seal or strain the hardware. Adjust the position in small increments, and use the product’s recommended placement as your guide.
Seal the Bottom Without Dragging the Floor
Use a door sweep when air passes beneath the door and the sweep can meet the threshold without catching on the floor. A sweep usually attaches to the interior or exterior face of the door, depending on its design and exposure. Follow the maker’s instructions for orientation and placement.
With the door closed, the sweep should make consistent contact across the threshold, but it should not scrape heavily or prevent the door from moving. For an adjustable sweep, set it so the flexible part just meets the surface. If the floor slopes or the threshold is uneven, a fixed sweep may leave a gap at one end; an adjustable product may offer a better fit.
Check whether the threshold itself is loose, damaged, or adjustable before adding a sweep. If a threshold seal is built into the sill, a separate sweep may create too much resistance. The right arrangement depends on the door’s clearance and the specific product, so there is no single sweep height that suits every entry.
Test the Seal and Troubleshoot Fit Problems
Close and latch the door, then check contact along the top, sides, and bottom. Repeat the paper test at several points and look for daylight. A good seal provides steady resistance around the frame while allowing the door to close and latch normally.
Problem Likely cause What to check Draft remains A missed gap, corner break, or poorly seated seal Trace the full perimeter and inspect joints and mounting points. Door sticks or will not latch Seal is too thick, misplaced, or compressed too much Reposition it or use a profile suited to the gap. Contact is uneven Frame, door, or threshold is not aligned evenly Compare contact at multiple points; correct alignment if needed.
If the seal is still uneven after adjustment, the door or frame may need repair before weatherstripping can work well. Adding thicker material to compensate can make the latch problem worse. For old adhesive residue around other household sealing projects, this guide to avoiding messy caulk-removal mistakes offers useful cleanup context, though door-seal removal methods should still follow the product maker’s guidance.
Know When to Replace the Existing Seal
Replace weatherstripping when it is split, brittle, permanently flattened, detached, or no longer touches the door when it is closed. A seal can also fail after a door or threshold shifts, even if the material itself looks intact. Check it again if drafts return after a repair or seasonal change.
There is no universal replacement interval: material, weather exposure, door use, and installation all affect service life. If you can’t get an even seal without forcing the door, inspect the door’s alignment and threshold before buying a thicker replacement. Begin with the location of the leak, then select a product whose instructions match that mounting surface and gap.
📱 See this content as a Web Story
Frequently Asked Questions
Can I Install Weatherstripping Without Removing the Door?
Yes. Most jamb seals and adhesive-backed products install with the door in place. A sweep also commonly attaches to the door while it remains on its hinges, though a particular product may call for extra clearance or a specific fitting method.
Should I Use Adhesive-Backed Foam on an Exterior Entry Door?
Only if the product is rated for the location and exposure, and the surface suits its adhesive. A poorly bonded strip can peel away with use or weather, so follow the maker’s surface-preparation and placement directions.
Can I Layer a New Seal over the Old One?
Usually, remove the old seal first. Layering can create excess pressure, interfere with latching, and hide gaps that need a different fix.
Why Does My Door Leak at One Corner Even Though the Seal Looks Intact?
The door, frame, or threshold may be out of alignment, or the seal may not contact the door at that point. Check the paper test around the perimeter and inspect whether the door moves or sags before changing the seal thickness.
Can I Use Caulk Instead of Weatherstripping Around a Moving Door?
No. Weatherstripping is designed to seal a door that opens and closes; caulk is for joints that generally remain stationary. Caulking a moving gap can interfere with operation and will not provide a suitable flexible door seal.