
Best Caulk Type for Bathrooms: Silicone Vs. Acrylic for Beginners
How to choose between silicone and acrylic caulk: matching water resistance, flexibility, paintability, and cleanup to bathroom joints for lasting, effective…
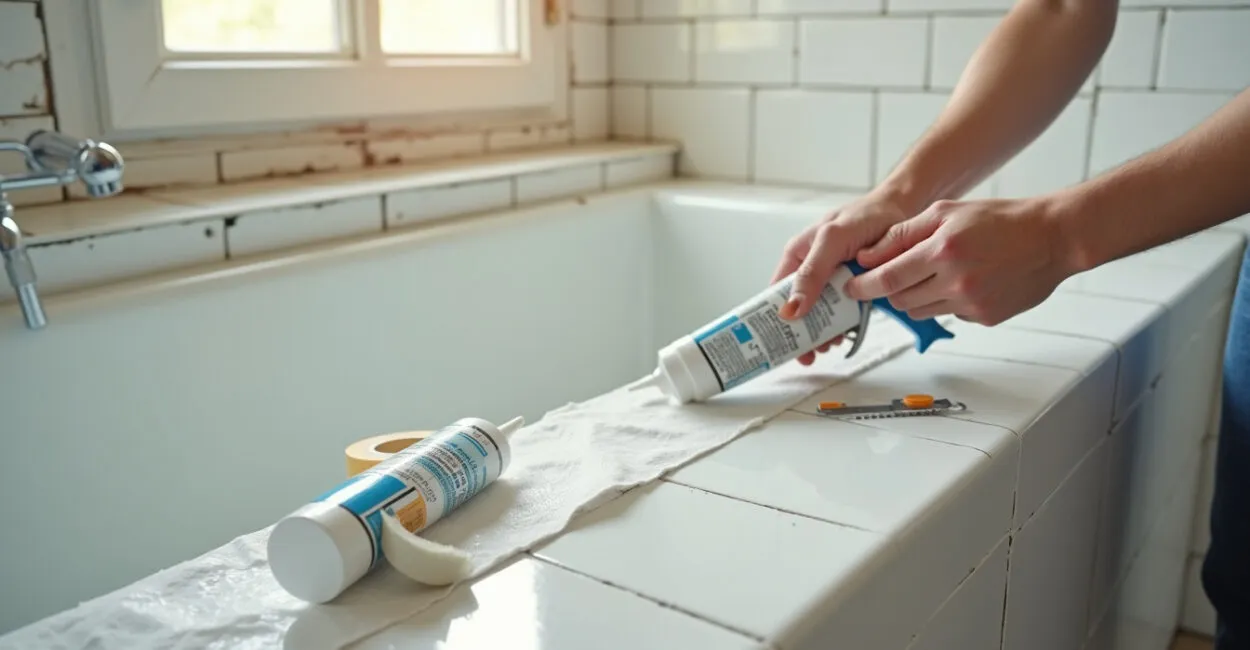 Homeowner compares silicone and acrylic caulk by bathtub
📅 Updated on 10/21/2026
For most bathroom beginners, 100% silicone is the best caulk type for joints around tubs, showers, and sinks because it handles frequent water exposure and joint movement. Acrylic latex is easier to smooth and clean up, making it a better fit for dry, paintable gaps such as bathroom baseboards.
The key is matching the caulk to the location. A product that feels simple to apply can still fail early if it is used where water regularly hits. Check the tube for its intended use, paintability, mildew resistance, and curing instructions before buying.
The real trade-off is straightforward: silicone offers better water resistance and flexibility, while acrylic is easier to clean up and paint. Choose based on the joint, not just on which product seems less intimidating.
Silicone Vs. Acrylic: The Choice That Actually Matters
Bathroom caulk needs to seal a joint against water while tolerating some movement and routine cleaning. Silicone is generally the better choice for wet joints; acrylic latex is easier to apply and paint in drier areas. Some products blend acrylic or latex with silicone, so read the label rather than relying on the word “siliconized.”
Choose 100% silicone around tubs, showers, and sinks that get splashed regularly. It stays flexible and bonds to many common bathroom surfaces, including glazed tile and porcelain. Look for a product labeled for kitchen and bath or bathroom use, and follow its surface-compatibility instructions.
Acrylic latex is more beginner-friendly for painted trim and low-moisture gaps. It typically cleans up with water before it cures and can be painted when the label permits. Standard acrylic is a poor choice for a joint that stays wet, since repeated moisture can contribute to shrinkage, cracking, or loss of adhesion.
Caulk type
Best use
Cleanup and paintability
Beginner consideration
100% silicone
Wet joints around tubs, showers, and sinks
Usually not paintable; remove uncured residue as directed on the label
Durable in wet areas, but needs careful application and clean edges
Acrylic latex
Dry, paintable gaps such as trim and baseboards
Often water-cleanup before curing; many products are paintable
Easier to tool, but not suited to joints exposed to constant water unless specifically labeled for that use
Siliconized acrylic or hybrid
Joints allowed by the specific product label
Varies by formula; check paintability and cleanup directions
Can offer a middle ground, but the label determines whether it belongs in a shower
For a quick decision, use silicone in wet zones and paintable acrylic on dry trim. A tub-to-tile joint and a baseboard-to-wall gap may be in the same room, but they need different products.
The Beginner Mistake is Choosing Cleanup over Durability
Acrylic feels less intimidating because it is easier to smooth and clean up. That convenience can be costly when the joint is exposed to regular splashes, steam, or standing moisture. In those locations, the product needs to be rated for the job.
Use this location-based filter before opening a tube:
Read also: Simple Ways to Cut Your Carbon Footprint Fast at Home
- Choose bathroom-rated silicone for shower corners, tub edges, and sink joints exposed to frequent water.
- Choose paintable acrylic latex for dry painted trim, door casings, and bathroom baseboards.
- Use a hybrid only as directed; confirm that the specific product is approved for the surface and level of water exposure.
- Skip vague “all-purpose” claims when the label does not clearly identify bathroom use and the intended wet-area application.
Before resealing a joint, remove loose or failed caulk and clean away soap film, dust, and residue. The surfaces must be dry before application if the product instructions require it. Applying new caulk over a failing bead can trap grime and leave weak edges that peel again.
Water control also matters after installation. The EPA’s mold cleanup guidance explains why addressing moisture is part of managing mold. Caulk can help seal a joint, but it cannot correct a leak or replace ventilation.
Read also: Easy Caulk Removal Mistakes That Leave Bathroom Edges Messy
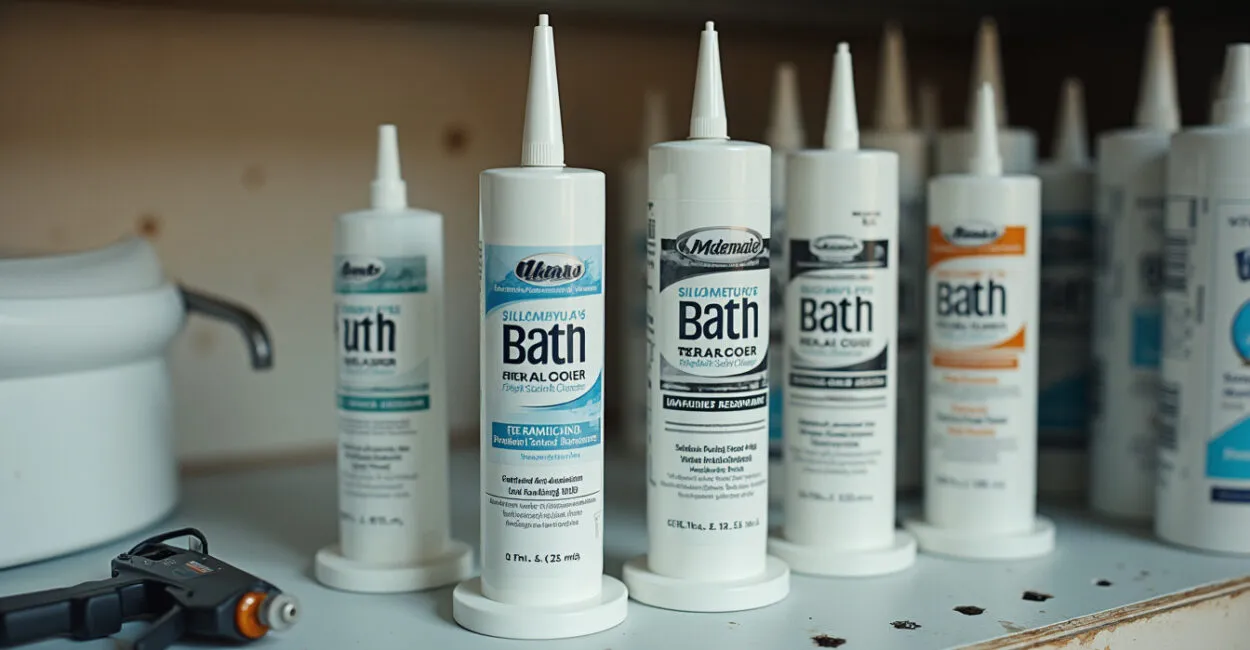
What to Buy If You Want the Fewest Regrets
For a shower, tub, or frequently splashed sink joint, choose 100% silicone bathroom caulk that is labeled for the surfaces you are sealing. For a bathroom baseboard or another dry, paintable gap, choose a paintable acrylic latex product. These are safer starting points than choosing by brand name alone.
Check the tube for these details before you buy:
- The product is intended for the specific location, such as a shower, tub, sink, or trim joint.
- The label lists compatibility with your materials, such as tile, porcelain, fiberglass, or painted wood.
- It states whether the cured caulk is paintable and how to clean up uncured material.
- It gives instructions for application, ventilation, and how long to wait before exposing the joint to water.
The best beginner choice is the product that matches the joint and its exposure to water.
Some silicones have a noticeable odor or require a longer cure before water exposure. Cure time varies by product and conditions, so follow the tube rather than relying on a general rule. “Siliconized” acrylic may be suitable for certain lighter-duty joints, but it is not automatically equivalent to 100% silicone in a shower.
For product safety and label directions, consult the product manufacturer and the U.S. Consumer Product Safety Commission. Do not use a product outside its stated application or ignore ventilation and curing instructions.
How to Apply Bathroom Caulk as a Beginner
For a clean bead, remove the old caulk, prepare a dry and residue-free joint, apply a steady line, and smooth it promptly using a method allowed by the label. Silicone gives less room for repeated adjustments, so prepare the area and tools before starting.
- Remove failed caulk. Use an appropriate caulk-removal tool, taking care not to scratch the tub, tile, or sink. Remove loose residue and follow any product directions for cleaning the surface.
- Clean and dry the joint. Clear away soap scum, dust, and cleaner residue. Let the area dry fully; damp surfaces can interfere with adhesion when the product requires a dry surface.
- Protect the edges if needed. Painter’s tape can help create a neat boundary. Place it on both sides of the joint and remove it while the bead is still workable.
- Cut a small nozzle opening. A smaller opening gives better control. Cut at an angle, and test the flow on scrap material or a protected surface before caulking the joint.
- Apply a steady bead. Move at a consistent pace and keep the nozzle close to the joint. Avoid stopping and restarting repeatedly, which can leave gaps and uneven overlaps.
- Tool the bead once, then leave it alone. Smooth it promptly using a caulk tool or another method allowed by the label. Remove tape right away, then observe the product’s cure time before exposing the joint to water.
For the question of tool versus finger, a caulk-smoothing tool gives beginners repeatable pressure and helps keep the bead even. A clean, lightly damp finger may work with some water-cleanup products, but silicone is harder to remove from skin and surfaces. Follow the label, avoid using excess water or soap unless permitted, and keep cleanup materials ready.
Which Bathroom Joints Need Silicone?
Use a bathroom-rated silicone where the joint is regularly wet and the product is compatible with both surfaces. The right choice for a sink can differ from the right choice for a baseboard, even if both gaps look small.
- Shower corners and tub edges: Use a product labeled for showers or tubs and the surfaces involved. Keep the joint dry for the full cure period specified by the manufacturer.
- Bathroom sink: Use a sink-appropriate bathroom sealant around joints that receive splashes. Check whether the basin or counter material has special compatibility requirements.
- Bathroom baseboards: Use paintable acrylic latex for a dry gap between painted trim and the wall. If the baseboard is repeatedly getting wet, find and address the moisture source before choosing a sealant.
- Tile-to-fixture joints: Silicone is commonly suited to these wet transitions, provided the surfaces are listed on the product label.
Caulk is a finish and seal at a joint; it should not be used to hide active leaks, damaged grout, or a gap that requires a different repair. Persistent dampness, soft materials, or recurring mold may call for investigation beyond replacing the bead.
📱 See this content as a Web Story
FAQ
What Type of Caulk Should You Use in a Bathroom?
Use bathroom-rated 100% silicone for joints around showers, tubs, and sinks that get frequent water exposure. Use paintable acrylic latex for dry trim and baseboard gaps. Always check that the product is compatible with the materials and location.
What’s the Easiest Caulk to Work With?
Acrylic latex is generally easier for beginners to apply and clean up, especially on dry, paintable trim. For a wet shower or tub joint, choose a bathroom-rated silicone even though it takes more care to tool. Preparation and a small nozzle opening make either type easier to control.
Is It Better to Caulk with a Tool or Finger?
A smoothing tool is a reliable beginner option because it helps create an even bead without relying on finger pressure. A finger may work for some products if the label allows it, but silicone can be difficult to clean off skin. Use the product’s directions for tooling and cleanup.
What’s Better, DAP or GE Caulk?
Neither brand is automatically better for every bathroom joint. Compare the specific products: check whether the tube is 100% silicone, acrylic, or a hybrid; whether it is labeled for your location and surfaces; and its paintability, cleanup, and cure instructions. Choose the product that fits the job rather than the brand name.
Is Silicone Always Better for Bathrooms?
No. Silicone is usually the better option where water exposure is frequent, but it is difficult to paint and can be less forgiving to apply. Acrylic latex is often a better fit for dry, painted trim because it is easier to finish and repaint. Match the caulk to the joint.
Can I Paint over Silicone Caulk?
Standard 100% silicone is generally not paintable. If you need a painted finish, choose paintable acrylic latex or a paintable hybrid specifically labeled for the location. Verify the product instructions before applying paint.
What Causes Bathroom Caulk to Crack Early?
Common causes include using the wrong formula for a wet or moving joint, poor surface preparation, applying over old caulk, or exposing the bead to water before it has cured. Remove failed material, clean the surfaces, and follow the label’s application and cure directions. Cracking can also point to movement or a problem that caulk alone cannot fix.
How Do I Know If I Bought the Wrong Type?
Check the label for the intended location, surface compatibility, water exposure, and paintability. A product meant for general interior trim is a poor choice for a shower unless its label specifically approves that use. After application, peeling edges, persistent gaps, or early cracking are signs to investigate surface preparation, product choice, and moisture conditions.
What’s the Safest Starter Choice for a First Bathroom Project?
For a first wet-area project, choose bathroom-rated 100% silicone that is compatible with the surfaces you are sealing. It is less forgiving during application, so work on a small joint, prepare the surfaces carefully, and keep cleanup materials ready. For a dry painted gap, paintable acrylic latex is usually easier.