
How to Fix a Squeaky Floor Without Replacing the Boards
Fix a squeaky floor by finding what moves, then choosing a fastener, shim, or kit suited to the floor and your access. Check soft or damp spots first.
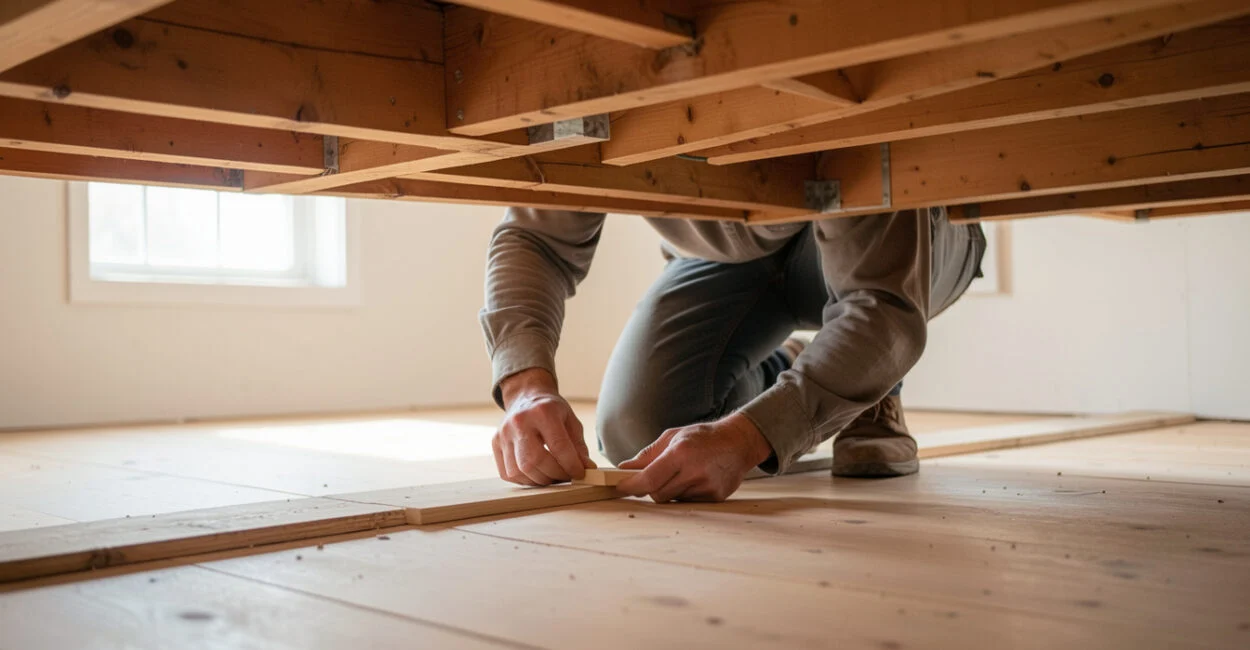 Homeowner fits a shim beneath a loose floorboard
A quiet room can turn noisy with one step across a loose floorboard. To fix a squeaky floor without replacing the boards, first find which parts are moving, then secure the connection with a suitable fastener, shim, or repair kit. The right method depends on the floor’s construction, its finish, and whether you can reach the underside.
A short squeak often comes from friction between boards, a subfloor, joists, or loose fasteners. Softness, sagging, persistent bounce, or signs of moisture call for investigation before you try to silence the noise.
Quick answer
- Mark the exact noisy spot before choosing a repair.
- Use access from below when joists and the subfloor are safely reachable.
- Choose a top-side or carpet-specific kit only if it suits the floor.
- Investigate soft, wet, or sagging areas before fastening them.
Before You Start
- A helper to walk over the floor while you listen.
- Painter’s tape or another removable way to mark noisy spots.
- A flashlight and, for underside access, eye protection.
- A clear idea of whether the floor is exposed wood, carpeted, or accessible from below.
Find the Source Before You Fix a Squeaky Floor
Most squeaky floors can be quieted without replacing boards by locating the movement and securing the loose connection with an appropriate fastener, shim, or repair kit. The noise may come from friction between floorboards, the subfloor, joists, or fasteners, so the visible board is not always the part that needs repair.
Work out what moves before choosing a fix.
- Mark each noisy location.
- Test one spot at a time.
- Note whether the floor moves underfoot.
- Check for softness or unusual bounce.
- Look for staining, dampness, or a musty smell.
- Determine whether the underside is accessible.
Have someone walk slowly over the marked area while you listen and watch. A brief squeak with a firm, level floor often points to friction or a loose connection. Softness, sagging, persistent bounce, or water staining changes the job: the cause may involve moisture or damaged support, not just noise.
Marking the point where movement happens is more useful than fastening the loudest-looking board.
A repair can reduce noise without eliminating it if the source is hidden or the floor continues to move. Seasonal changes can also alter how wood fits together, so a squeak that comes and goes may need a different response from a constant, localized creak.
Choose a Repair Based on Access and Floor Type
Start with access: if you can safely reach the joists and subfloor from below, inspect them first. If not, choose a top-side method suited to the finish. Carpet needs a carpet-compatible approach, while exposed hardwood calls for extra care to protect the surface.
Situation Likely approach Key caution Joists accessible from below Inspect the connection; use a fitted shim, screw, or purpose-made brace as appropriate. Check for wiring, pipes, ducts, and other obstructions. No access below, exposed wood floor Use a suitable top-side repair kit or carefully selected fastening method. A hole or damaged finish may remain; confirm the method suits the flooring. Carpeted floor Use a carpet-specific kit or repair from below if accessible. Do not drive an ordinary screw through carpet without confirming the method. Soft, damp, or sagging area Investigate moisture, material damage, or support before repairing noise. Fastening the surface can hide a larger problem.
A squeaky floor repair kit is useful only when its instructions and components match the floor construction. Products such as Squeak No More are designed for particular repair situations; check the manufacturer’s compatibility guidance rather than assuming one kit works on every carpet, hardwood floor, or subfloor. For moisture concerns, the U.S. Department of Energy’s moisture-control guidance explains why finding and addressing the source matters. A stain or musty odor near a squeak deserves attention before you cover it with a fastener.
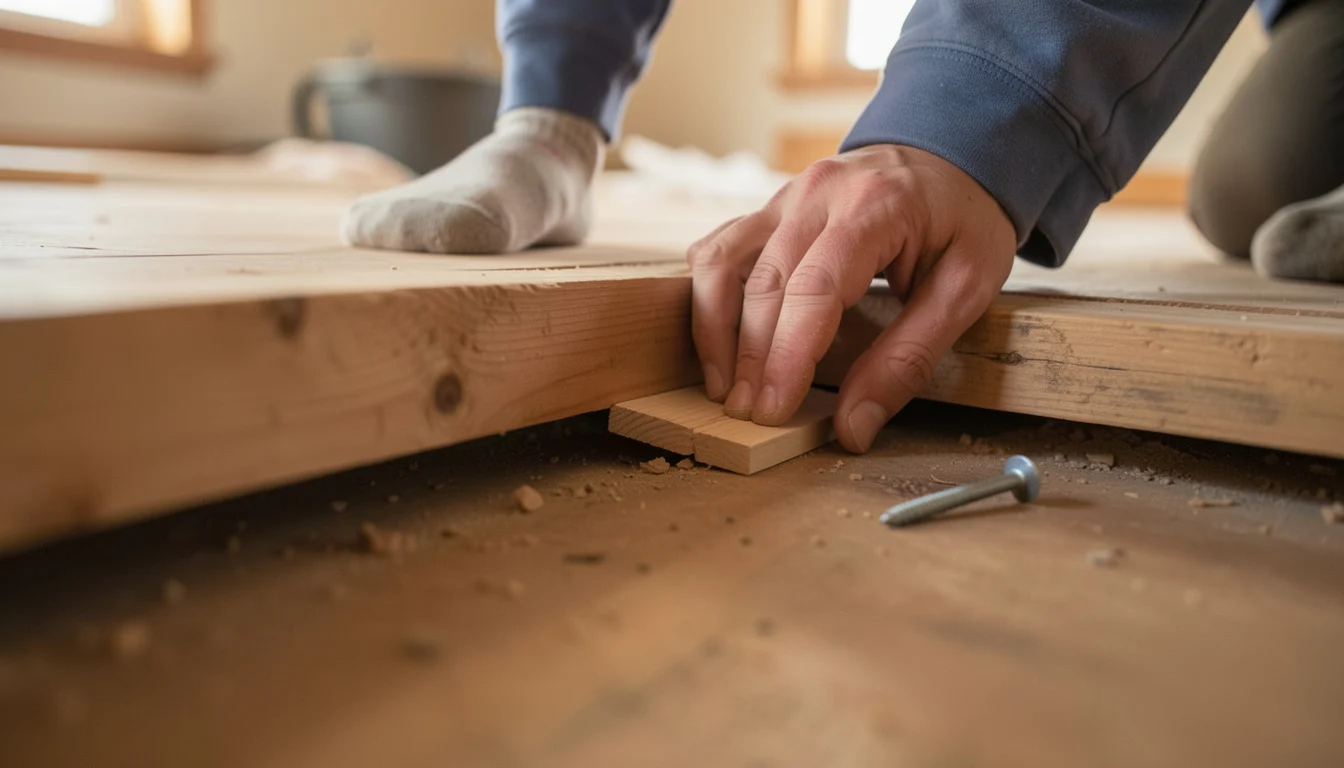
Fix a Squeaky Floor from Below
When the underside is accessible, have a helper step on the noisy spot while you watch the connection between the subfloor and joist. A moving gap may accept a thin wood shim; a loose subfloor may need an appropriate screw or purpose-made brace to hold it against the joist. Tap a shim gently into a small gap until it fits snugly. Forcing it can lift the subfloor and create a ridge or new noise above. If you secure the subfloor with a screw, choose a length that will not penetrate the finished floor.
Before drilling or driving anything, check for wiring, plumbing, ducts, and other obstructions. If you cannot identify what lies above the work area, or the repair involves damaged or extensive framing, stop and consult a qualified professional. The U.S. Consumer Product Safety Commission’s home safety guidance is a useful reminder to treat hidden home systems with care during repairs.
- Confirm the method suits the floor construction.
- Locate the joists as directed.
- Check for wiring, pipes, and ducts.
- Use the correct fastener and length.
- Do not force a shim into place.
- Stop if the floor is soft, wet, or sagging.
Test the spot again while your helper shifts their weight over it. If the noise moves or remains, the connection you secured may not be the source; avoid adding more fasteners until you reassess the movement.
Repair a Squeaky Wood Floor from Above
Top-side repairs may use a purpose-made kit, a carefully placed fastener, or another method designed for the floor. The right choice depends on whether a board moves against its neighbor or the subfloor shifts against a joist. A visible fastener can leave a hole or damage the finish, so an exposed hardwood floor needs a cautious approach.
Follow the kit’s directions for locating the joist or subfloor connection. Some kits use breakaway screws or another mechanism intended to limit visible evidence, but that does not make them universal. If you are choosing a drill or bit for a specific floor material, this guide to selecting a drill bit for common DIY materials can help you avoid a poor match.
Where the product instructions allow it, test the method in an inconspicuous area. Avoid improvised drilling or fastening: a misplaced hole can split a board, damage the finish, or miss the moving connection altogether.
A top-side repair works best when the fastener reaches the moving connection without damaging the visible floor.
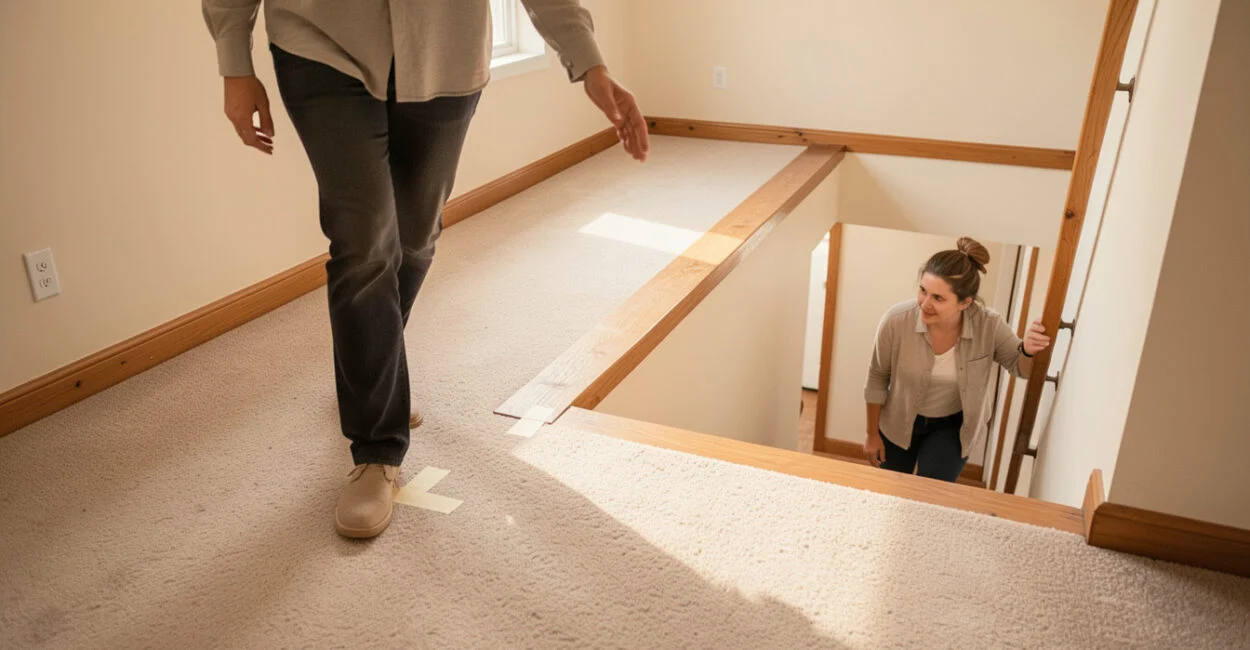
Stop Creaks Under Carpet
For an upstairs floor that creaks under carpet, identify whether the movement occurs between carpet and floor, between floorboards and subfloor, or between the subfloor and joist. Carpet-specific kits may let a fastener pass through the carpet without removing it, but the product instructions determine whether that method fits your floor.
If you can reach the underside, compare a below-floor repair before making holes through the carpet. Do not pull, cut, or pierce carpet with an ordinary screw unless the method is designed for that use. The wrong fastener can catch fibers or leave a visible snag even if it quiets the floor.
To learn how to stop creaking floorboards under carpet, begin by having someone step on the marked area while you listen from below, if accessible. That simple check can help distinguish a loose subfloor connection from movement at the floor surface.
Decide Whether a Squeak Needs More Than a DIY Repair
A squeak alone does not prove a structural problem; its cause and the floor’s condition matter. A firm floor with a brief, localized sound is different from an area that feels weaker than the surrounding floor or continues to bounce underfoot.
Investigate before fastening if you notice squishiness, persistent bounce, sagging, visible water damage, or a musty smell. If moisture is suspected, find its source and assess the affected materials rather than covering the area with a repair kit. The same habit of checking the underlying cause applies to other home repairs, such as repairing drywall nail pops, where a lasting fix depends on addressing why the surface moved.
Call a qualified flooring or building professional when the cause remains unclear, damage appears extensive, or you cannot safely rule out wiring, plumbing, or structural concerns. A noise-only repair cannot confirm that hidden materials are sound.
Compare Repair Options, Kits, and Likely Costs
No single repair method suits every floor. Compare options by access, finish, required skill, and the chance of leaving a visible mark; then check whether the product’s instructions match the floor you have.
Method Best suited to Limitations / cautions Shim or fastening from below A small gap or loose subfloor connection with safe underside access. A forced shim can lift the floor; fasteners can hit hidden services or penetrate the finished floor. Top-side repair kit Floors without underside access when the kit is compatible with the flooring. May leave a mark or fail if the moving connection is misidentified. Carpet-specific kit Carpeted floors where the product instructions allow a through-carpet repair. Not interchangeable with ordinary screws or kits for exposed wood. Professional assessment Unclear causes, extensive damage, moisture concerns, or suspected structural issues. Cost depends on access, location, floor type, labor rates, and the scope of work.
There is no reliable universal price for fixing squeaky hardwood floors. The number and location of noisy spots, access from below, floor type, local labor rates, and any subfloor, moisture, or structural damage all affect the estimate. Ask local contractors to separate a simple fastening repair from investigation or restoration work.
When comparing a squeaky hardwood floor repair kit with a professional repair, check what the kit includes, whether it is intended for carpet or exposed flooring, and what the instructions say about joist location and fastener placement. A kit can be convenient for a compatible, localized problem; it is a poor choice for a soft or damp floor.
📱 See this content as a Web Story
Frequently Asked Questions
Why Do Old Wood Floors Creak?
Age alone does not explain a creak. Movement and friction between boards, the subfloor, joists, or fasteners can cause the sound, and seasonal changes may affect how wood moves.
Why Are My Floors Squishy?
A soft or spongy feel differs from a simple squeak and may point to moisture, damaged materials, or inadequate support. Investigate the cause before attempting a noise-only repair.
How Much Does It Cost to Fix Squeaky Hardwood Floors?
There is no dependable price that applies to every home. The cost depends on how many spots need repair, access from below, the floor type, local labor rates, and whether the work reveals subfloor, moisture, or structural damage.
Are Squeaky Floors a Structural Problem?
A squeak by itself does not establish a structural problem. Softness, sagging, persistent bounce, or water damage are reasons to investigate further before fastening the floor.
Can I Fix an Upstairs Floor That Creaks Under Carpet Without Removing the Carpet?
Often, if a carpet-specific kit is designed for that floor and you follow its instructions. If the underside is accessible, inspect and compare a repair from below before making holes through the carpet.
Start by marking the noisy spot and checking whether the floor feels firm and dry. If it does, choose a repair that matches the floor type and your access; if it feels soft, wet, or sagging, investigate the cause before trying to silence it.