
How to Replace a Showerhead Without Calling a Plumber
How to replace a showerhead: remove the old head without twisting the pipe, clean threads, apply tape if needed, and install the new fixture while checking f…
 A careful DIY showerhead replacement
A showerhead that drips at the connection often needs a fresh seal, not a new shower arm. To replace a showerhead, identify the connection, remove the old head without twisting the pipe, clean the threads, and install the new fixture according to its instructions. Most standard screw-on models can be changed without shutting off the home’s water.
The job gets trickier if the old head is stuck, the shower arm moves, or the new fixture uses a different mounting system. Check those conditions before reaching for a wrench; forcing a corroded fitting can turn a small replacement into a plumbing repair.
How Do You Replace a Showerhead?
For a standard threaded showerhead, unscrew the old head, clean the shower arm threads, apply thread-sealing tape if the manufacturer calls for it, and hand-tighten the replacement. Turn on the shower and check the connection for leaks. You usually do not need to shut off the home’s water because the shower valve controls the flow.
That answer applies to common screw-on fixtures, not every product. A handheld showerhead may include a hose and bracket, while some systems use a proprietary connector or require a different installation method. Read the product instructions before removing anything.
What Should You Check Before Buying a Replacement?
Check the connection, the condition of the shower arm, and the type of fixture you want. Many standard showerheads screw onto a threaded shower arm, but do not assume every model or installation matches that setup.
Showerhead type What to check Fixed, screw-on Confirm the inlet fits the existing shower arm and inspect the arm’s threads. Handheld kit Check whether the kit includes a hose, holder, and compatible diverter or connection. Combination fixed and handheld Verify the included selector and fittings suit the existing setup and available clearance. Specialty or proprietary model Follow the product’s specific installation instructions; adapters may be required.
Look for corrosion, flattened or crossed threads, and mineral buildup on the exposed arm. If you see significant damage, replacing only the head may not solve the problem. For a WaterSense-labeled model, consult the EPA WaterSense showerhead specifications and check the product label; the certification concerns the fixture’s performance, not whether it will fit your plumbing.
What Tools Do You Need to Change a Showerhead?
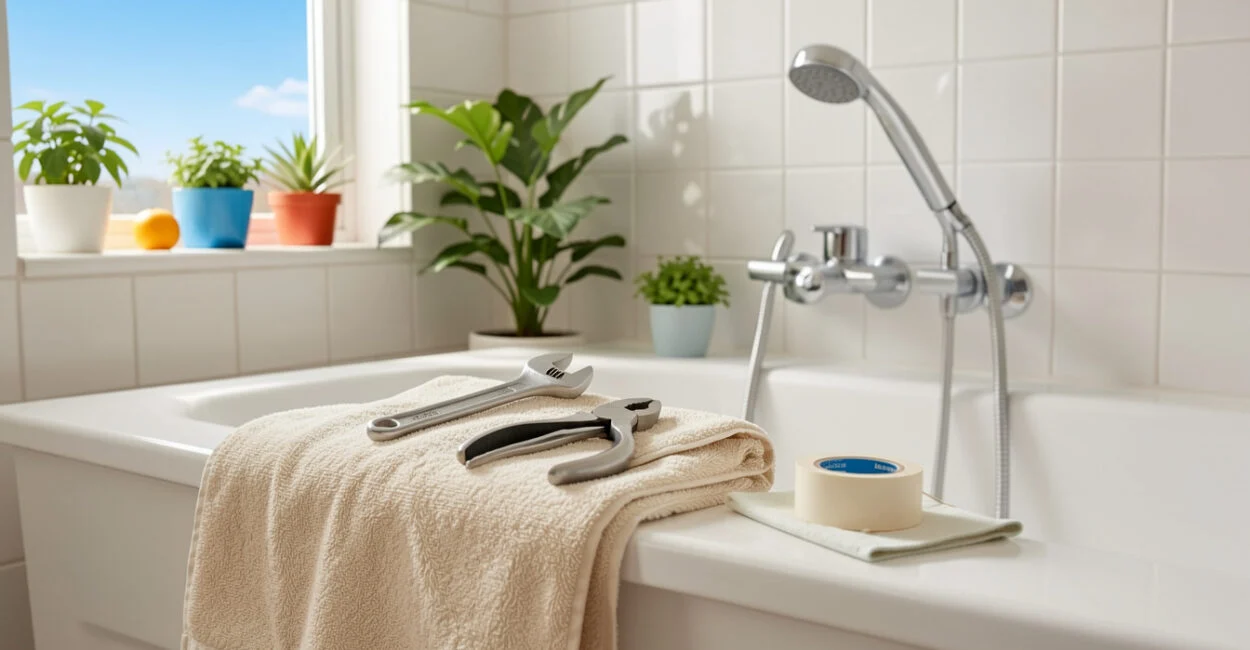
Most standard replacements need only a few items. Keep a soft cloth between the wrench and finished metal so the tool does not mar the surface.
- Adjustable wrench or smooth-jaw pliers
- Soft cloth to protect the finish
- Thread-sealing tape, if the manufacturer recommends it
- Old towel to cover the tub or shower floor and catch debris
Some showerhead connections seal with a washer or gasket rather than tape. Adding tape where the instructions do not call for it can interfere with a washer’s fit, so use the specified sealing method.
Read also: How to Unclog a Sink P-Trap and Clear a Slow Drain
How Do You Remove a Stuck Showerhead Without Damaging the Arm?
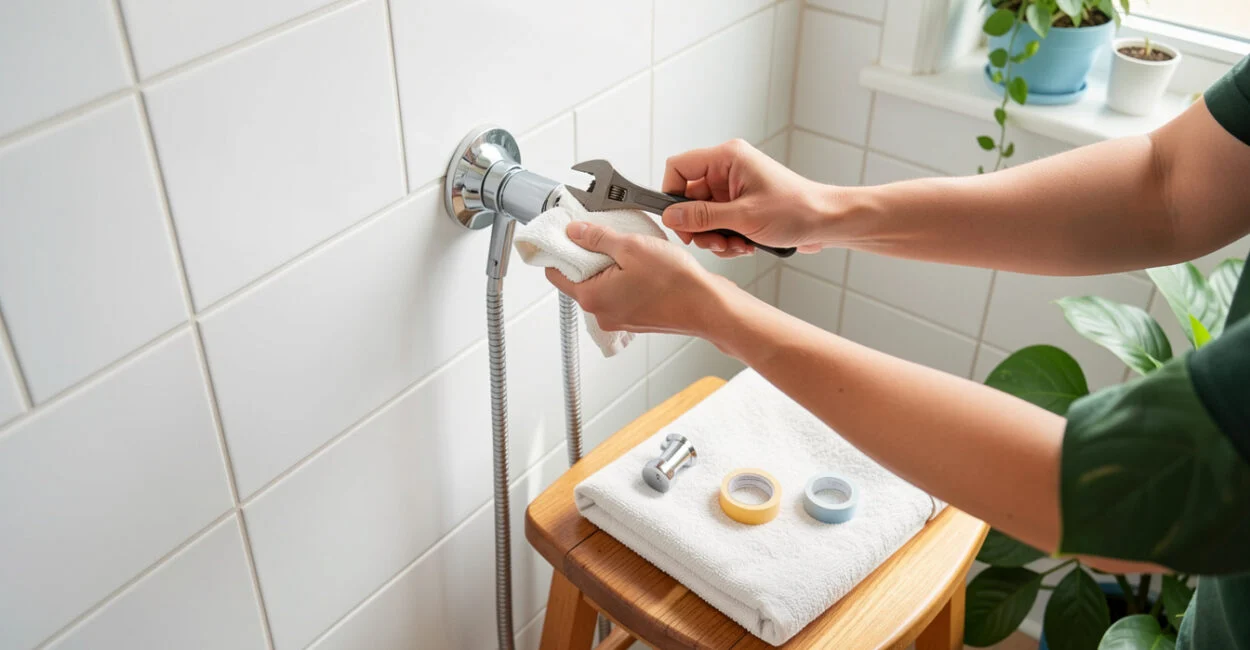
Hold the shower arm steady near the wall and turn the showerhead counterclockwise, viewed from the head end. Use a cloth under the wrench on the head’s base, and apply controlled pressure rather than jerking the fitting.
- Cover the drain and protect the shower floor.
- Grip the shower arm gently with one hand near the wall; do not clamp hard enough to crush or scratch it.
- Place the cloth around the showerhead’s connecting nut and turn it counterclockwise with a wrench.
- Stop if the shower arm turns, the wall connection shifts, or the fitting begins to deform.
A common mistake is gripping the arm too far from the wall and using it as a lever. That transfers force to the concealed plumbing connection. If the arm moves, stop; continuing can loosen a fitting behind the wall and cause a leak you cannot see.
Read also: How to Fix a Squeaky Floor Without Replacing the Boards
How Do You Install a New Showerhead and Check for Leaks?
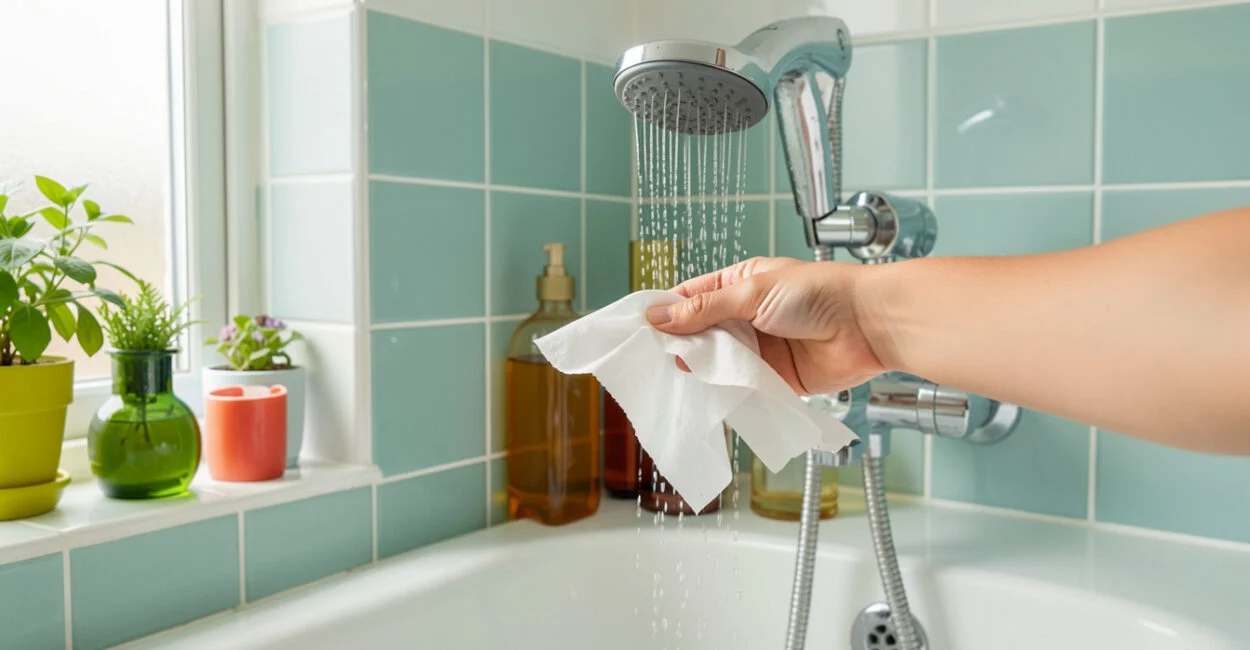
Clean the shower arm threads, use the sealing method specified by the manufacturer, and hand-tighten the new head. Then run the shower and inspect the connection while water is flowing.
Remove old tape and mineral deposits without scraping or damaging the threads. If the instructions call for tape, wrap it in the direction the head will tighten, usually clockwise when looking at the end of the arm. Keep tape off the first thread or two so loose material is less likely to enter the fixture. The manufacturer’s product instructions and support information should take priority if they specify a different method.
Start the new head by hand so the threads engage straight. Tighten until snug; a wrench is for a small final adjustment only if the manufacturer permits it. If water escapes at the connection, turn off the shower, remove the head, and check for crossed threads, a misplaced washer, or an incorrect seal. Repeatedly tightening a leaking connection can damage the fitting.
A shower arm that turns at the wall is a warning to stop, not a handle to brace harder.
When Should You Stop and Call a Plumber?
Stop if the shower arm moves at the wall, the threads are badly corroded or damaged, or a leak persists after you have checked the washer and connection. These signs may point to a loose or damaged fitting behind the wall, which a showerhead swap cannot safely fix.
Local plumbing requirements can also affect which fixtures or installation methods are allowed. Check your local plumbing authority or applicable code guidance if the work involves more than a like-for-like replacement; the International Code Council’s model code resources are a reference, but local adoption and amendments determine what applies where you live.
What Are the Quick Answers to Common Replacement Questions?
Question Short answer Do I need to shut off the water? Usually not for a standard showerhead; turn off the shower valve. What if the shower arm moves? Stop turning the head to avoid loosening the concealed plumbing. Which seal should I use? Follow the fixture instructions; some connections use a washer rather than tape. When is a plumber needed? Call one for damaged threads, persistent leaks, or a loose arm at the wall.
Before buying, compare the new fixture’s connection and installation directions with the existing arm. If the old fitting resists or the pipe shifts, leave it in place and get the connection assessed instead of applying more force.
📱 See this content as a Web Story
Frequently Asked Questions
How Often Should a Showerhead Be Replaced?
There is no fixed replacement interval for every household. Replace it when it leaks, has damaged parts, remains clogged after cleaning, or no longer suits your needs. Mineral deposits can sometimes be removed without replacing the fixture.
Can a Renter Replace a Showerhead?
Ask the landlord or property manager first, especially if your lease requires approval for plumbing changes. Keep the original head and fittings so the fixture can be restored when you move out.
Can a New Showerhead Improve Low Flow?
It may help if the old head is clogged, but low flow can also come from a valve, supply, or plumbing issue. If flow remains weak after checking the fixture and cleaning it as directed, investigate the cause rather than assuming a replacement will fix it.
Should You Use Plumber’s Tape on Every Showerhead?
No. Some connections rely on a washer or gasket for the seal, and the manufacturer may advise against tape. Use the sealing method specified for the particular fixture.