
How to Choose and Install a Programmable Thermostat
Before installing a programmable thermostat, check system and stage compatibility, follow its wiring diagram, and know when to call an HVAC professional.
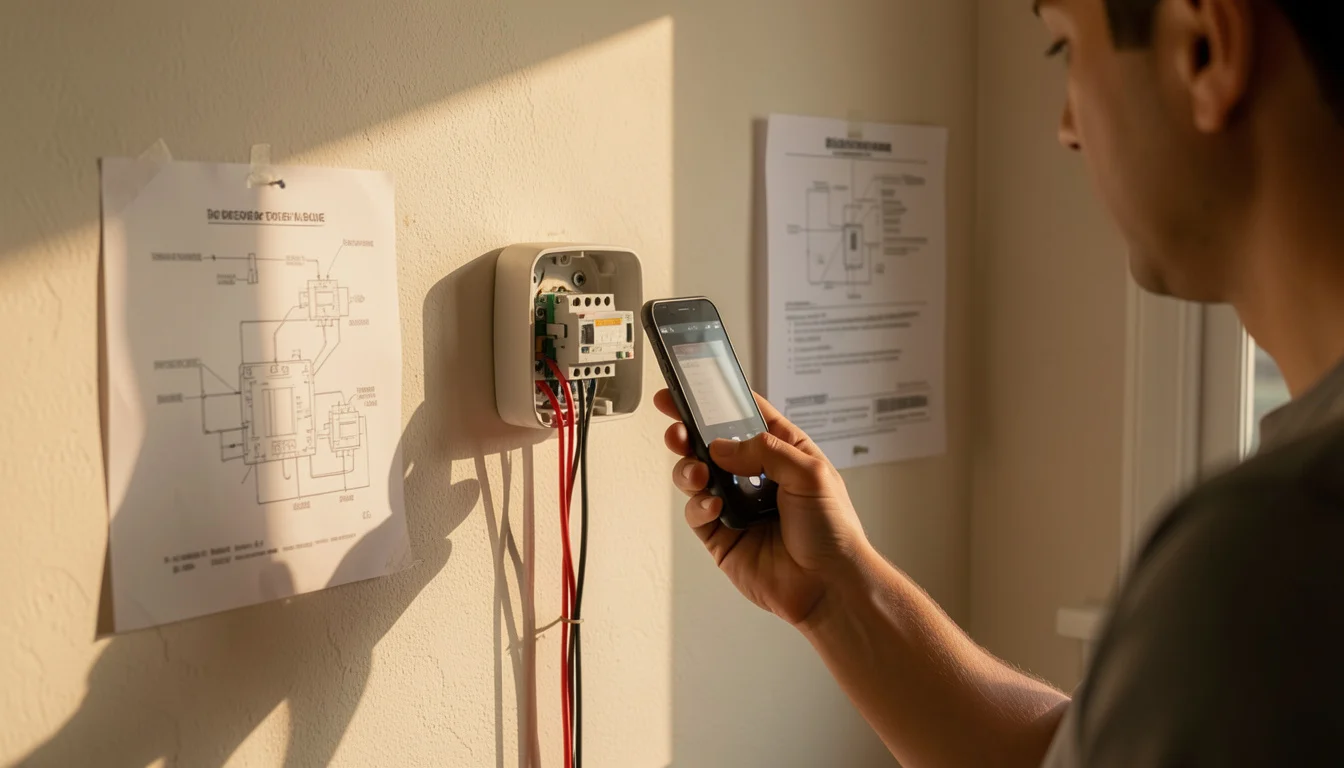 Photographing thermostat wires before removal
A thermostat can fit the wall perfectly and still be incompatible with the equipment behind it. To install a programmable thermostat safely, first confirm that its specifications match your heating and cooling system, then follow the wiring diagram for that exact model. A straightforward replacement may suit a careful DIYer; uncertain wiring or system compatibility calls for an HVAC professional.
This guide covers home HVAC thermostats, not thermostats for cars, refrigerators, or other appliances. A basic programmable digital thermostat runs your heating or cooling on a schedule; it does not need Wi-Fi, an app, or smart-home features to do that job.
Choose the model before removing the old unit. The existing thermostat’s terminal labels, not the wires’ colors or the number of wires alone, provide the starting point for checking compatibility.
Quick Facts
- Primary check: Compatibility with the system type and heating or cooling stages.
- Wiring reference: The new thermostat’s model-specific installation manual.
- Before handling wires: Switch off HVAC power at the appropriate breaker or disconnect.
- Schedule setup: Set the clock, available periods, and heating and cooling targets.
- Get professional help: If wiring is unidentified, equipment is unfamiliar, or compatibility is uncertain.
Choose a Programmable Thermostat That Fits Your HVAC System
To install a programmable thermostat, choose a model explicitly rated for your home’s HVAC equipment, including its system type and number of heating and cooling stages. Compare the old thermostat’s terminal labels with the new model’s compatibility information and wiring diagram before buying. A similar-looking thermostat, or one with the same number of wires, can still be the wrong match.
System type matters. A conventional furnace-and-air-conditioner setup, a heat pump, and a system with auxiliary heat can require different thermostat support. A heat pump thermostat must control the equipment’s operating modes correctly; support for auxiliary heat also depends on the particular system and thermostat.
Wire count alone does not establish compatibility. The terminals that wires connect to, the equipment they control, and the new thermostat’s specifications all matter. The U.S. Department of Energy’s thermostat guidance explains the role thermostats play in controlling heating and cooling; for a specific replacement, the manufacturer’s model instructions are the authority on wiring.
Check What to verify Why it matters System type The thermostat’s stated compatibility Prevents buying an unsupported model. Heating and cooling stages Supported stages match the equipment Avoids missing or unsupported functions. Existing wiring Terminal labels and connected wires documented Helps compare the current setup with the new manual. Schedule needs Available schedule format suits the household Supports a routine people can actually use.
Compare Features, Schedules, and Total Cost
Compare schedules by how your household actually uses the home. A model with weekday and weekend periods may suit a regular work routine; a different format may be easier for people whose daily schedules vary. Check that the display is readable and the controls make schedule changes straightforward.
A programmable thermostat is not automatically a smart thermostat. Scheduling is its core function; app control, remote access, and other connected features belong to models that specifically offer them. Neither the label “programmable” nor a schedule alone guarantees a particular energy or bill reduction, since results depend on the equipment, settings, climate, and household routine.
Keep the device price separate from installation cost. Thermostat replacement cost depends on the model and whether the existing system and wiring support it. Smart-thermostat installation costs can also vary with compatibility, wiring changes, and whether professional work is needed; get a quote for the actual equipment rather than assuming every replacement is a like-for-like swap.
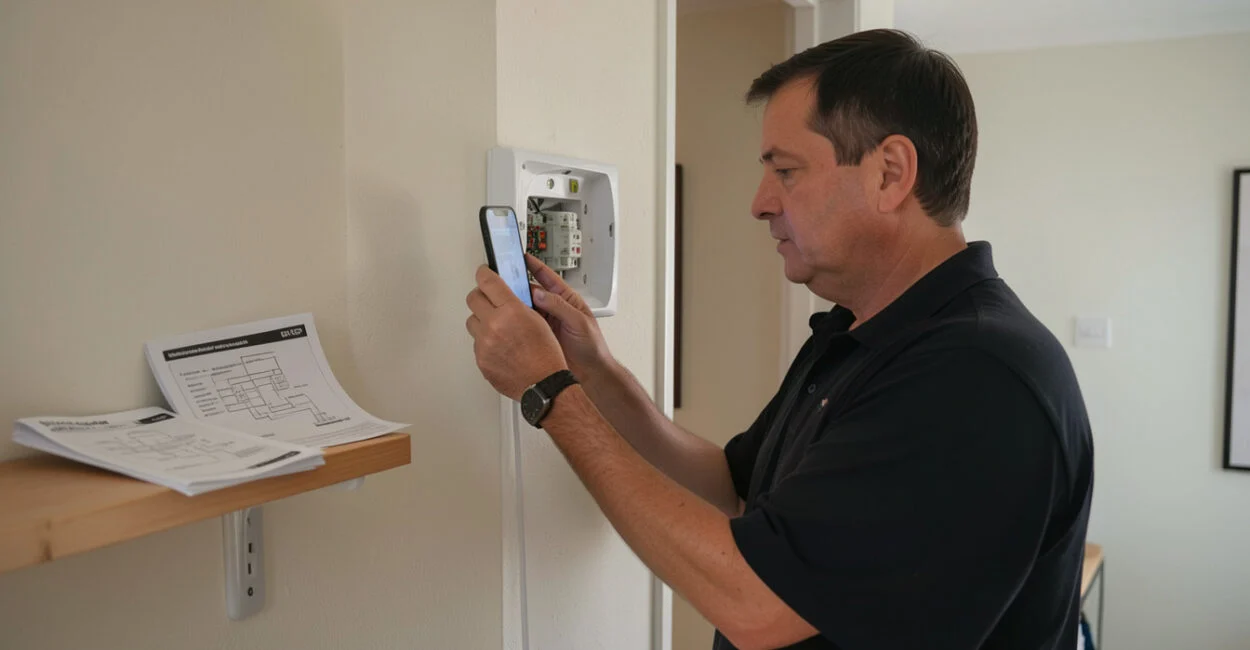
Check Compatibility Before Removing the Old Thermostat
Before removing the existing unit, identify the new thermostat’s exact model and compare its instructions with the terminal labels already in use. Photograph the connections and record each wire by the terminal it connects to, not by color. If wires or labels are unclear or unexpected, pause rather than guessing.
- Confirm the new thermostat supports your system type and stages.
- Identify the exact new thermostat model.
- Photograph and label each existing terminal connection.
- Locate that model’s wiring and installation instructions.
- Switch off HVAC power before handling thermostat wires.
Replacing an old thermostat with only two wires is a compatibility question, not a reason to pick any thermostat marketed for two wires. For a heat-only system, choose a model explicitly rated for that equipment and confirm its wiring requirements. A common wire, often labeled C, may be required by some models; whether it is present or can be added depends on the wiring and equipment.
Searches for a “thermostat wiring diagram PDF” or a “Honeywell thermostat wiring diagram” should lead to documentation for the exact model and system. A generic diagram cannot establish how your installation is wired. Before drilling mounting holes, check for existing hardware and use the correct bit for the wall material, as explained in this guide to choosing a drill bit for common DIY materials.
Prepare Safely and Remove the Existing Thermostat
Turn off HVAC power at the appropriate breaker or disconnect before touching thermostat wiring. A thermostat set to Off may still have live wiring, so do not treat its screen setting as an electrical shutoff.
After recording the terminal connections, remove the old faceplate and expose the base according to the manufacturer’s instructions. Hold the wires as you loosen them so they do not slip into the wall. Faceplates may use release tabs or other locking mechanisms; instructions for one Honeywell Home thermostat do not necessarily apply to another. For “how to remove Honeywell Home thermostat from wall,” find the exact model number and follow its official removal instructions.
If the new base does not cover old screw holes, assess the wall material before filling or drilling. For small holes in plaster, this guide to patching plaster without repainting may help with the finish after the thermostat is securely installed.
Stop if the wiring does not match
Damaged, unidentified, or unexpected wires are a reason to pause. Do not connect them by color or trial and error; consult the model’s instructions or a qualified HVAC professional.
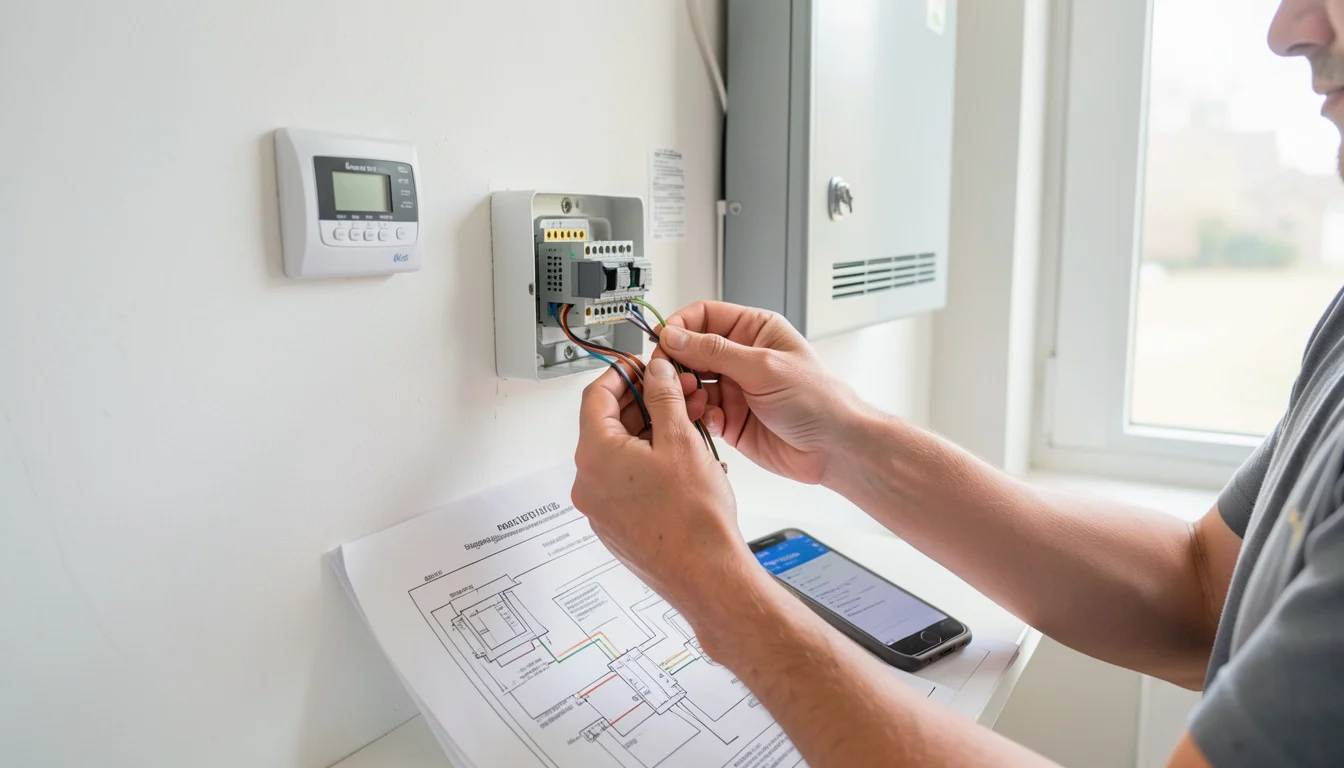
Install and Wire the New Thermostat
With HVAC power still off, mount the base level and connect each documented wire to the terminal specified in the new thermostat’s manual. Secure the thermostat as directed, then restore power only after the installation is complete.
Wire colors are not a reliable substitute for terminal labels. Terminal names and functions can vary by thermostat and system, so do not assume a conventional connection applies to your setup. Use the wiring diagram supplied for the exact product; if it conflicts with what you documented, stop and resolve the discrepancy before powering the equipment.
Heat pumps, multi-stage systems, and unfamiliar configurations can involve connections or setup choices that a basic replacement does not. When the diagram or equipment type is unclear, qualified installation is safer than improvising.
Set the Schedule and Test Heating and Cooling
After power is restored, set the clock, select the schedule periods available on the thermostat, and enter heating and cooling targets that suit your household’s routine. Menu names and programming steps vary by model, so use its manual rather than relying on button sequences from a different thermostat.
For a Honeywell thermostat, identify the exact model and follow its manual or official programming guide. That is the reliable way to answer “How do you program a Honeywell thermostat?” because button layouts and menu options vary across the product line.
Test each operating mode the home uses and confirm the system responds to the setting. If it does not, consult the troubleshooting instructions and check compatibility before changing any connections. A thermostat can call for heating or cooling, but it cannot correct an equipment or wiring problem.
Know When to Troubleshoot or Call an HVAC Professional
Replacing a thermostat can be manageable when the system is straightforward, compatibility is confirmed, and every wire is documented. It becomes a professional job when the equipment is unfamiliar, the wiring does not match the new diagram, or the system behaves unexpectedly.
A blank or unresponsive display, equipment that ignores settings, or room temperatures that miss expectations can have causes beyond a failed thermostat. Check power, settings, and the model’s troubleshooting guide before deciding the device is defective. Do not bypass safety controls to test it.
Situation Recommended next step Wiring is documented and compatibility is confirmed Follow the model’s installation instructions. Wires are unidentified or compatibility is uncertain Pause and consult the manufacturer or an HVAC professional. The system is complex or unfamiliar Seek qualified installation help. The system remains unresponsive after basic checks Use the troubleshooting guide or arrange professional diagnosis.
If you are weighing a basic programmable model against a connected one, consider the separate risks and tradeoffs in this overview of smart thermostat concerns for homeowners. The article focuses on smart devices; those added features are not requirements for a thermostat that follows a schedule.
Your next step is to photograph the old thermostat’s terminal connections and use those labels to check the exact replacement model’s compatibility chart. If the chart and wiring do not line up, leave the wires in place and get qualified guidance before proceeding.
Frequently Asked Questions
Can a Programmable Thermostat Work Without Wi-Fi?
Yes. A basic programmable thermostat can run a schedule without Wi-Fi or an app. Check the product specifications to confirm that it offers the scheduling format you want.
Does a Programmable Thermostat Need a C Wire?
It depends on the model and system. Some thermostats need a C wire for power, while others may support a different power arrangement. Check the exact model’s wiring instructions instead of assuming a C wire is present or unnecessary.
Can I Use the Old Thermostat’s Wire Colors to Connect the New One?
Do not rely on color alone. Record which terminal each wire connects to, then follow the new thermostat’s diagram; wire colors may not indicate the function in a particular installation.
What If the New Thermostat Has Different Terminal Labels?
Stop and compare the old terminal connections with the new model’s compatibility and wiring documentation. Do not move wires based on a guessed equivalent; ask the manufacturer or an HVAC professional if the diagrams do not resolve the difference.
Will a Programmable Thermostat Work with a Heat Pump?
Only if the thermostat is rated for the specific heat-pump configuration and supported stages. Check for auxiliary heat support when the system uses it, and follow the model-specific setup and wiring instructions.
Why Might the Display Stay Blank After Installation?
Possible causes include a power issue, wiring incompatibility, or a setup problem; a blank screen does not by itself prove the thermostat has failed. Check the manual’s troubleshooting section and call a professional if the display remains blank or the wiring is uncertain.