
How to Clean Shower Grout Without Damaging It
How to clean shower grout safely: match the cleaner to the grout, tile, and sealer, then test it and brush gently to tackle residue, stains, or mold.
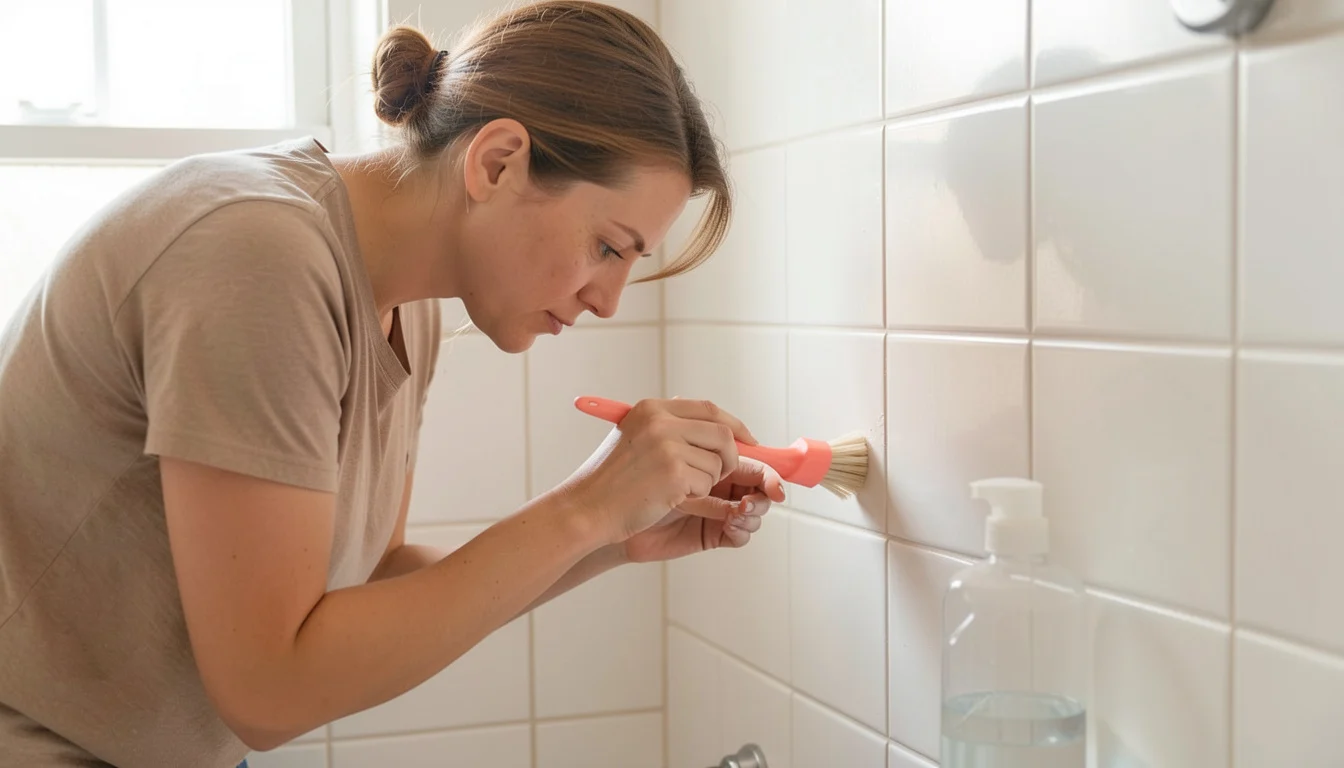 Gentle brushing cleans grout safely
Dark grout lines can make an otherwise clean shower look neglected, but aggressive scrubbing may wear the grout or scratch nearby tile. To clean shower grout safely, first identify the tile and grout, then choose a compatible cleaner and use a soft brush with gentle pressure.
For ordinary soap residue, mild dish soap and water are a sensible starting point. Stubborn stains or recurring mold call for a more targeted response, not a stronger mix of whatever cleaners are nearby.
How to Clean Shower Grout Without Damaging It
Clean shower grout with a product suited to the grout, tile, and any sealer, then rinse as the label directs. Start with the least aggressive option likely to work, test it in an inconspicuous spot, and use a soft grout brush. If you do not know what the surfaces are made of, check care instructions or ask the installer before applying a stronger cleaner.
Grout is the material that fills the joints between tiles. Cement-based grout is porous to varying degrees; epoxy grout is less porous, and either type may have a sealer that changes how it responds to cleaning products. Tile matters too: natural stone such as marble can be sensitive to acids, even when the grout itself seems sturdy.
For a simple first check, look for leftover installation paperwork or the tile and grout manufacturer’s care instructions. When the material is unknown, avoid assuming that a popular “natural” mixture is safe. The Natural Stone Institute’s stone-care guidance is useful when a shower includes natural stone.
Choose a Cleaner for the Surface and the Stain
For routine buildup, try mild dish soap diluted in water if the surface-care instructions allow it. A labeled grout cleaner may be a better fit for a stain named on its label, but no single product is the best grout cleaner for every tile, grout, or stain. Read the label before you start. Check approved surfaces, application method, contact time, ventilation requirements, and rinsing directions. A cleaner that works on ceramic tile may be unsuitable for a stone surround or a particular sealer. If the label excludes your surface, choose another product.
Soap scum on the glass can also make a shower feel grimy, even when the grout is clean. Treat the glass separately with a compatible product; this guide to removing hard-water stains from shower glass covers that different problem.
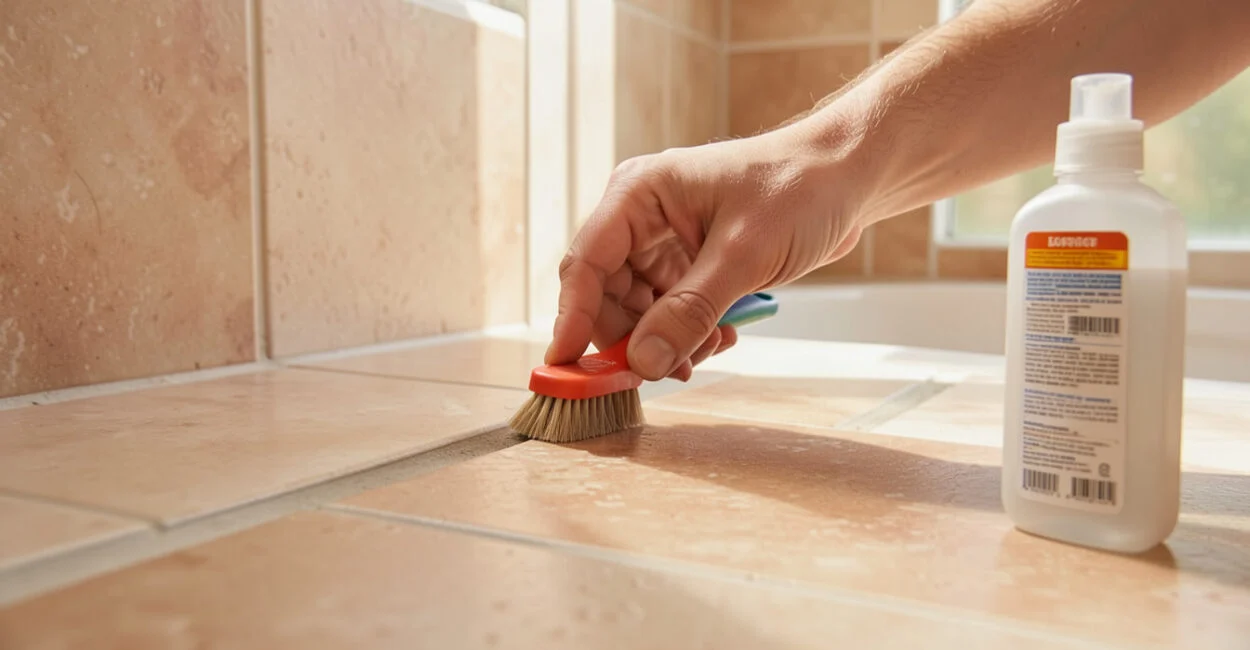
Clean the Grout Step by Step
Use this sequence for a small test area before cleaning the rest of the shower. The test helps catch discoloration, dulling, or other unwanted effects before they spread across a full wall.
- Check tile, grout, and sealer care instructions.
- Read the cleaner and tool labels.
- Test in an inconspicuous area.
- Use a soft brush and gentle pressure.
- Do not mix cleaners.
- Rinse and dry as directed.
- Clear loose debris. Remove hair and surface grit. Wet the area only if the cleaner’s directions call for it, and protect nearby surfaces as directed.
- Apply and test. Use a compatible cleaner on a small, hidden section. Follow the stated application method and dwell time; do not leave it on longer in hopes of improving the result.
- Brush gently. Work along the grout line with a soft-bristled grout cleaner brush. Short, controlled strokes reduce the chance of abrading grout or scratching tile.
- Rinse and inspect. Remove cleaner residue as directed, then check the grout once the surface is clear. Repeat only if the label permits it.
A common mistake is pressing harder when a stain does not lift. That can wear the grout surface without changing a stain that has penetrated deeply or a joint that has deteriorated. A clean-looking, wet grout line can also appear darker until it dries, so judge the result after the area has dried.
Compare Commercial and Homemade Grout Cleaners
A homemade grout cleaner is not automatically gentler or safer than a labeled product. Compatibility depends on the tile, grout, sealer, and type of soil, so test any option first and rinse as directed.
Cleaning option Suitable starting situation Key caution Mild dish soap and water Routine surface soil Check compatibility and rinse away residue. Labeled commercial grout cleaner Stains named on the product label Follow surface restrictions and directions. Baking soda and hydrogen peroxide Readers considering a homemade approach Test first; safety and results are not universal. Baking soda and vinegar Readers asking about this combination Do not treat mixing them as a stronger method; acids can harm sensitive surfaces.
Cleaning grout with baking soda and hydrogen peroxide is a commonly searched approach, but it is not a proven all-purpose solution. Check the surface-care instructions, test a small area, and stop if the finish changes. Baking soda and vinegar should not be combined as a supposedly more powerful cleaner; vinegar is acidic and can damage acid-sensitive stone or affect cement-based materials.
Read also: How to Clean a Coffee Maker and Remove Mineral Buildup
Never mix cleaning products. In particular, keep bleach away from acids and ammonia, since mixing products can create hazardous fumes. Use one product at a time and follow its label, including the rinse instructions.
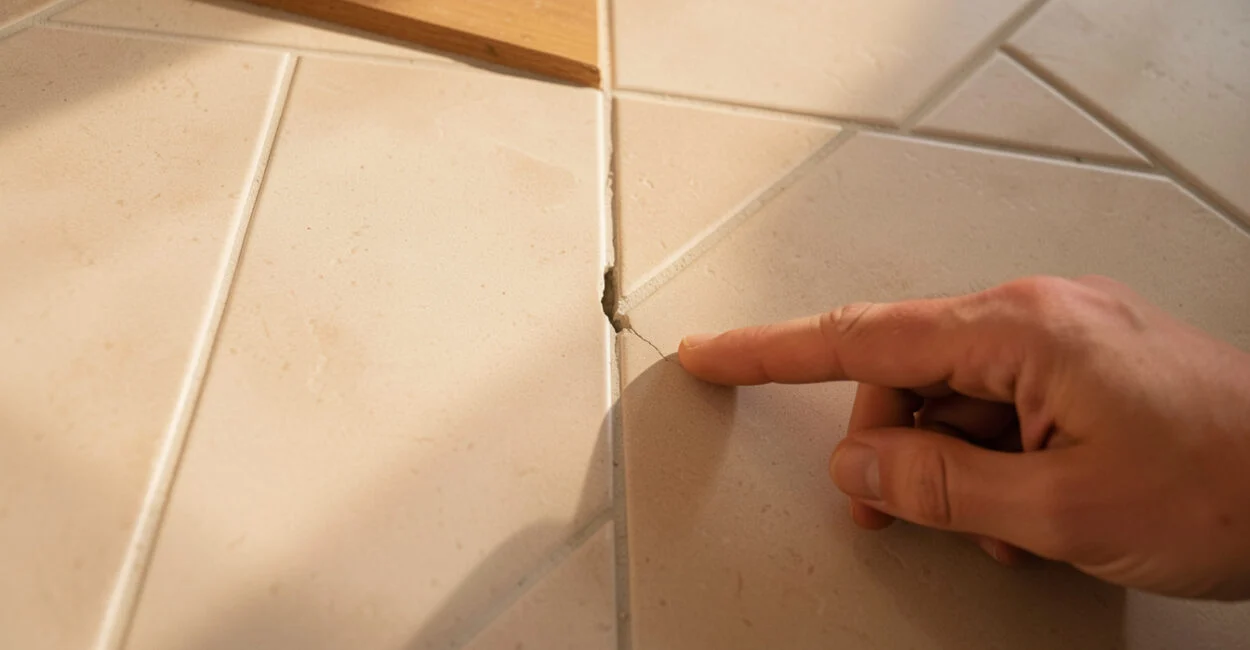
Tell Mold, Grime, and Damaged Grout Apart
Surface mold or mildew may respond to a cleaner labeled for both the stain and the surface; ordinary grime may need only a mild cleaner. Grout that stays discolored after compatible cleaning may be stained below the surface or damaged, and repeated scrubbing may not restore its original color. For mold, follow the product label for ventilation and protective measures. The EPA’s mold cleanup guidance also emphasizes addressing moisture, since cleaning alone cannot prevent mold from returning when the source remains.
Read also: How to Clean Ceiling Fans Without Spreading Dust
If growth keeps coming back, check for poor ventilation, persistent dampness, or a leak. Run the bathroom exhaust fan as appropriate and address any water intrusion. Cracked or missing grout needs repair, not harsher chemicals; seek a qualified tile professional if you cannot tell whether the joint needs regrouting.
Use Brushes and Machines Carefully
A soft grout brush is usually the most controlled tool for a small shower area. Avoid metal bristles and hard brushes, which can scratch tile or wear grout. Test any new tool on an inconspicuous spot, even if its packaging describes it as safe for tile.
A grout cleaner machine or powered scrubber can vary in pressure and brush stiffness. Follow both the machine instructions and the surface-care guidance, keep the tool controlled around grout lines and caulk, and stop if it abrades the joint or dislodges material. “No-scrub” cleaners may loosen some soil, but they cannot be counted on to remove every stain; compatibility and rinsing still matter.
The same caution applies to floor-tile grout: a tool that suits a durable floor may be too aggressive for shower walls, caulk, or already damaged joints. For other areas with easily scratched finishes, these tips for cleaning window tracks without scratching their frames reinforce why the tool matters as much as the cleaner.
Rinse, Dry, and Reduce Future Buildup
Rinse away cleaner as the label directs. Residue can leave a film or affect the surface, so do not assume that a quick splash is enough when product directions call for a more thorough rinse.
Drying time varies with the cleaner, rinse water, airflow, humidity, and shower conditions; there is no reliable universal wait time. Ventilate the room and let the grout dry before applying sealer, following the sealer manufacturer’s instructions for surface preparation and timing.
After showers, use ventilation and remove excess moisture from wet surfaces when practical. These habits can reduce recurring buildup, though they will not fix a leak or poor waterproofing behind the tile.
Quick Method by Cleaning Situation
For ordinary soap residue, start with compatible dish soap and water, a soft brush, and a thorough rinse. For a stubborn stain, select a labeled grout cleaner that names your surface and stain, then follow its directions. For recurring mold, control moisture and investigate the cause instead of relying on repeated scrubbing.
Before using any cleaner or tool, confirm that it suits the tile, grout, and sealer. If grout is cracked, missing, or still discolored after a compatible cleaning attempt, pause before escalating to stronger chemicals and consider professional assessment.
📱 See this content as a Web Story
Frequently Asked Questions
How Long Does Cleaned Grout Take to Dry?
There is no fixed drying time. It depends on airflow, humidity, how much rinse water remains, and the product used; follow the cleaner’s and any sealer’s instructions before applying another product.
How Should I Use CLR in a Shower?
Check the current CLR label for the exact product and version you have. Use it only on listed surfaces, and follow its directions for application, contact time, ventilation, and rinsing; do not assume every CLR formulation is approved for every tile or grout.
Can I Use Scrubbing Bubbles on Tile and Grout?
Only if the current label for your specific Scrubbing Bubbles product approves those surfaces. Check its restrictions and directions, test an inconspicuous spot, and rinse as instructed; formulations and labels can differ.