
How to Replace a Smoke Detector and Test It Properly
Before you replace a smoke detector, identify its power source and connections, check whether a chirp signals a fault or end of life, and match the replacement.
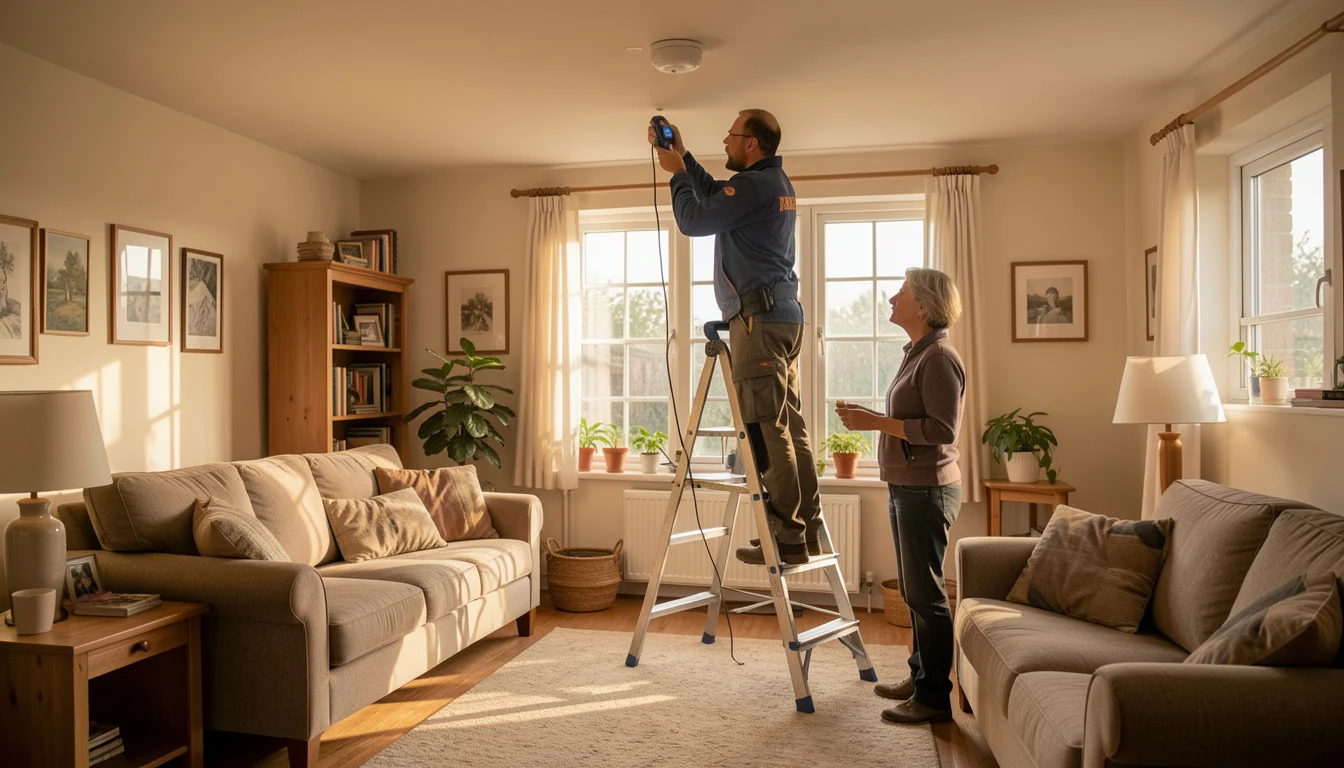 Electrician and homeowner test new alarm
A smoke alarm that chirps at 2 a.m. may need a fresh battery, a reset, or a full replacement. To replace a smoke detector safely, identify whether it is battery-only, hardwired, or interconnected before removing it, then match the replacement to the existing system and follow its manual for installation and testing.
A like-for-like swap may be manageable for a homeowner when the wiring and connector are familiar and compatible. Turn off the breaker before handling a hardwired alarm, and stop if the wiring is damaged or the system is unclear.
Key Points
- Check the alarm’s label, model, and manual before choosing a replacement; mounting plates and connectors are not universal.
- A chirp can signal a low battery, end of service life, or a fault, and its pattern depends on the model.
- For hardwired alarms, switch off the relevant breaker before disconnecting the unit.
- Use the test button as directed, and check interconnected alarms according to the manufacturer’s instructions.
Identify the Smoke Detector Before You Replace It
To replace a smoke detector, first determine how it receives power and whether it communicates with other alarms. Check the label and manual, and look for visible wiring only if you can do so safely.
A hardwired unit may still have a backup battery, while an interconnected alarm may need a specific compatible model.
The U.S. Fire Administration recommends replacing smoke alarms according to the manufacturer’s instructions; the National Fire Protection Association advises replacing smoke alarms when they are 10 years old. Check the manufacture date on the unit, not just when it was installed. Damage, a failed test, or an end-of-life signal can also mean it is time for a new alarm.
A chirp alone does not prove the whole alarm has expired. It may mean the battery is low, the unit has reached end of life, or the alarm has detected a fault. Use the model’s manual to interpret its specific signal pattern. The U.S. Fire Administration’s smoke alarm guidance offers general fire-safety advice, but the model instructions control the details of a particular unit.
Alarm type How to recognize it Replacement consideration Battery-only Often has no visible household wiring; confirm on its label or in the manual. Match the alarm type and battery requirements. Some sealed-battery models must be replaced as a complete unit. Hardwired with backup battery May attach to a ceiling connector and include a backup battery; verify from the unit’s label or manual. Check connector, mounting plate, battery, and manufacturer compatibility before buying. Interconnected or specialized system May sound with other alarms or belong to a monitored or otherwise specialized system; consult its documentation. Choose a compatible alarm and follow system-specific replacement and reset instructions.
Choose a Compatible Replacement and Prepare Safely
Match the new alarm to the old unit’s power source, connector, interconnection requirements, and mounting setup. A new alarm may not fit the old mounting plate, even when both units come from the same manufacturer.
Do not assume a plug connector is interchangeable based on appearance.
- Identify the alarm type and exact model.
- Check the manual, label, replacement guidance, and system compatibility.
- Obtain the correct replacement and battery, if required.
- For hardwired work, switch off the relevant breaker and stop if wiring is damaged or unfamiliar.
- Keep the old unit’s model information until installation and testing are complete.
Gather the replacement, any required battery, and basic tools such as a screwdriver. If you need to install a new bracket, use fasteners suitable for the ceiling material; this guide to choosing a drill bit for common materials can help when preparing mounting holes. If the old bracket leaves holes that need repair, see these steps for patching a small hole in plaster.
For a hardwired alarm, switch off the breaker before touching the connector or wiring. Follow the manufacturer’s precautions to confirm the unit is no longer powered. If you cannot identify the correct circuit, or the wiring does not match the replacement instructions, stop and call a qualified electrician.
Replace a Battery-Only Smoke Detector
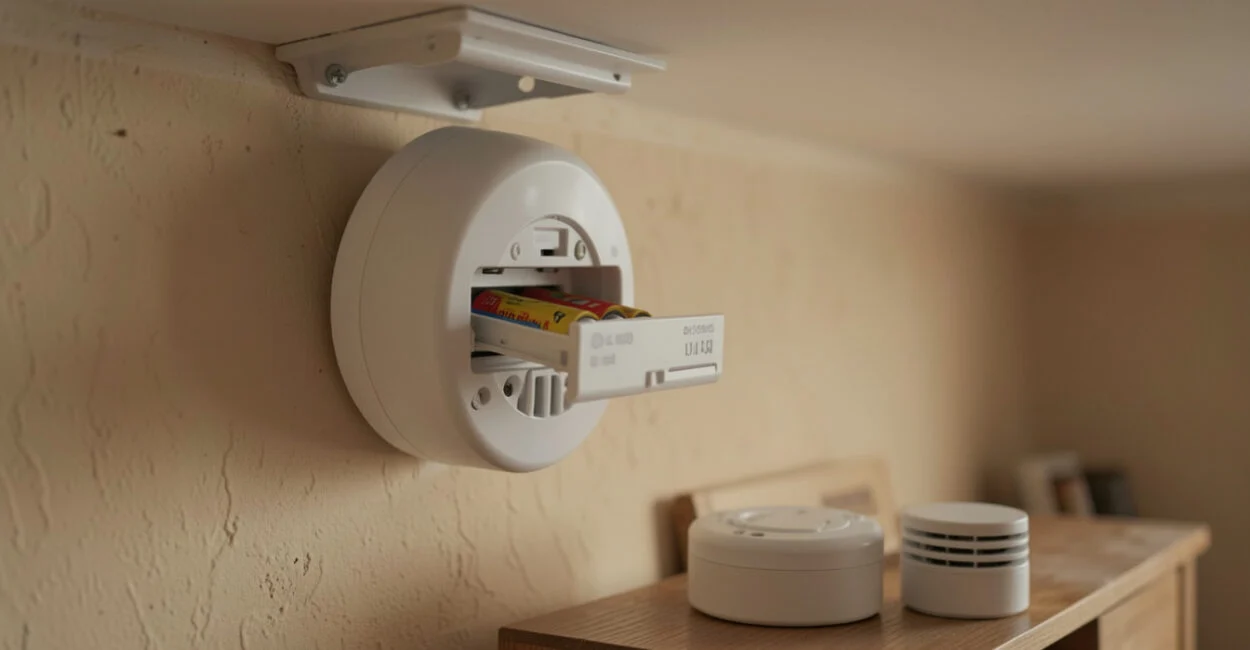
For a battery-only alarm, remove the unit as its manual directs, replace the battery or the whole alarm as needed, then mount and test it. A twist-lock housing may release from its bracket, while other models use a latch or screw. Avoid forcing the alarm: that can damage the bracket or housing.
For a battery change, use the exact battery type listed on the alarm or in its manual, and match the polarity marks. Some alarms have a battery drawer that must close fully before the unit returns to normal operation. Others use a sealed battery and are designed to be replaced as a complete unit rather than opened.
Kidde smoke detector models do not all use the same battery or removal and reset procedure. Find the exact model number and follow its instructions instead of relying on a generic brand-wide method.
Replace a Hardwired Smoke Detector
A hardwired alarm connects to household power, often with a backup battery. Turn off the relevant breaker, remove the unit from its bracket, and disconnect the plug connector by gripping the connector body rather than pulling on its wires. Compare the new alarm’s instructions and connector before connecting anything.
If the connector and system are compatible, connect and mount the alarm as directed by the manufacturer. If they do not match, stop; do not splice wires, modify the plug, or force the parts together. Restore breaker power only after the alarm is securely installed, then install or confirm the backup battery if the model requires one.
Replacing one unit in an interconnected system can affect how alarms communicate. Follow the manufacturer’s compatibility, reset, and test directions, and use an electrician if you cannot confirm that the replacement belongs in the system. For general context on electrical work in an existing home, read this overview of installing a bathroom exhaust fan; an alarm’s own wiring instructions still take precedence.
When a hardwired connector does not match the replacement, stop and verify compatibility before restoring power.
Test the Replacement and Confirm the System Works
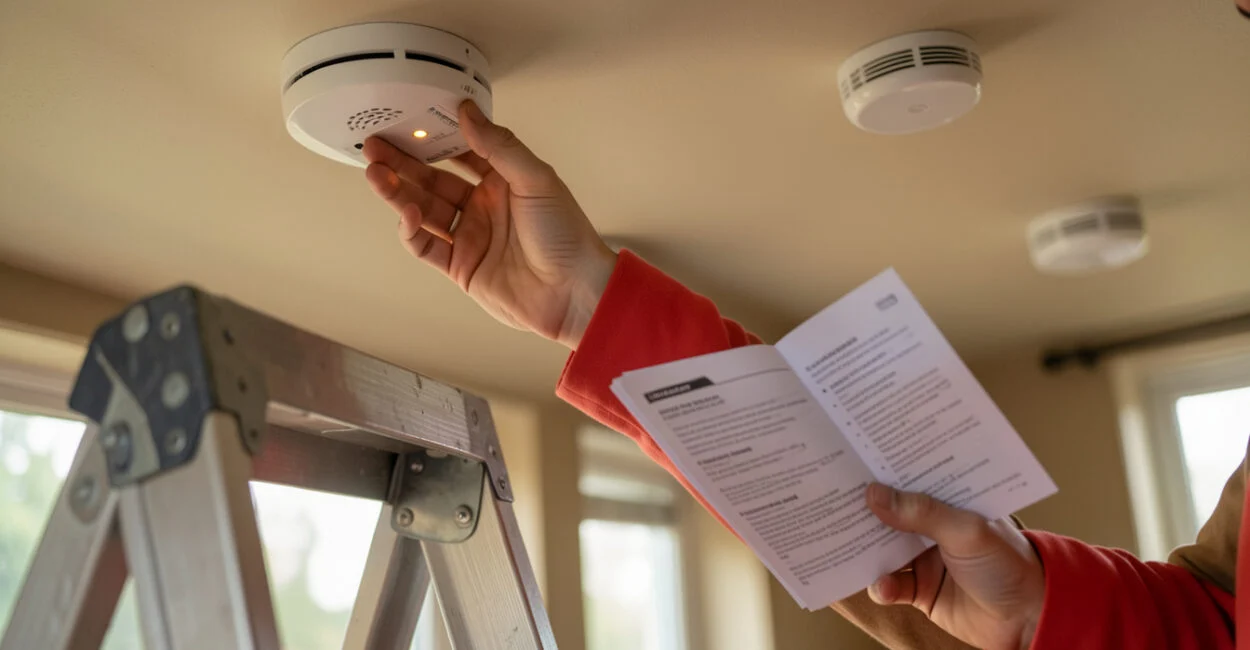
Press the alarm’s test button according to its manual. This checks the alarm function, but it does not confirm that the unit is mounted correctly, powered as required, or communicating with every alarm in an interconnected system.
After installation, confirm the alarm is firmly attached, unobstructed, and showing the normal status indicated in its manual. For an interconnected system, use the manufacturer’s procedure to check that the required units respond. Never test an alarm with a flame or by creating smoke.
- Confirm secure mounting and correct power or battery status.
- Press the test button according to the manual.
- Check the interconnected response when applicable.
- Record the replacement date and keep the model information and instructions.
The National Fire Protection Association’s smoke alarm guidance covers general maintenance and placement. Your alarm’s manual remains the source for its exact button sequence and status indicators.
Troubleshoot Chirping, Beeping, or a Failed Test
Alarm sounds differ by model, so check the manual before diagnosing a pattern. A periodic chirp may point to a low battery, while an end-of-life or fault signal can call for a different response. A full alarm sound may indicate a detected hazard, so treat it as an alarm event rather than assuming it is a routine battery warning.
Symptom Possible meaning Safe next step Periodic chirp Low battery, loose battery door, or another model-specific condition. Check the manual, battery type and polarity, and whether the drawer is fully closed. End-of-life or fault signal The unit may have reached its service limit or detected a fault; signal patterns vary by model. Look up the exact pattern in the manual and replace or service the alarm as directed. Failed test The unit may lack power, have a battery or connection issue, or have a fault. Check the manual and power supply; replace or service the unit if it still fails.
After changing a battery, recheck its type and orientation, close the battery drawer fully, and follow the model’s reset or power-cycle instructions. On a hardwired unit, a backup battery, residual charge, connector problem, or another interconnected alarm may be involved. None of these is certain without checking the model and system.
If the alarm keeps chirping, signals a fault, or fails its test, follow the manufacturer’s troubleshooting steps and replace or service it as directed. Do not leave the home without working alarms required for your situation.
Decide Whether to Hire an Electrician and What It May Cost
An electrician is not automatically needed for every like-for-like replacement. Get professional help when wiring is damaged or unfamiliar, the circuit is uncertain, the connector does not match, or the interconnected system’s compatibility is unclear. A handyman may be suitable only if local rules permit the work and the person is qualified for it.
Replacement cost depends on location, alarm type, number of units, wiring, and the scope of work, so a universal price would be misleading. Compare licensed electricians or qualified service providers using an itemized estimate that separates the alarms from labor. If you rent, contact the landlord or property manager before changing an installed alarm, while following any applicable local requirements.
Your first step is to photograph the alarm’s label and note its model number, power type, and any connected units. Use that information to confirm a compatible replacement in the manufacturer’s instructions; if the wiring or system remains uncertain, leave the alarm in place and arrange qualified help.
📱 See this content as a Web Story
Frequently Asked Questions
How Do I Change a Smoke Detector Battery?
Use the battery type and polarity shown on the alarm or in its manual. Open the battery compartment as directed, replace the battery, close the drawer fully, and test the alarm according to its instructions. Sealed-battery models may require replacement of the entire alarm.
How Do I Change the Battery in a Hardwired Smoke Detector?
Many hardwired alarms have a backup battery, but the battery type and access method vary by model. Follow the manual, and do not touch the wiring just to change the backup battery. If the alarm needs to be removed from its connector, switch off the breaker and follow the manufacturer’s safety directions.
Do I Need an Electrician to Replace a Smoke Detector?
Not necessarily for a compatible like-for-like replacement when the wiring and instructions are clear. Use an electrician for damaged or unfamiliar wiring, circuit uncertainty, connector mismatches, or complications with an interconnected system.
Can I Replace One Interconnected Alarm Without Replacing the Others?
Sometimes, but only if the new alarm is compatible with the remaining units and the system instructions allow it. Check the model documentation before buying; matching the brand alone does not guarantee compatibility.